How To Refresh Your Weathered Patio Furniture
When scrolling through home design inspo online, we've all come across images that have made us want to recreate the same look in our own space. (Whether we actually follow through, though, is often a different story...)
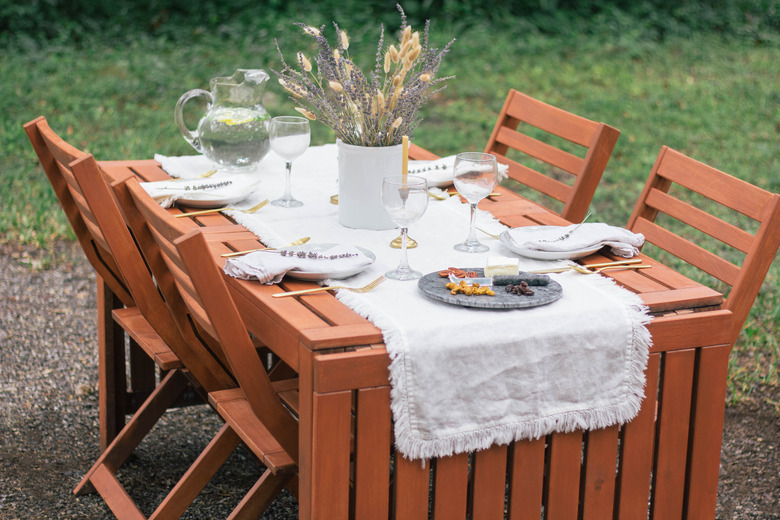
DIY content producer Trisha Sprouse was struck with such inspiration when she found a picture of a beautiful wood table set for an outdoor dinner party, and decided she wanted to tackle the project for her own family.
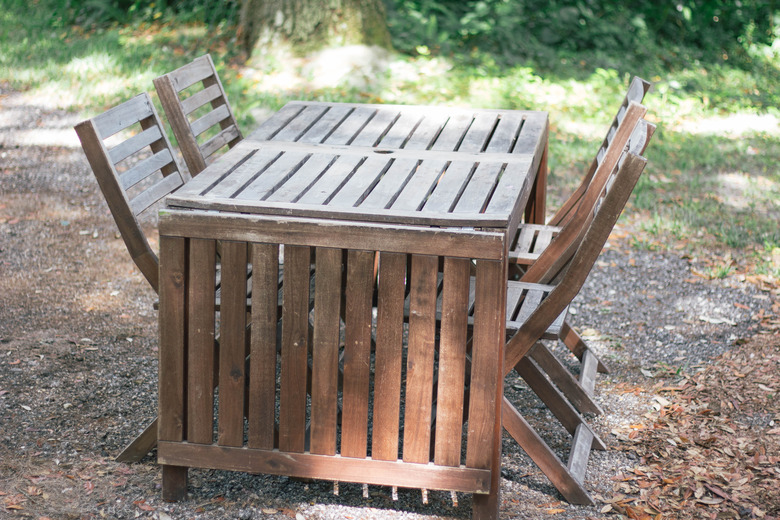
"Now that the weather is warming up, we've been spending a lot of time outdoors," Sprouse says. "My husband and I are big fans of al fresco dining, so we figured now was a great time to spruce up the ole patio furniture. It was in solid condition, but the original stain had been completely weathered."
The good news for those who struggle with the follow-through portion of their inspired ideas is that when it comes to DIY projects, staining outdoor furniture isn't all that complicated — assuming you have the right supplies, like those from Behr®️ Paint.
But don't just grab a paintbrush and skip straight to staining — there are a few steps to check off first.
 Trisha Sprouse for Hunker
Supplies you'll need
Supplies you'll need
Every successful DIY project starts with high-quality supplies, so your must-haves will be Behr Premium® Wood Stain & Finish Stripper, Behr Premium® All-in-One Wood Cleaner, and Behr Premium® Semi-Transparent Waterproofing Stain & Sealer. Besides those staples, you'll need:
- Drop cloths
- Rubber gloves
- Protective eye wear
- Stiff bristle brush
- Paint tray & liner
- Paint roller
- Water hose with high-pressure nozzle
- Pump sprayer
- Sandpaper
- Stir sticks
- Brush (2"-2 1/2")
Step 1: Remove the previous coating
Step 1: Remove the previous coating
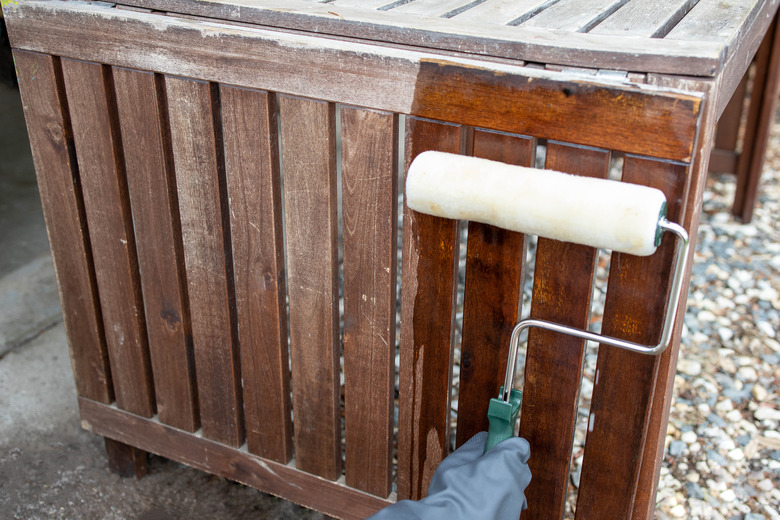
Before you can give your furniture a nice fresh coat of stain, you've got to get rid of the old stuff (and this part is super important). Sprouse suggests first placing drop cloths down to protect your work surface and any nearby items or plants (the goal is to stain your table and chairs, not your grass).
Then, pour some Behr Premium®️ Wood Stain & Finish Stripper into a paint tray, and use a paint roller to apply the wood stripper, giving it a thin, even coat.
 Trisha Sprouse for Hunker
Step 2: Scrub it down, then rinse
Step 2: Scrub it down, then rinse
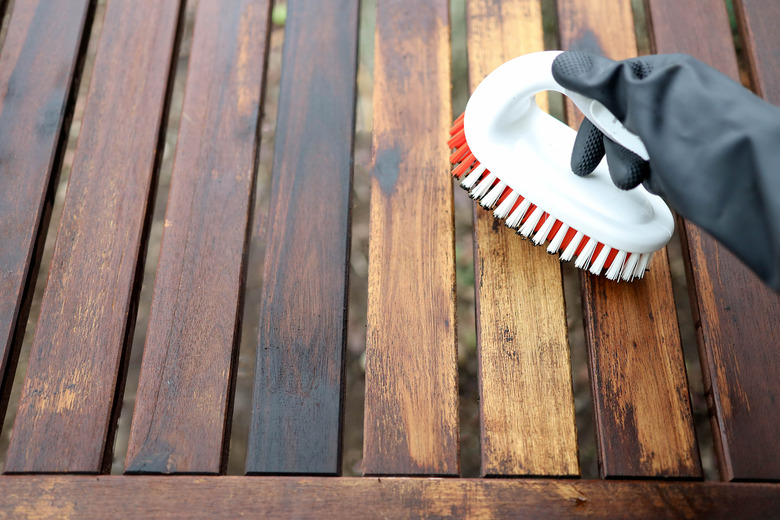
Let the stripper sit for 15 to 45 minutes (depending on the adhesion of the previous coating), then scrub the surface using a stiff bristle brush to lift old stain off the wood. Then, rinse your furniture with a water hose and high-pressure nozzle.
 Trisha Sprouse for Hunker
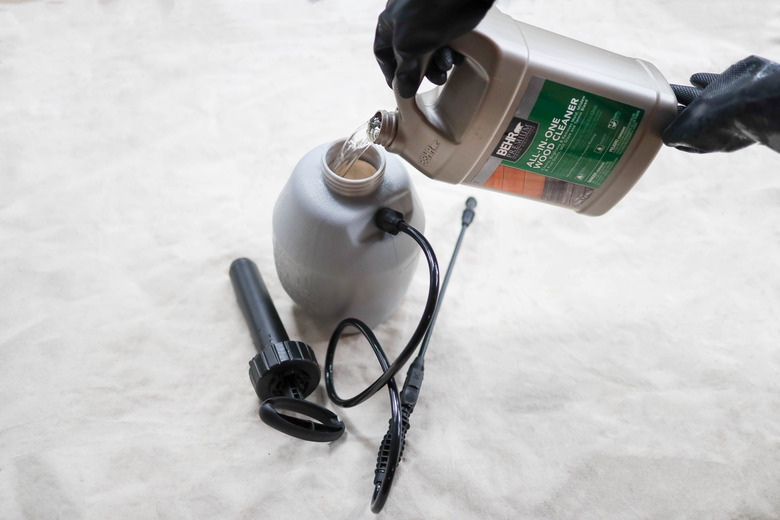
Step 3: Clean the wood surface
Step 3: Clean the wood surface
Time to stain? Not quite. Once the wood has dried, dampen the entire surface of your wood patio furniture once more, and pour some Behr Premium®️ All-in-One Wood Cleaner into a pump sprayer (refer to instructions on product, and dilute if necessary). Spread an even coat of the cleaner all over the wood.
 Trisha Sprouse for Hunker
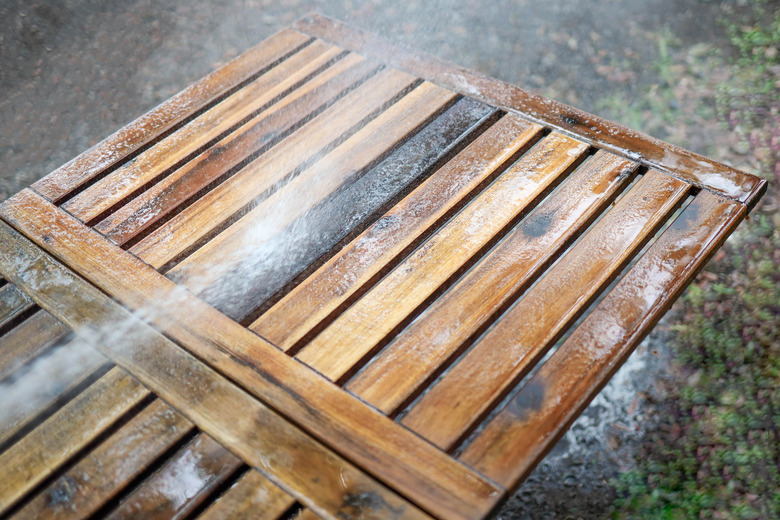
Step 4: Scrub it down, then rinse (again)
Step 4: Scrub it down, then rinse (again)
Let the cleaner sit for about 15 minutes, and then scrub the surface with a stiff bristle brush to get rid of any debris on the wood and to create a nice, clean surface for your stain. Rinse your patio furniture thoroughly.
 Trisha Sprouse for Hunker
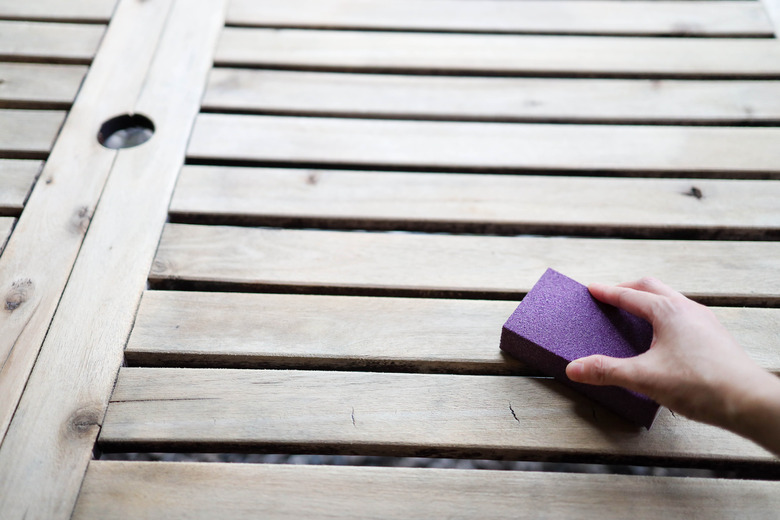
Step 5: Sand it smooth
Step 5: Sand it smooth
Any loose splinters in the wood are likely gone thanks to all the scrubbing. So now it's time to sand any rough areas or areas with raised grain on your patio furniture, and wipe away the sanding dust.
 Trisha Sprouse for Hunker
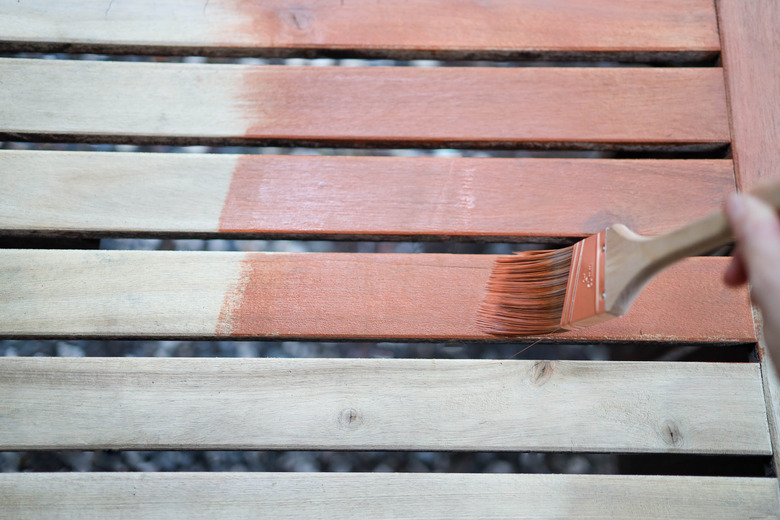
Step 6: Apply stain
Step 6: Apply stain
The big moment! Stir the Behr Premium®️ Semi-Transparent Waterproofing Stain & Sealer with a stir stick, and use a paintbrush to apply the stain to your patio furniture (Sprouse went with shade California Rustic for a bright-yet-understated look), brushing in the direction of the wood grain. Check from all angles for any missed spots, and apply another coat of stain if needed.
 Trisha Sprouse for Hunker
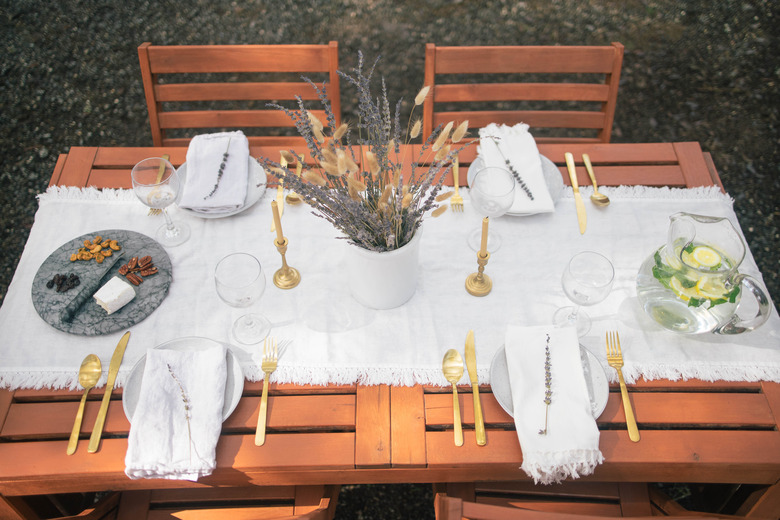
Step 7: Time to eat
Step 7: Time to eat
Once the stain has fully dried — be patient, you don't want to sit down on a still-wet newly stained chair — it's time to add in accessories to put the finishing touches on the al fresco dining oasis you've been dreaming of. Then, sit back and enjoy your handiwork.
 Trisha Sprouse for Hunker