Easy IKEA Hack: Create Cute Cane Bookshelves
We may receive a commission on purchases made from links.
Here on the Hunker team we love a good IKEA hack — and even more so if it's functional, cute, and involves cane. (Seriously it's such a gorgeous material we just can't stop looking for new ways to incorporate it into our homes, see here, here and here as evidence!)
This easy cane project is a great DIY for beginners that will elevate a basic IKEA shelf into a super chic boho bookcase.
 Caroline Burke
Things Needed
-
Cane webbing (We recommend 3 feet in length)
-
Sand paper
-
Hand clamp
Step 1
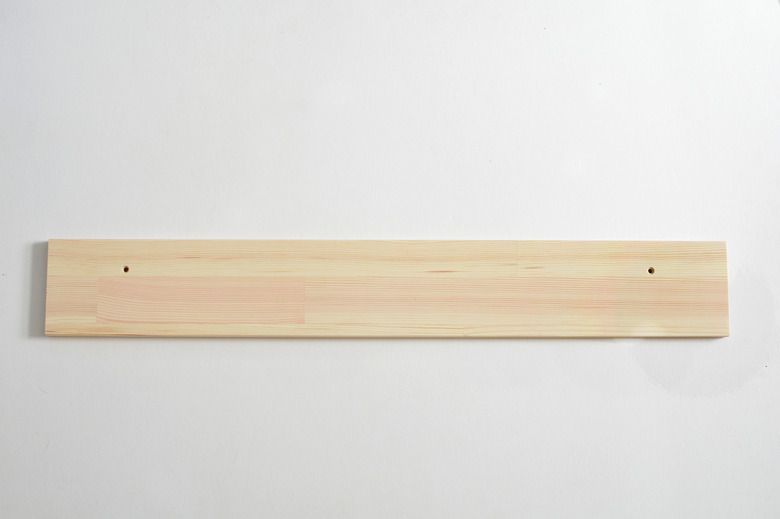
Open the flat pack Flisat shelf and locate the back panel. (It's easy to identify as it's the largest piece and has two pre-drilled holes along the length.)
 Caroline Burke
Step 2
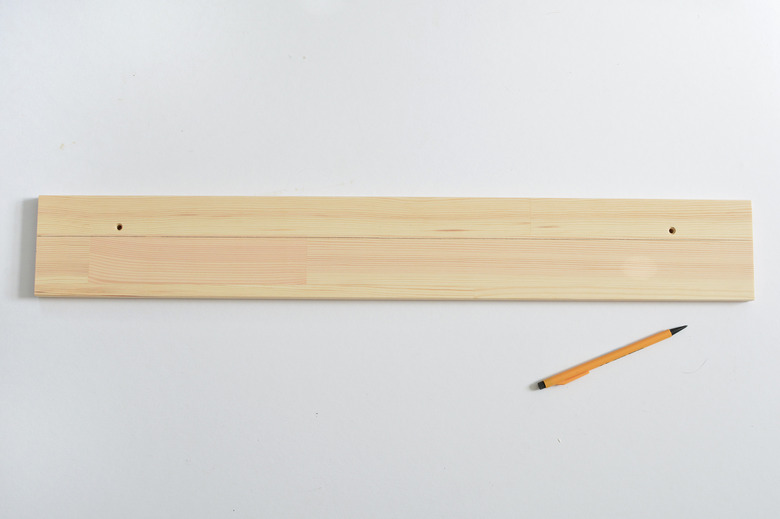
Mark a pencil line along the length of the shelf 1 1/2 inches from the top. The line will fall just below the two pre-drilled holes in the shelf.
 Caroline Burke
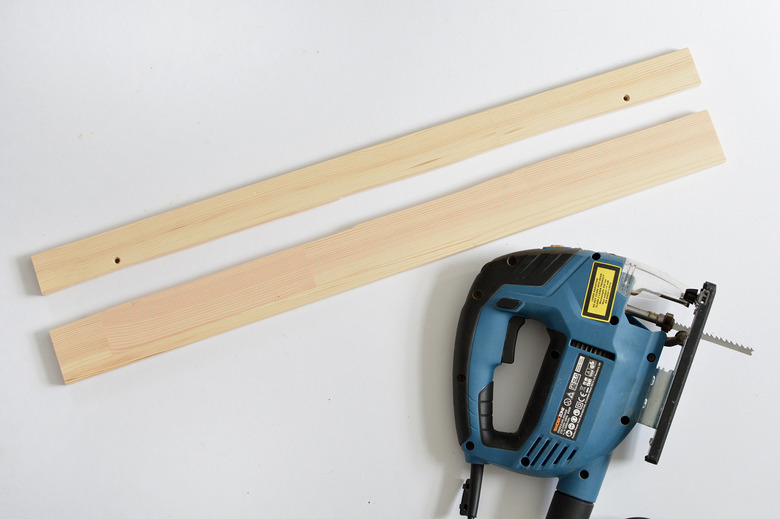
Step 3
Cut along the pencil line with a jigsaw or hand saw (we secured ours to a workbench with a hand clamp before cutting) We'll only be using the section with the two pre-cut drill holes so you can discard the other half. Lightly sand down any rough edges left from the saw blade.
 Caroline Burke
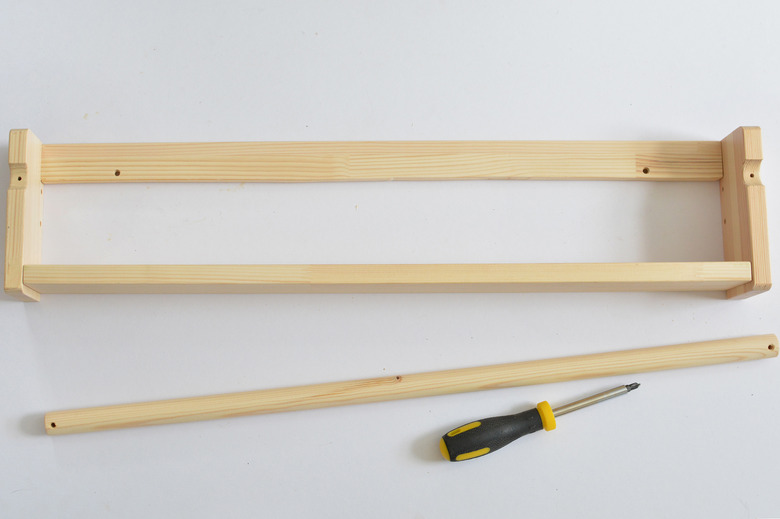
Step 4
Assemble the shelf according to the instructions (but don't secure the front dowel bar in place yet.) You'll notice that by cutting the back panel there is now more open space left at the back of the shelf.
 Caroline Burke
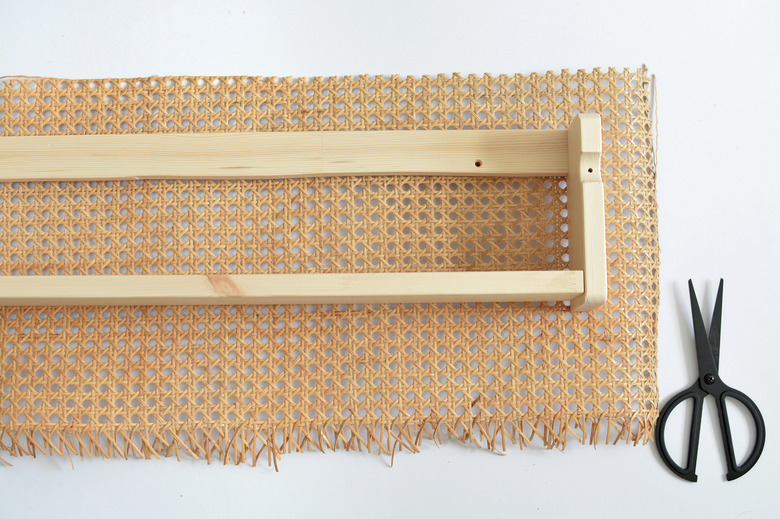
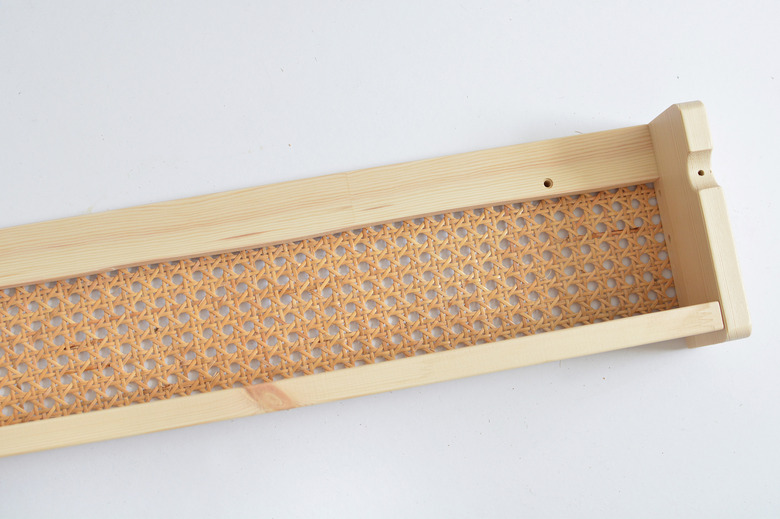
Step 5
We're going to fill that space with a section of cane webbing. Unroll your cane and place the shelf on top. (We recommend you order 3 feet of cane to cover the length of the shelf.)
 Caroline Burke
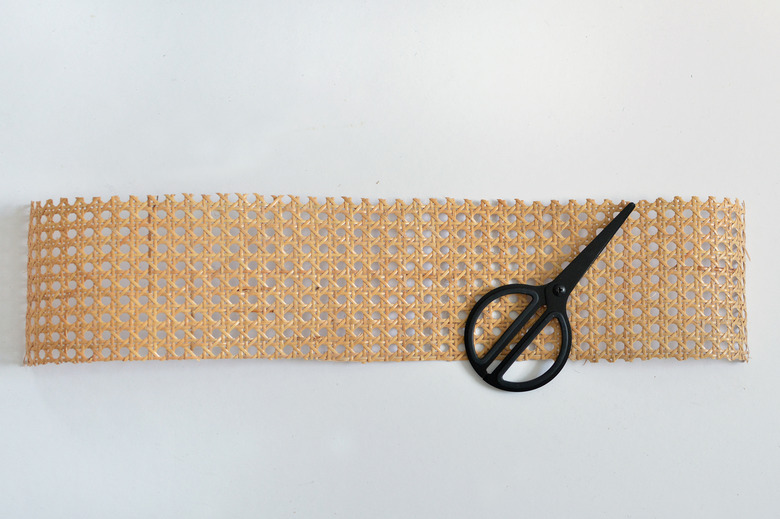
Using scissors, cut out a section of cane big enough to cover the opening along the back of the shelf. Ours measured 28 inches by 6 inches. (If you're finding the cane stiff to work with you can soak it in warm water for 20 minutes.)
 Caroline Burke
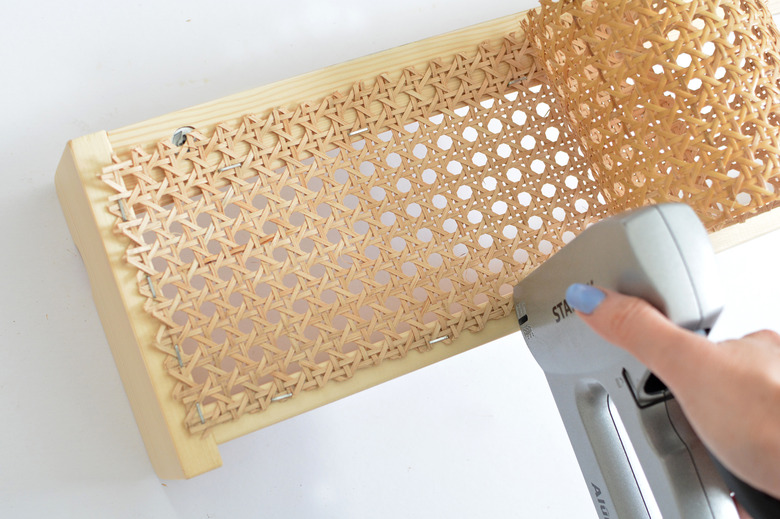
Step 6
Using a staple gun, secure the cane along the back of the shelf.
 Caroline Burke
Trim off any excess cane around the edges if necessary.
 Caroline Burke
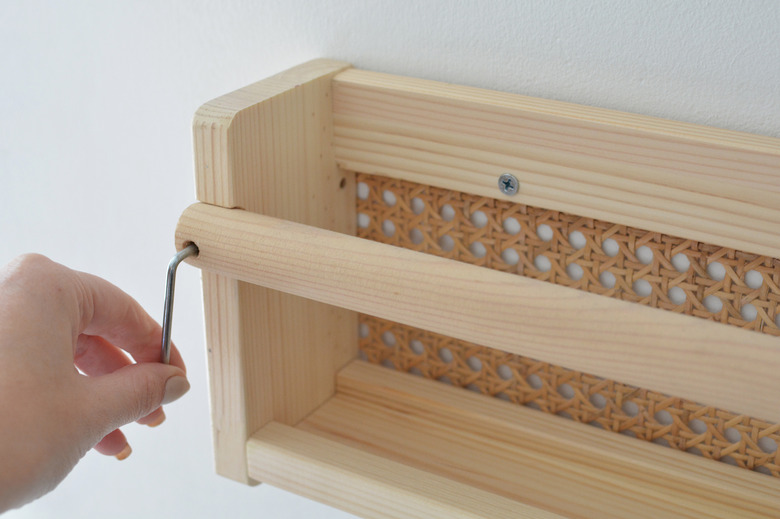
Step 7
Mount it to the wall as per the instructions and then attach the front bar to the shelf to finish.
 Caroline Burke
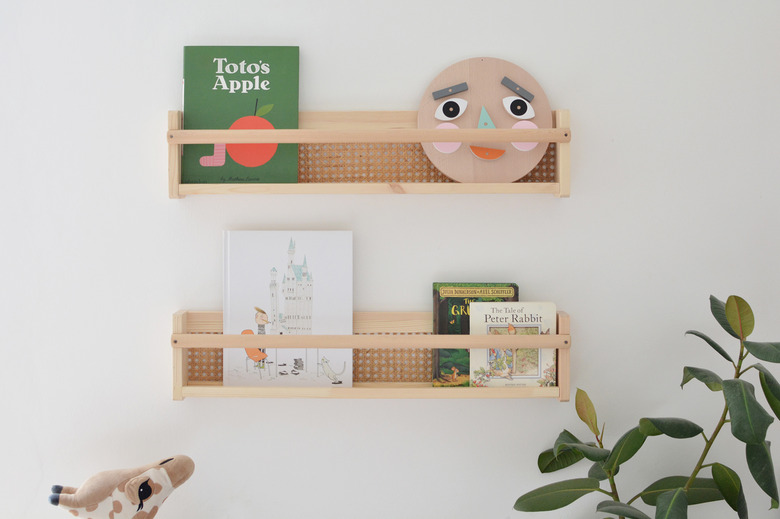
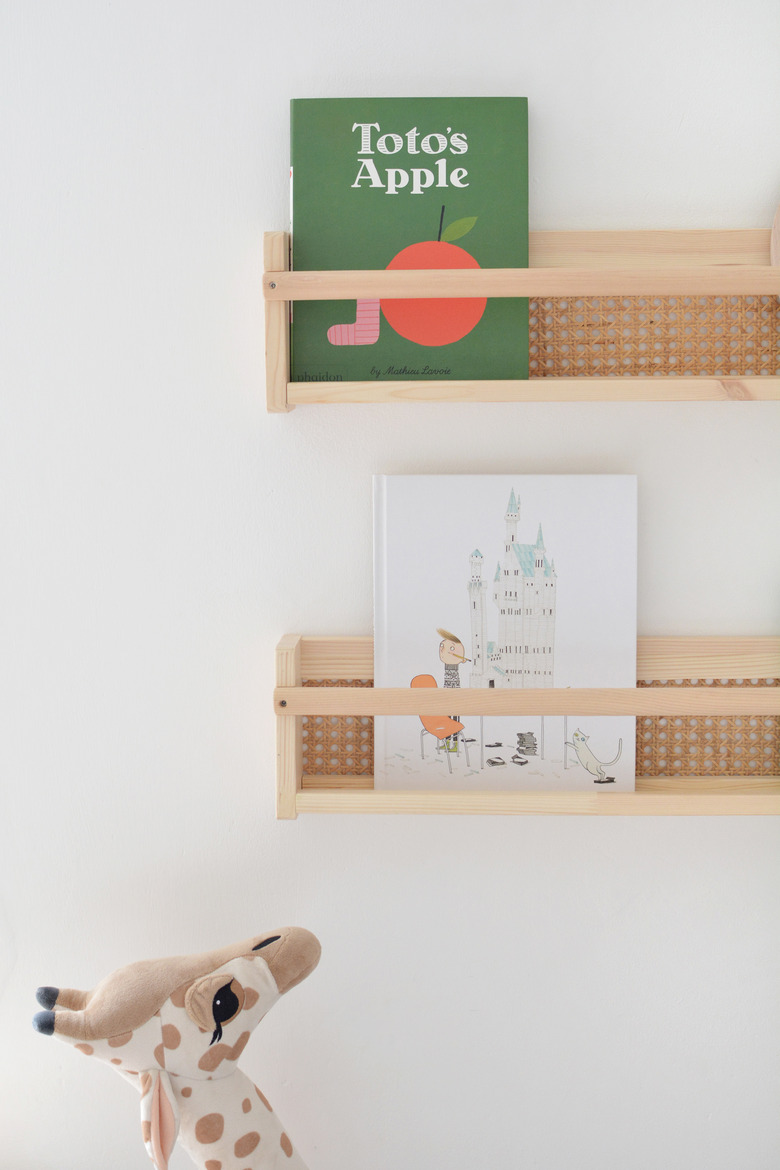
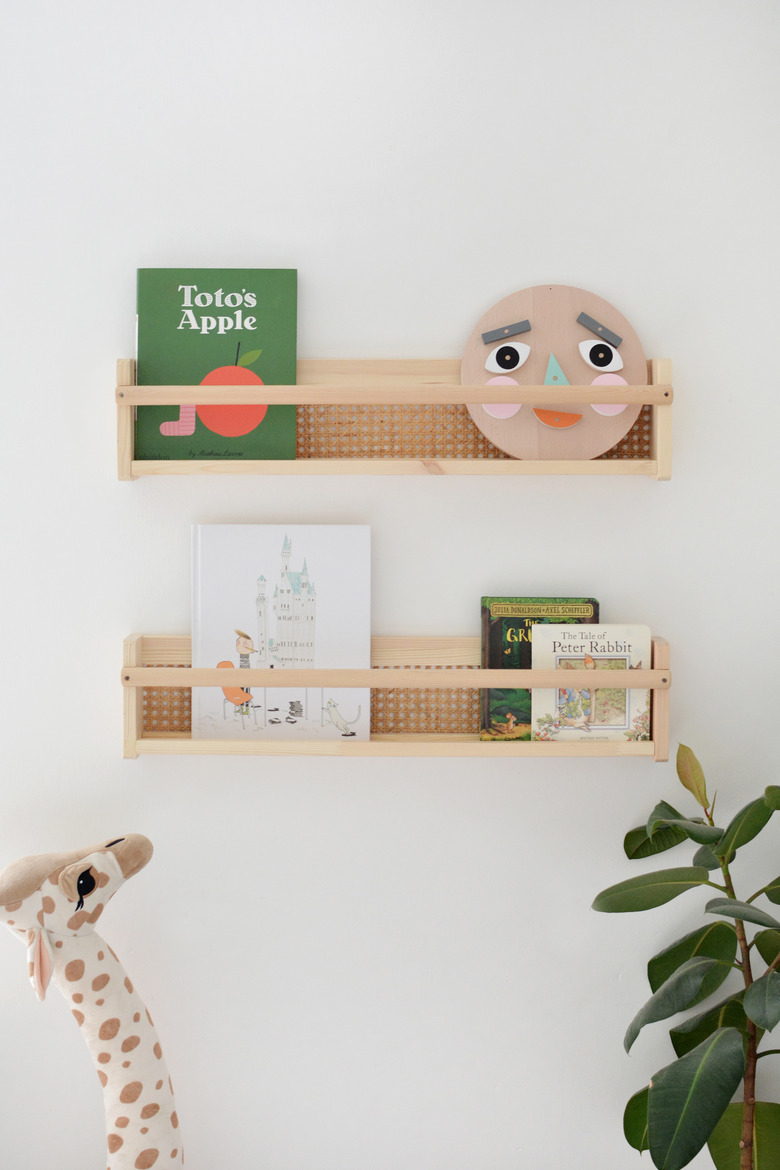
Voila! One super cute cane shelf that's perfect for displaying books in a kid's room or magazines in a den or home office.
 Caroline Burke