Bathroom Vent Fan Repair And Troubleshooting
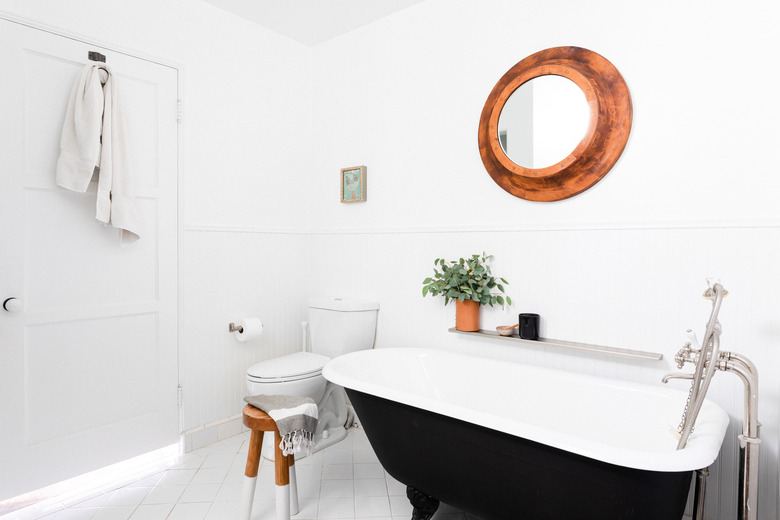
When your bathroom vent fan stops working and you lose the ventilation it provides, it doesn't take long for condensation to accumulate in your bathroom and provide a place for unhealthy mold and mildew to grow. If you wait too long to repair the fan, moisture can damage the bathroom fixtures, walls and even the framing, which is why the building code requires bathroom ventilation in the first place.
In most cases, repairing a bathroom fan is a DIY project. The only time you might need a licensed electrician is if an electrical wiring problem in the building's circuitry is responsible for the malfunction. Even most wiring problems inside the fan housing are ones that you can handle yourself because the fan motor is removable, much like a plug-in light fixture.
A Look Inside Your Vent Fan Assembly
A Look Inside Your Vent Fan Assembly
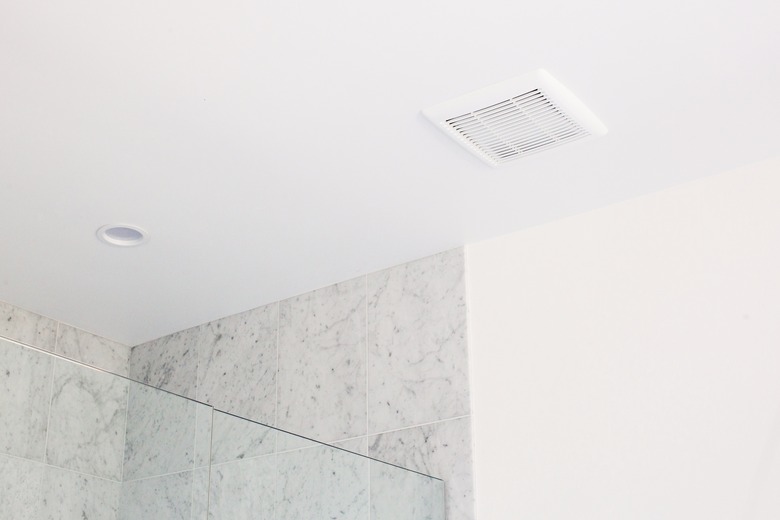
When you remove the grille from your bathroom vent fan, you might be tempted to assume that fixing the fan involves removing the whole fan assembly, housing and all. That would be a much more onerous job than you need to do unless you happen to want to replace the fan with a different model. Homeowners often make this mistake and call a handyman when they don't have to.
A typical fan assembly consists of the housing, which is the metal casing around the fan that is attached to the ceiling joists, and the fan and motor unit itself, which is mounted on a removable plate. The fan and motor unit are plugged into a receptacle inside the housing, and the plate is secured to the housing with screws or clips.
Removing the plate exposes the vent opening in the side or top of the housing. Inside it is a damper plate, which is there to prevent outside air from coming into the bathroom. The electrical connections are behind a cover plate that you may have to pry off if you need access. Other than that, there's little else to complicate matters.
 Sanford Creative
How to Troubleshoot and Repair a Bathroom Vent Fan
How to Troubleshoot and Repair a Bathroom Vent Fan
Warning
Turn off the wall switch supplying the vent fan before you begin troubleshooting.
1. Make Sure the Fan Has Power
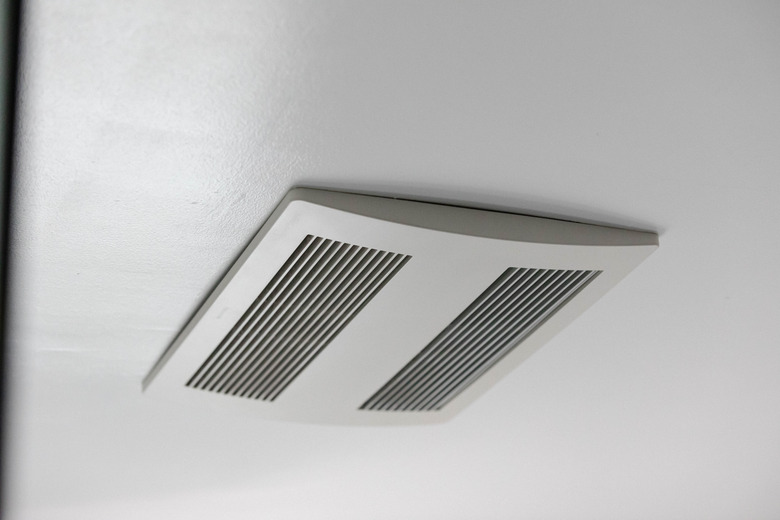
Remove the fan grille by simply pulling it away from the ceiling and squeezing the s together to release the grille.
Unplug the fan from the receptacle and plug in a working lamp or a small appliance (don't use something that draws a lot of power, like a hair dryer). Turn on the switch. If the lamp doesn't work, the receptacle may be disconnected, but it's more likely that the switch or the switch circuit needs to be repaired. If it does work, the problem is likely a dead motor that needs to be replaced.
The fan is likely to share a circuit with the bathroom light fixtures, but in some cases, it may be on the same circuit as the bathroom receptacles, which should be GFCI (ground-fault circuit-interrupter) type or should be protected by a GFCI circuit breaker. Test each GFCI receptacle and/or check the circuit breaker to make sure they haven't tripped and cut power to the switch.
2. Check the Electrical Wiring
Turn off the switch as well as the circuit breaker controlling the fan and then remove the fan plate by prying it away from the notch in the housing using a screwdriver (or removing screws) and pulling the plate and the motor out. Set the plate and motor aside for troubleshooting other issues.
Remove the electrical cover plate by unscrewing it or prying it off with a screwdriver and inspect the wires. Make sure they are properly connected and the wire nuts holding them are tight. If everything checks out and the receptacle still doesn't have power, focus your repair efforts on the wall switch.
3. Inspect and Lubricate the Damper
If the fan was operating but it didn't seem to be moving air out of the bathroom, the damping plate may be stuck. Probe inside the vent opening with your finger until you feel it and then give it a gentle push. If it doesn't open easily, spray lubricant on its hinge points and then work the plate back and forth until it moves freely.
When you're done, replace the fan and grille, turn on the fan, locate the vent opening on the side of the house or the roof and hang a piece of tissue in front of it. There should be enough airflow to make the tissue flutter. If not, look for an obstruction in the vent opening. The vent duct could also be blocked, which is more likely to happen in winter when condensation can freeze inside an uninsulated duct, or it may be leaking air or be blocked by an animal nest.
4. Service the Blower Wheel and Lubricate the Fan
Pull the blower wheel off the motor shaft, look for missing blades and replace the wheel if you find any because if the fan comes on and doesn't move air, the missing blades are likely the cause. Try spinning the motor shaft with your fingers, and if it doesn't spin freely, it may just need to be lubricated. Hold the fan upright and dribble some lubricating oil down the shaft and into the motor housing. Then, spin the shaft until it moves freely.
Repair Clinic also advises that the blower wheel may not be tightly attached to the shaft, and if so, the fan was probably noisy. That's usually easy to fix by just pushing it down firmly onto the shaft until it's tight.
You may have to disassemble the fan motor if:
- The shaft won't turn freely
- The fan makes excessive noise
- The motor is dead
Although disassembling the motor is easy, as demonstrated on YouTube by The Home Improvement Channel, you may prefer to replace it, especially considering that you may find that fixing the fan is impossible after going through all the trouble of taking it apart. It's fairly easy to find a replacement motor.
 Stephen Paul for Hunker
How to Replace the Fan Motor
1. Remove the Motor from the Plate
Use a wrench or locking pliers to loosen and remove the two screws holding the motor to the plate. Pull the motor off from the opposite side of the plate.
2. Write Down the Model Number
Locate the model number on a plate attached to the motor housing.
3. Search Online for a Replacement
Enter the manufacturer's name and the model number into your favorite search engine and you'll probably get several results for online parts outlets that carry your model. If not, try your search at the manufacturer's website. If the exact model isn't available, search for one with the same capacity, measured in cubic feet per minute, and noise level, measured in sones. Make sure any unit you choose is compatible with your specific model of fan so that it fits properly into the housing.
4. Attach the New Motor to the Plate
Insert the two bolts on the motor into the corresponding holes on the plate and tighten the nuts onto the bolts with a wrench or pliers. Be sure the fan and motor are on the same sides of the plate as the old fan and motor.
5. Reinstall the Plate into the Housing
Insert the tabs on one side of the plate into the slots in the housing and then push the other side up firmly until it locks in place (or install any mounting screws). If the plate feels loose, you can drive a short sheet metal screw into the hole just below the locking latch to make sure it doesn't fall out. Plug in the fan, install the grille, turn on the power and give the fan a test run.