How To Remove A Bathroom Exhaust Fan
We may receive a commission on purchases made from links.
As bathroom exhaust fans wear out, they typically become progressively noisier until the day comes when they stop working altogether. At that point, you have a choice. You can simply replace the fan mechanism, which, as demonstrated on a YouTube video from Home RenoVision DIY, is about as difficult as changing a light bulb, or you can remove the housing and switch the fan out for a different model or move it to another location on the ceiling.
Remove the Fan Mechanism
Remove the Fan Mechanism
Before you work on a ceiling fan, you have to turn off the switch, and it's also a good idea to turn off the breaker for the fan circuit just in case someone comes in and turns on the switch while you're working. This may be overdoing it, because all you have to do to remove the fan from the housing is unplug it, but it's always best to err on the side of safety.
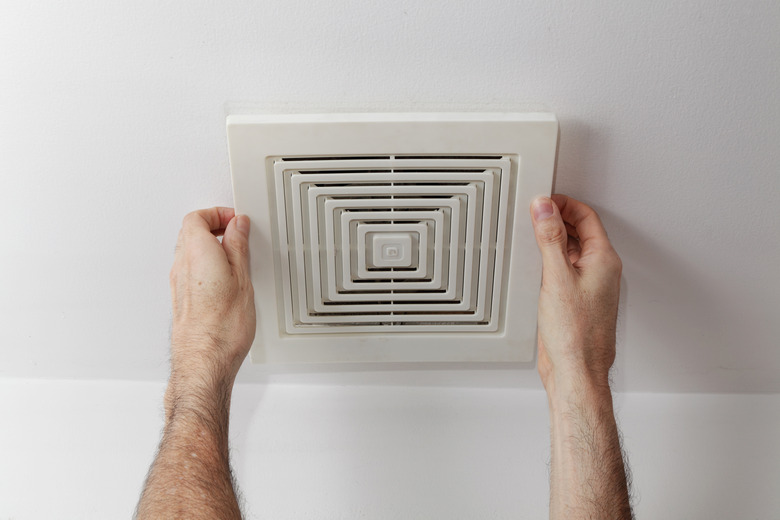
Now that the power is off, position a stepladder under the fan, climb up and remove the fan cover by pulling it toward you. It should easily unsnap and fall into your hands, but if not, reach behind the cover and squeeze the metal claps holding it in place to release it. This exposes the fan, and you'll see that it's plugged into a receptacle in the fan housing. Unplug it.
To remove the fan, look for a tab or spring clip on one side of the mounting bracket and push that in while you pull that side of the bracket toward you (some fans may be secured with screws, which you simply remove). Once the edge clears the tab, the entire bracket will come out and the fan with it. Take the entire assembly to the store so you can buy an identical one or one with the same size bracket that will fit in the housing.
Removing Housing With Attic Access
Removing Housing With Attic Access
If you want to install a different model fan, you'll also have to remove the housing. Since it's nailed or screwed to the ceiling joists, this is a bit more challenging than simply removing the fan. While you're still on the ladder, you can start by unscrewing the receptacle cover plate and disconnecting the electrical wires. The rest of the procedure is best done from the attic if you have access.
Once you're in the attic, you can pull out the electric cable and cap the wires for safety, then pull the duct hose off the housing after removing the tape or cable tie holding it on. The housing is supported by brackets affixed to the joists, and when you remove the screws or nails holding them, the housing will be free, and you can take it away.
Housing Removal — No Attic Access
Housing Removal — No Attic Access
If you don't have attic access, or if the fan is in a ceiling below another story of your house, you can still remove the housing, but it's a bit more difficult. After disconnecting the wires and pushing the circuit wires out of the electrical box, use a reciprocating saw to cut the fasteners holding the housing in place. Since the installer didn't have attic access either, the housing is probably attached with screws or nails through the sides, but, as HomeInspectorSecrets.com advises, you may have to use a reciprocating saw to cut them.
Once the housing is loose, push it up into the joist cavity far enough to allow you to reach the vent hose or pipe and pull it off the housing outlet. Once it's free, lower the housing down and remove it. If you aren't going to install a new fan immediately, cap the electric wires so you can safely turn the circuit breaker back on.