Bathroom Vent Fan Replacement: A Homeowner's Starter Guide
We may receive a commission on purchases made from links.
Bathroom ventilation is so important that every building code requires either a bathroom vent fan or a window that you can open, and some codes require both. If moisture is allowed to build up in an unvented bathroom, it can damage the walls and cabinets and promote the growth of unhealthy mold and mildew. An unvented bathroom also tends to be odorous, so if your fan isn't working, replacement is in order and sooner rather than later.
You might think you need to hire an electrician or HVAC professional to do the replacement, but actually, it's a DIY job for anyone who has basic electrical skills and general handyman skills. In most cases, you won't even have to go in the attic, although the task is easier if you do have attic access. Before you go out and purchase a new fan, there are a few important things to consider.
Determining Bathroom Vent Fan Size
Determining Bathroom Vent Fan Size
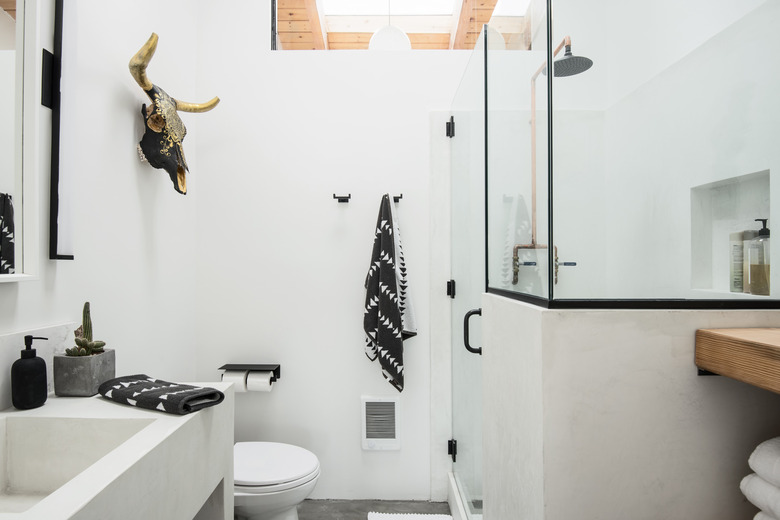
Installing an undersized bathroom vent fan isn't worth the effort because it won't have enough capacity to do its job and will just waste electricity. Fan capacity is measured by the number of cubic feet per minute (cfm) it can exchange, and the rule of thumb is that the bathroom vent fan capacity should be 1 cfm for every square foot of floor space up to 100 square feet. The minimum fan capacity that codes allow is 50 cfm. You can purchase a vent by room size at The Home Depot.
If the bathroom is larger than 100 square feet, add the cfm requirements for each fixture, as listed on the Home Ventilating Institute website:
- Toilet: 50 cfm
- Shower: 50 cfm
- Bathtub: 50 cfm
- Jetted tub: 100cfm
Remember that it's always better to choose a more powerful replacement bathroom exhaust fan than you actually need to be assured of adequate air exchange.
 Stephen Paul for Hunker
Determine What Bathroom Vent Noise Level You Want
Determine What Bathroom Vent Noise Level You Want
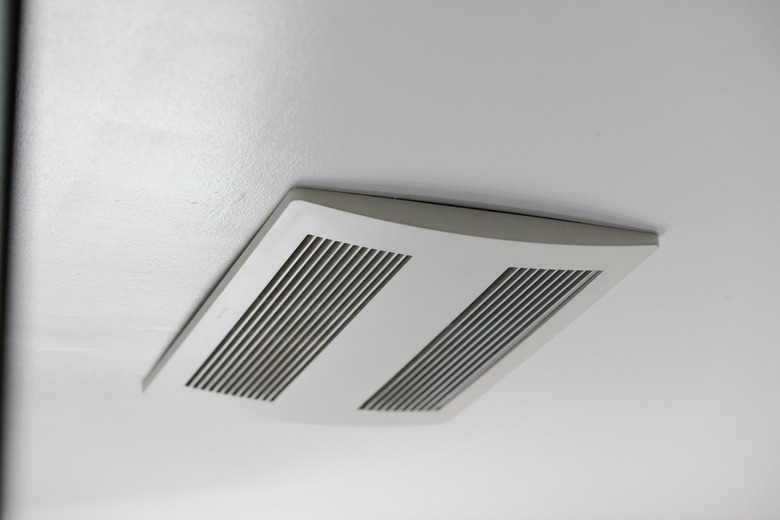
The amount of noise a bathroom vent fan motor makes when it's running is measured in sones, and when you're looking for a new fan, you'll see the noise level displayed on the box right next to the fan capacity.
The noise level in a typical office is about 3.0 sones, that of a refrigerator about 1 sone and that of rustling leaves about 0.5 sone. A quiet bathroom fan can have a noise level of less than 1 sone, but if you need a large fan, it probably won't be as quiet as this. The noise level from a powerful bath fan can be as much as 4.0 sones.
When You Need an Electrician
When You Need an Electrician
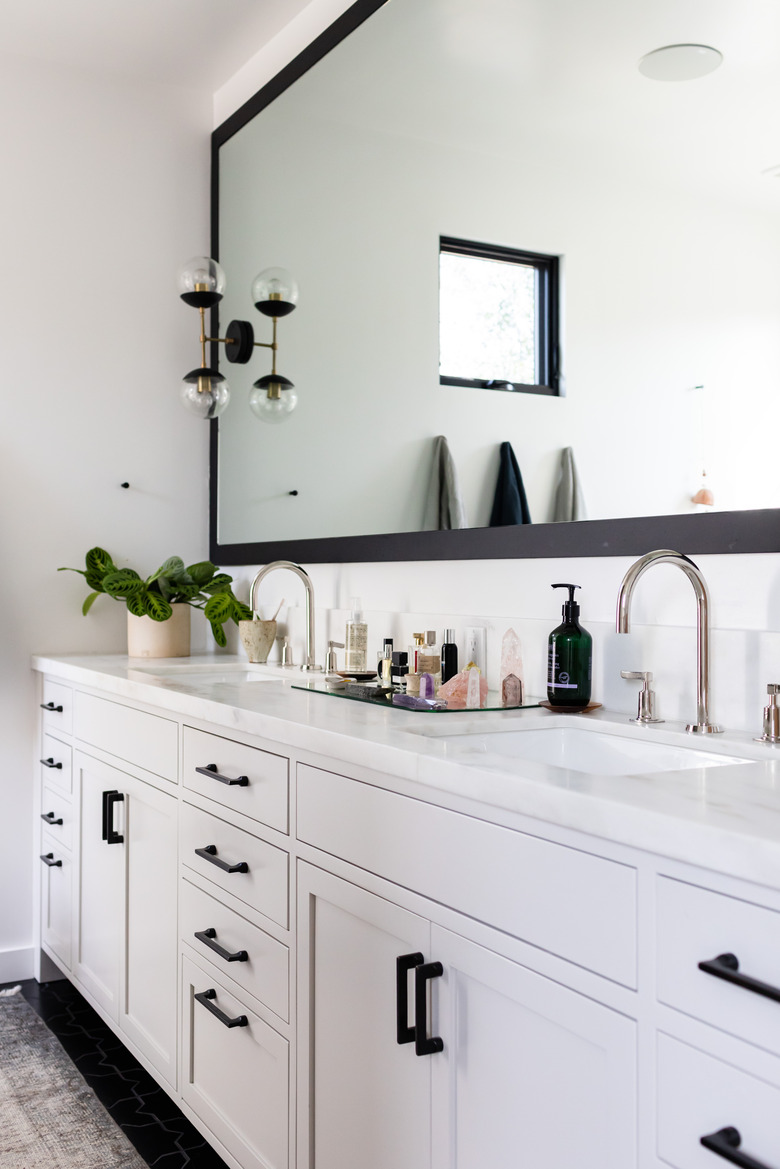
Your old fan may be sharing a circuit with the bathroom light fixture, and if you want to replace it with a new fan that includes extra features such as a light, heater or Bluetooth accessories, the local code might require you to put it on a dedicated circuit. This may ultimately force the installation of a new 20-amp electrical circuit in the bathroom, and because it involves both electrical and building code issues, you'll need a permit to do it legally. When you need a permit, it's a good idea to hire an electrician or HVAC contractor to do the work.
Fan Housing Replacement May Not Be Necessary
Fan Housing Replacement May Not Be Necessary
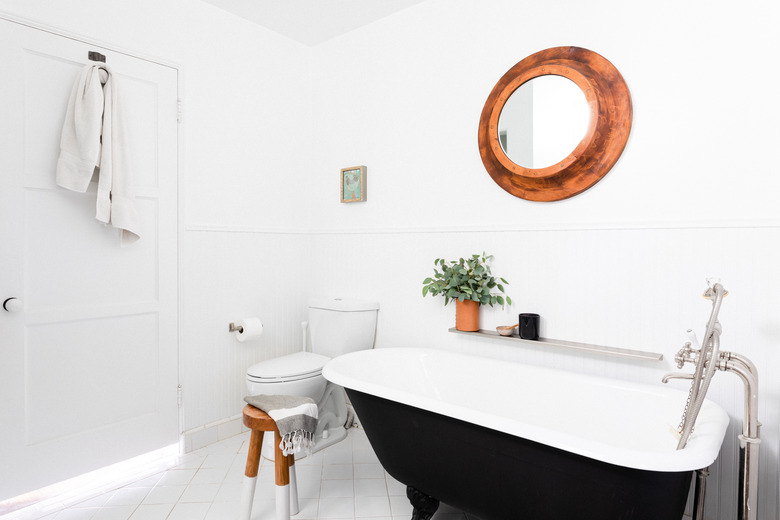
If your existing fan isn't working and you just want to replace it with a more-or-less identical one, you can buy a fan that fits into your existing housing. The procedure for replacing a fan is very easy and involves these steps:
Warning
Turn off the breaker to the bathroom vent before you begin working on the project.
- Remove the grille from the fan housing by grasping it on both sides and pulling. It will come right off.
- Unplug the fan from the receptacle inside the fan housing.
- Note that the fan is mounted on a steel plate. You'll see a latch on one side holding it in place. Push this latch in and pull the plate past it and toward yourself. Once it is free, the plate should come out of the housing. The plate may be held by one or two screws as well, which you can remove with a screwdriver.
- Install the new fan by reversing this procedure. Plug in the fan, replace the grille, turn on the power and make sure the new bathroom exhaust fan works.
Before going to the trouble of replacing the fan, test the fan receptacle by unplugging the fan and plugging in a working appliance. If it doesn't switch on, you need to focus your repair efforts on the electrical circuit, not the fan.
 Stephen Paul for Hunker
How to Replace a Bathroom Vent Fan
How to Replace a Bathroom Vent Fan
If you purchase a new fan that isn't compatible with the existing one, you'll also have to change the housing. You can use the installation procedure described by Broan, a leading fan manufacturer, for most brands, but first, you have to remove the existing housing. This is easiest to do if you have attic access, but you can also do it from inside the bathroom.
1. Remove the Existing Fan From the Housing
Remove the grille from the fan housing, unplug the fan and unhook the plate to which the fan is attached from the housing. Once the plate is free, you can pull it and the fan out of the housing.
2. Disconnect the Electricity
Turn off the circuit breaker and test the plug to make sure it's dead. Open the electrical cover (you may have to pry it off) and disconnect the electrical wires.
3. Remove the Housing
If you have attic access, remove the screws or nails holding the housing to the rafters using a screwdriver or pry bar. If you're working from the bathroom, these fasteners are out of reach, and you may have to cut through and remove parts of the housing using a reciprocating saw with a metal-cutting blade to get to them.
Loosen or cut the clamp holding the ductwork to the housing, remove the duct and then pull out the electric wires. If you're working from the bathroom, you'll first have to lower the housing through the hole in the ceiling before you can do this.
4. Adjust the Hole Dimensions
Measure the dimensions of the new fan housing, transfer those measurements to the ceiling drywall and widen the hole as necessary using a drywall saw.
5. Prepare the New Housing
Attach the duct pipe to the outlet on the housing and secure it with a cable tie or an adjustable metal clamp. Use a 3 x 4-inch reducing fitting if the duct and outlet are different diameters. Screw a cable clamp, which usually isn't provided, into the hole in the housing for the electrical wire and then feed the wire through and tighten the clamp to prevent it from moving.
 Stephen Paul for Hunker
6. Fasten the Housing to the Rafters
If you're in the attic, you can drive screws through the predrilled holes in the housing brackets to secure the housing to the rafters. If you're in the bathroom, you won't have access to these holes, so after pushing the housing up through the hole in the ceiling, drill two holes on each of the rafter sides of the housing itself and drive screws through these holes into the rafters.
7. Hook Up the Electricity
Splice the receptacle wires in the fan to the circuit wires by twisting them together with pliers and screwing on wire nuts. Connect the black wires together, then the white ones and finally the ground wires, which may be green or bare. Cover the wire connections with the sheath provided with the unit.
8. Install the Fan
Align the fan with the plug on the same side as the receptacle in the housing, fit the fan plate into the housing and latch it into place. Plug the fan into the receptacle, install the grille, turn on the power and give the fan a test run.
References
- Home Ventilating Institute: Bathroom Exhaust Fans – A Consumer Guide
- YouTube: The Home Improvement Channel – Replace Your Bathroom Fan in 5 Minutes Flat! No Attic Access!
- YouTube: AdamDIY – How to Replace or Repair a Bathroom Fan
- Broan: Model QT130E Ventilation Fan
- Home Inspector Secrets: How To Replace a Bathroom Exhaust Fan Without Attic Access (First Floor?)