How To Remove A Nutone Bathroom Vent
We may receive a commission on purchases made from links.
That creaking sound in your ceiling might be a sign that it's time to replace that old Nutone bathroom vent. Nutone makes a number of different bathroom exhaust fans; some are simply vents, while others may have such features as lights and heat lamps. No matter which Nutone bathroom vent you may have, the removal procedure is more or less the same.
As with any other DIY project, exercise caution while working. Wear eye protection and work gloves, and because this project involves electrical wiring, find out whether you need a permit by reaching out to your local electrical inspector before getting started. If you encounter unanticipated problems or don't feel comfortable proceeding at any stage of the project, stop what you're doing and contact a licensed electrician.
1. Shut Off Power to Vent
Locate the circuit breaker that controls the power for the Nutone bath vent and change it to the "off" setting. In most homes, this will be in the main circuit breaker panel. The bath vent may be on the same circuit as the lights for the bathroom.
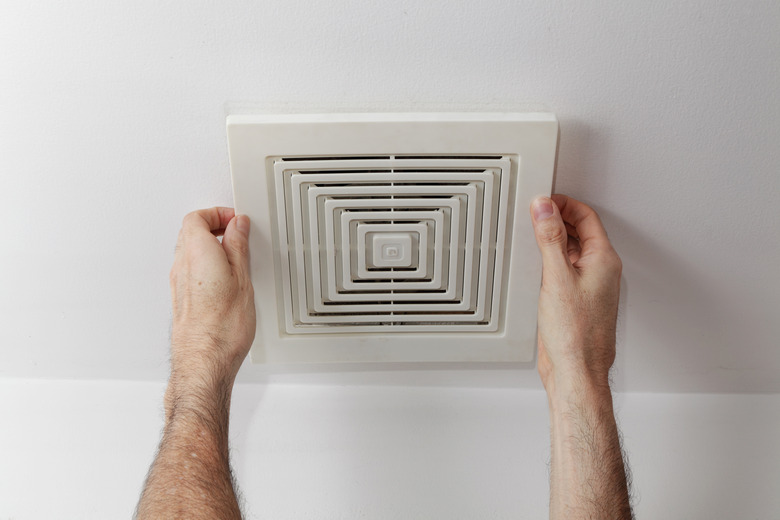
2. Remove the Cover
Remove the cover from the Nutone fan by grasping the sides of the fan cover and pulling it straight down to expose the cover clips. Press the clips with your fingers to squeeze them together and pull the cover all the way off the fan.
3. Pull Blower Plug From Housing
Press the sides of the housing where the tabs for the blower assembly are connected. Pull the blower assembly and housing down, but not all the way, as the assembly will still be plugged into the housing. Lower the blower assembly until you can see the cord from the assembly leading into the housing plug. Pull the blower plug out of the housing.
4. Test Wires With a Voltometer
Slip the junction box out of the housing by pressing the tabs on the sides or unscrewing the cover, depending on which Nutone model you have. Unscrew the nuts connecting the white and black wires. Test the wires with a voltometer to make sure that the electricity has been cut correctly. The display should read "0" if it has.
5. Disconnect Wires From Nutone Assembly
Remove any electrical tape holding the white and black wires together and pull them apart, cutting them with a utility knife, if needed. Unscrew the copper wire from the green terminal screw. Push the house wire out of the electrical panel so that it is free from the Nutone assembly.
6. Remove Housing Screws or Nails
Remove any screws or nails that secure the Nutone housing to the ceiling joists. You can unscrew the screws using a screwdriver or power drill with a screwdriver drill bit. Nails can be pried out with by using a hammer or pry bar.
7. Pull Fan From Ceiling Space
Pull the Nutone fan unit out of the ceiling space. Slide it away from the duct connection in order to pull it out of the venting. Cut away any cut tape connecting it to the vent work before removing it completely.