Popular IKEA Shelf Was Easily Hacked Using This Super Genius Material

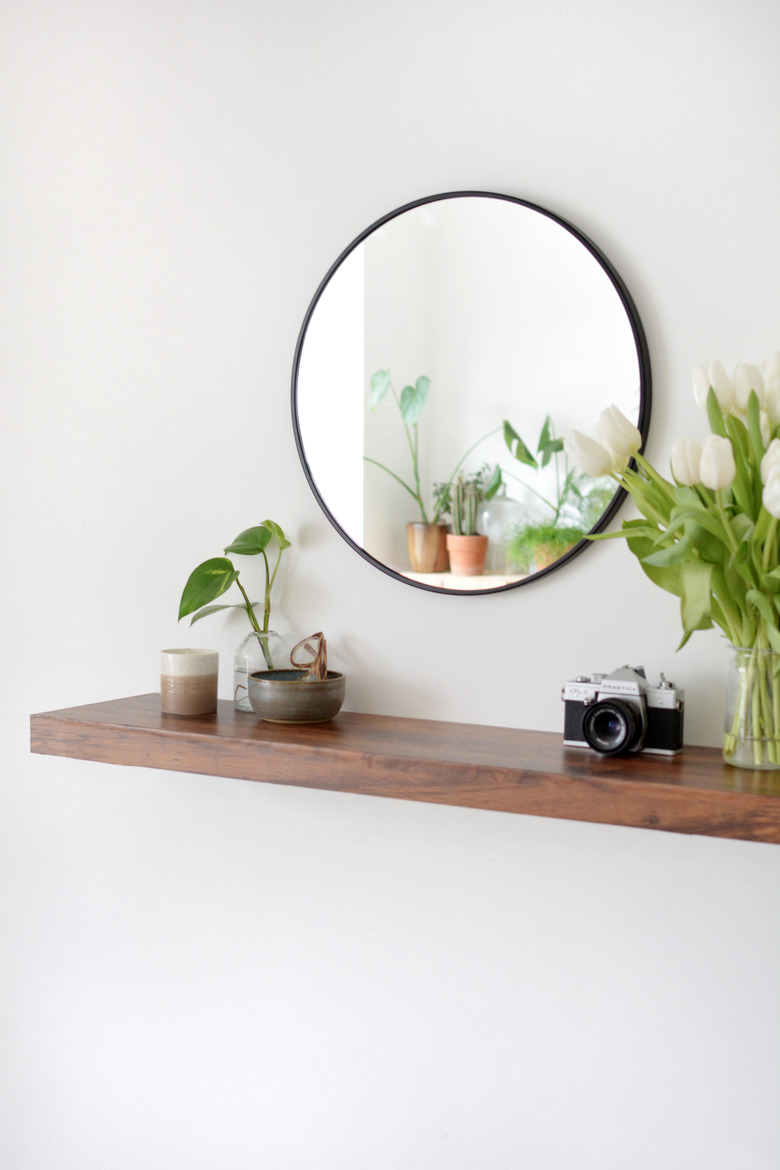
Entryway decoration is the first thing people notice when entering your home, so it's important to get it right. A functional entryway space provides you with storage for keys and mail, but it's also the visual focus when you enter a home. We loved the idea of a having a chunky wooden entryway shelf where we could place vases, catch-all trays and dishes, and other decorative accessories. You're probably familiar with the Lack shelf (we've all owned one at some point, right?) Well, we've taken this basic floating shelf and given it a chic makeover with a simple roll of contact paper!
 Caroline Burke
Things Needed
-
Craft knife
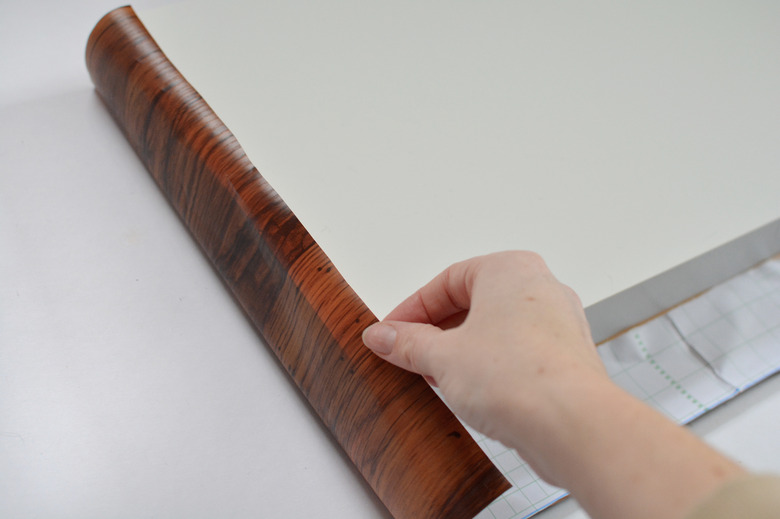
Step 1
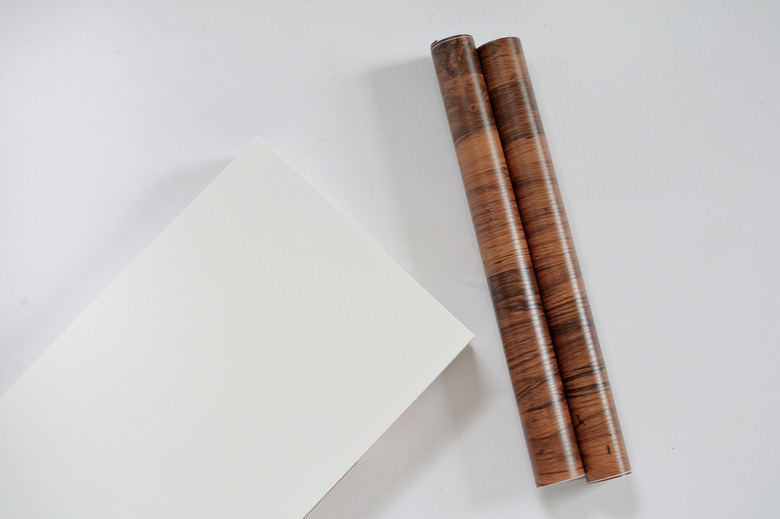
Unwrap your roll of contact paper.
 Caroline Burke
Roll it out and place your shelf on top.
 Caroline Burke
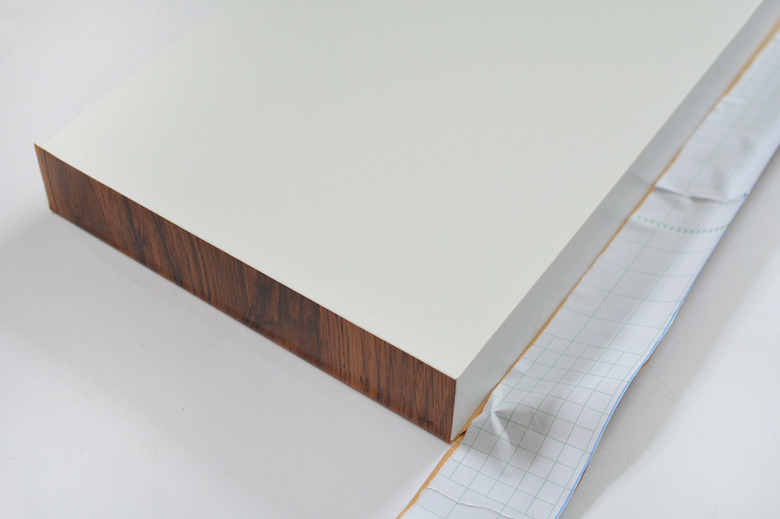
Step 2
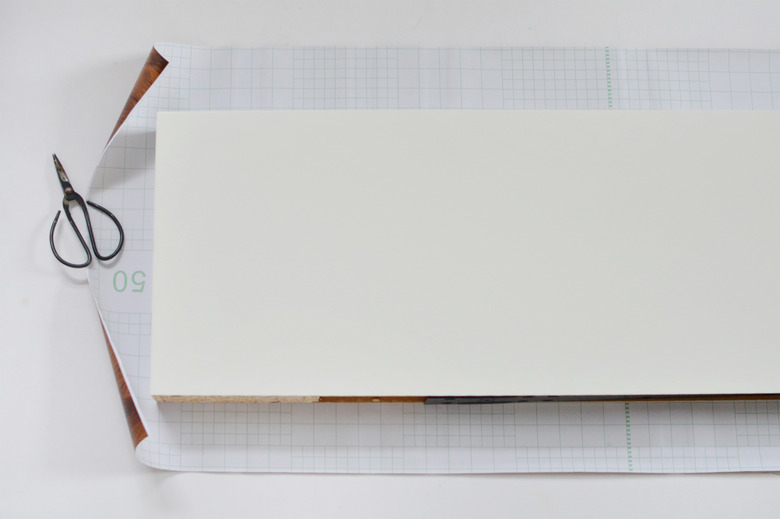
Slide the back of the Lack shelf against the longest edge of the contact paper. (You don't want to cover the back of the shelf because this is where the fixtures and wall fittings are.)
 Caroline Burke
Step 3
Draw all around the shelf using a pen. Be sure to leave enough excess paper to wrap up and around the sides of the shelf.
 Caroline Burke
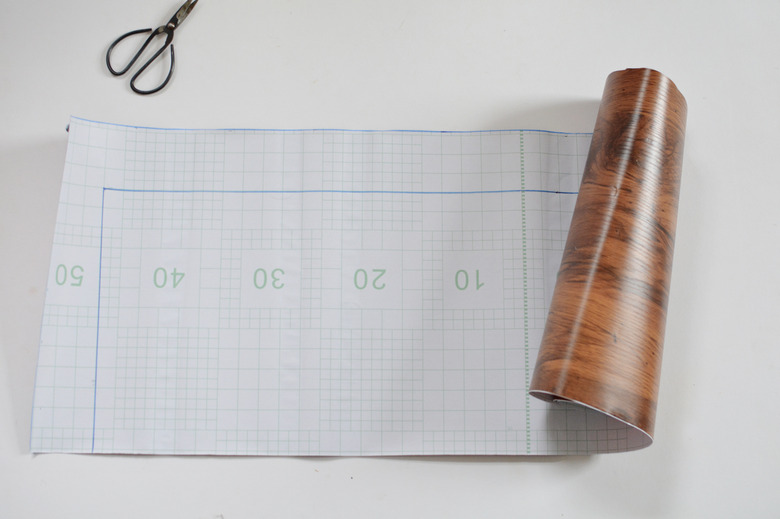
Step 4
Once you've marked out the shelf onto the contact paper, draw another border 2 1/2 inches wide all around it. (The sides of the Lack shelf measure 2 inches deep, so this will leave plenty of contact paper to wrap around.) Trim off any excess paper using scissors or a craft knife.
 Caroline Burke
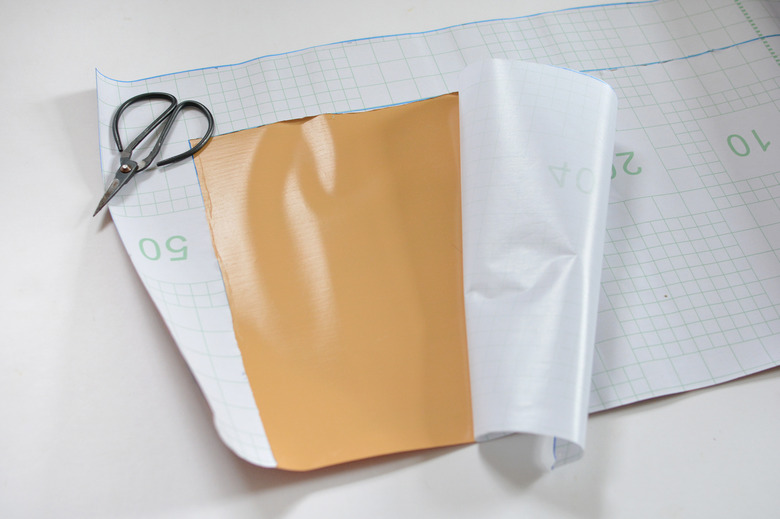
Step 5
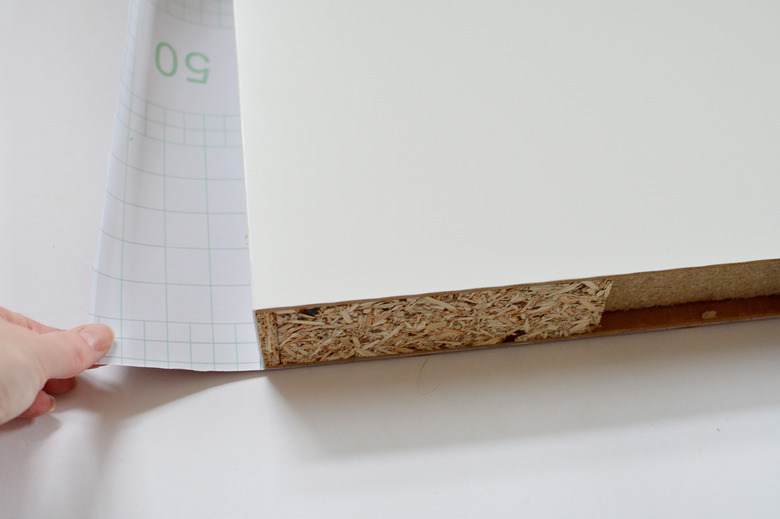
Peel the back of the contact paper off where you marked out the body of the shelf.
 Caroline Burke
Step 6
Place the sticky side onto the top of your shelf. Work from one corner, smoothing out any air bubbles as you apply it. Sometimes it helps to use the edge of a credit card to smooth out the air bubbles.
 Caroline Burke
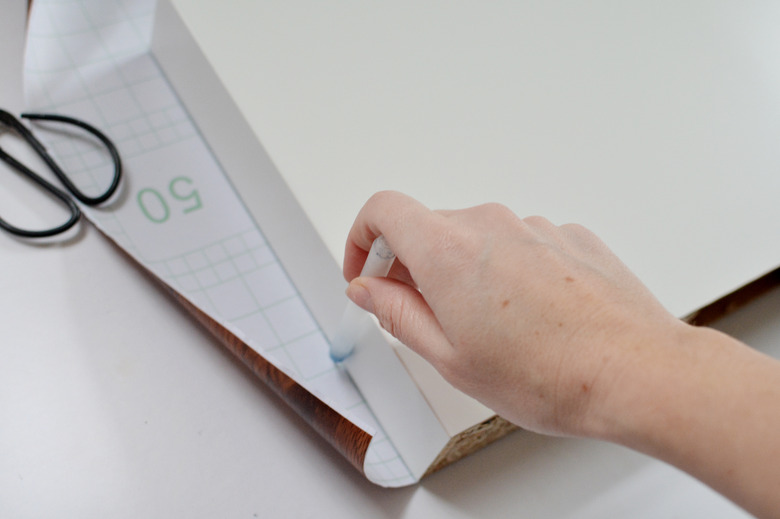
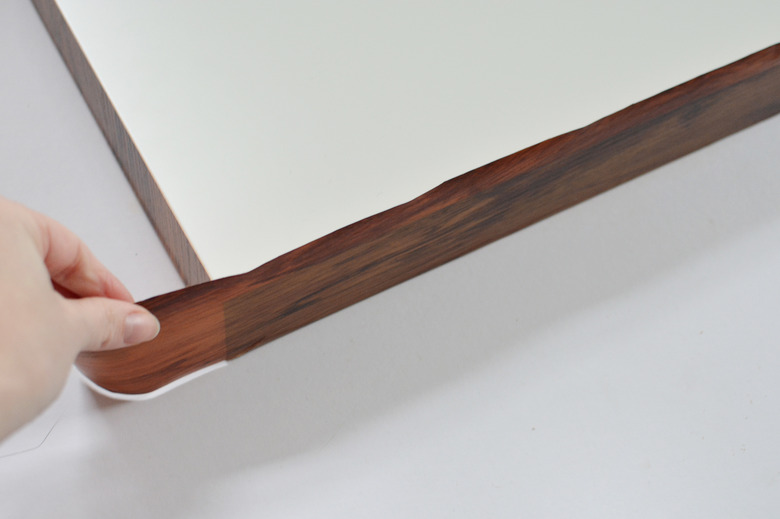
Step 7
Flip the shelf over and remove the paper backing from the contact paper along one side. Smooth the paper into place.
 Caroline Burke
Step 8
Use a craft knife to trim off the excess to create a nice clean edge.
 Caroline Burke
Step 9
Remove the backing along the remaining sides, smooth the contact paper down, and trim off the excess.
 Caroline Burke
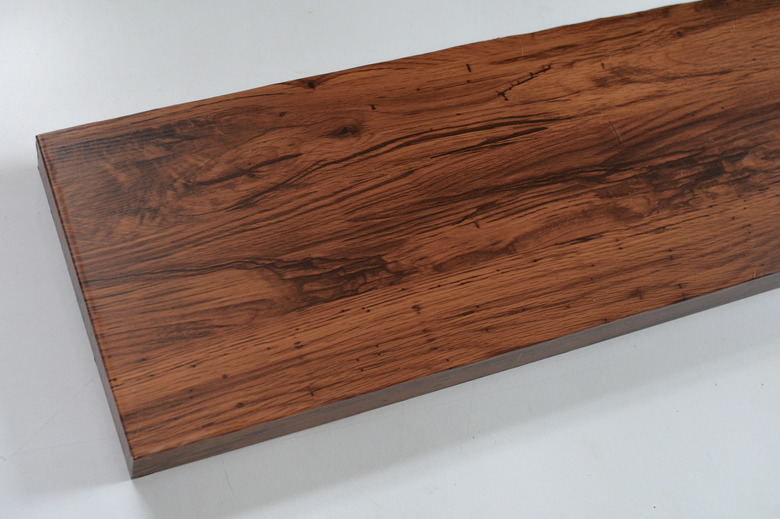
The top and sides of the shelf are now completely covered.
 Caroline Burke
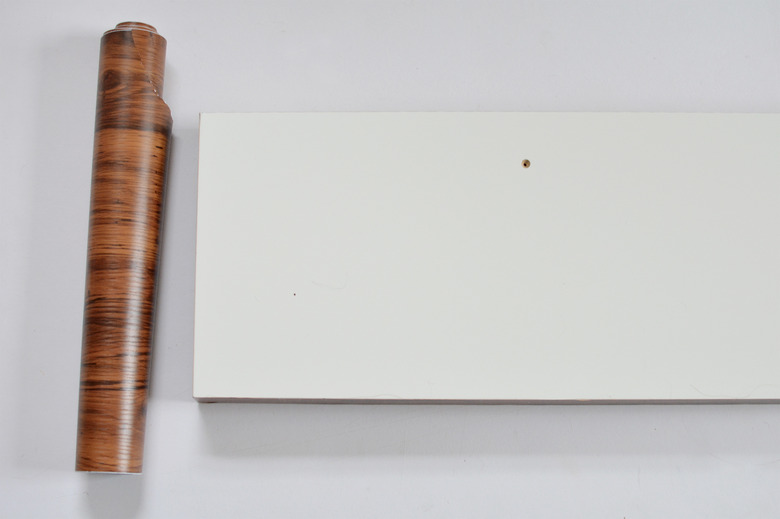
Step 10
Cover the bottom of the shelf with contact paper and trim the edges. The are two pre-cut screw holes in the underside of the shelf that are used to secure the shelf to the wall fixture — just cut around them with a knife so they're not hidden when you're fixing the shelf to the wall later.
 Caroline Burke
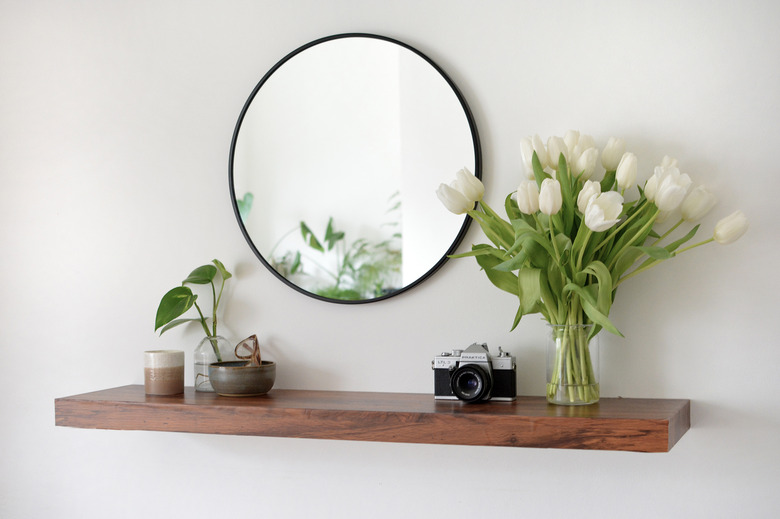
Once fully covered you can mount your wall shelf to finish! (Follow the instructions that come with the Lack shelf from IKEA.)
 Caroline Burke