Honestly, Could This Painted IKEA Stool Be Any Cuter?
We may receive a commission on purchases made from links.
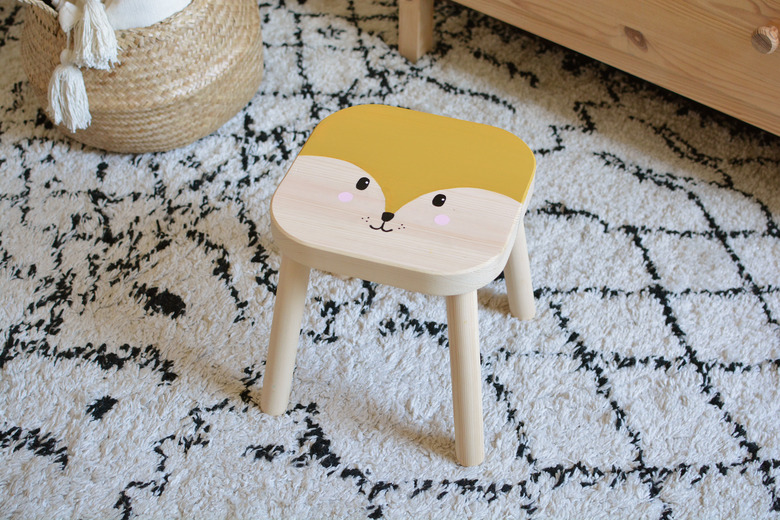
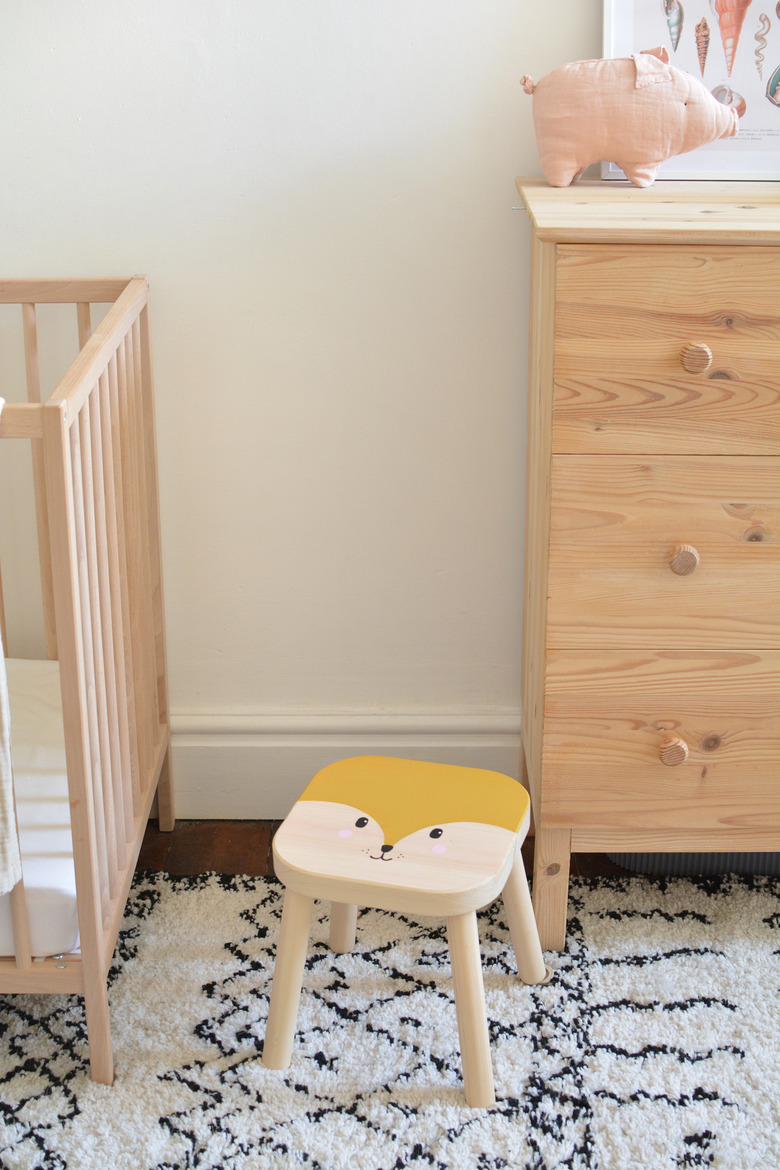
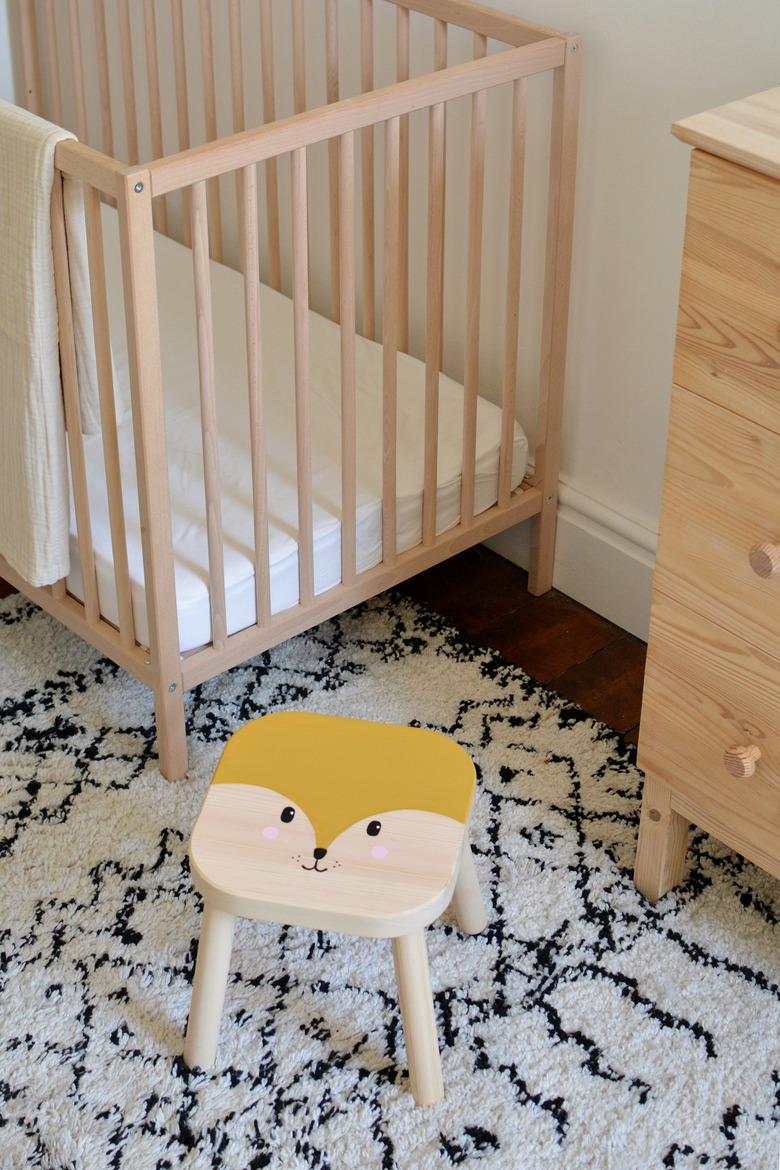
We love a good IKEA hack for our living rooms and kitchens. But, it's time to move over, adults: We're taking on child-friendly makeovers with extra cute points. If you want to create an engaging and creative space for your child, simple projects like this DIY stool can transform a nursery or bedroom at very little cost. In a few hours, we turned a basic Flisat stool into an adorable hand-painted animal that your kids are guaranteed to love. (Also, check out how we hacked the popular IKEA Kura bed for your little one, too!)
 Caroline Burke
Things Needed
-
Chalk paint (we used mustard yellow, black, and pale pink)
-
Paintbrush
-
Small plate or round bowl
Step 1
Assemble the Flisat stool.
 Caroline Burke
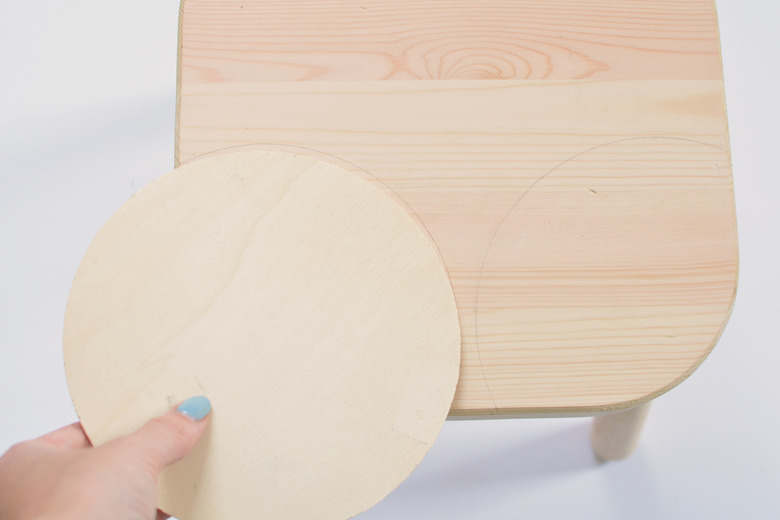
Step 2
Find a small side plate, bowl, or round object to use as a template. You'll be using it to draw two arcs that cover roughly half of the seat, so play around until you find something that's a good fit.
 Caroline Burke
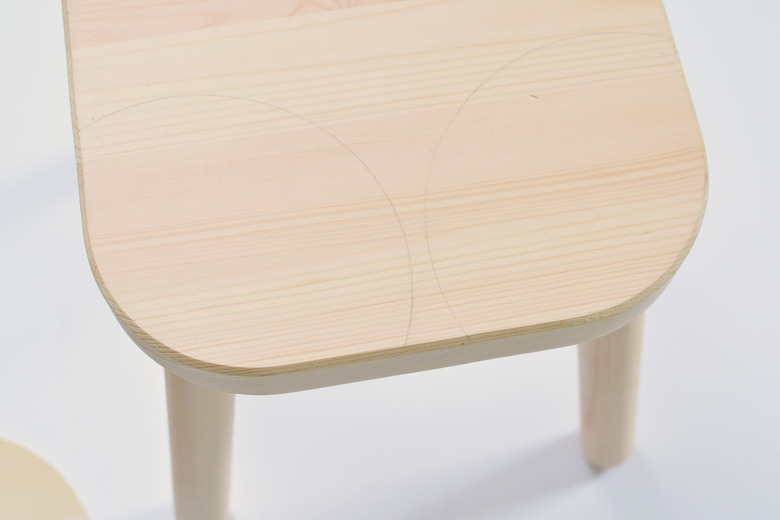
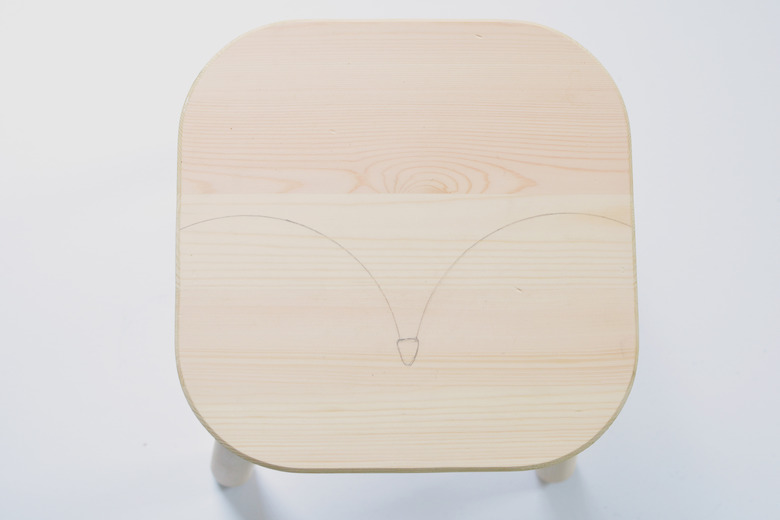
Step 3
Use a pencil to draw around the template to create two arcs on the seat — this is the basic shape for our fox face.
 Caroline Burke
Step 4
Take a pencil and draw a simple nose shape halfway up between the two arcs. Use an eraser to remove the pencil lines below the nose.
 Caroline Burke
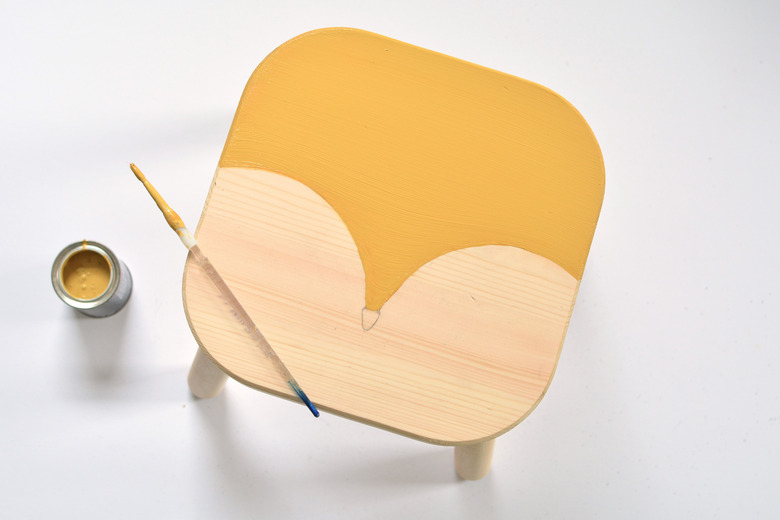
Step 5
Paint the top half of the seat with chalk paint. We've used a warm mustard chalk paint shade for our fox face. Depending on your paint, one to two coats will be enough.
 Caroline Burke
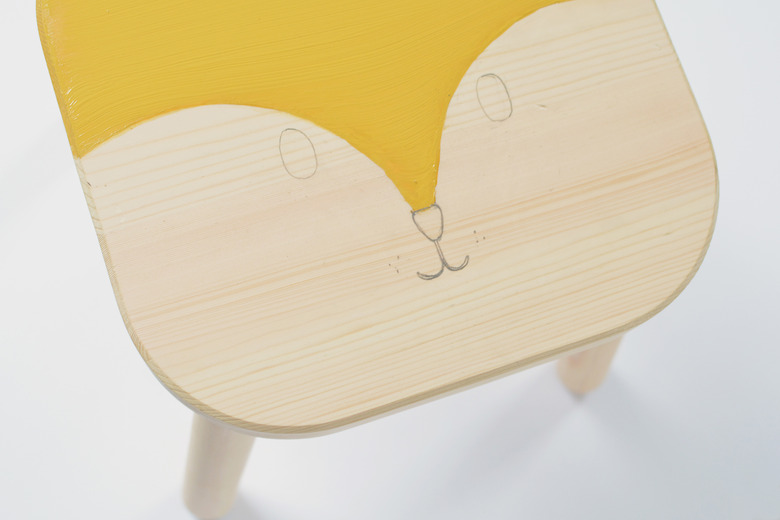
Step 6
Once dry, take a pencil and draw some eyes and a simple mouth shape onto the seat.
 Caroline Burke
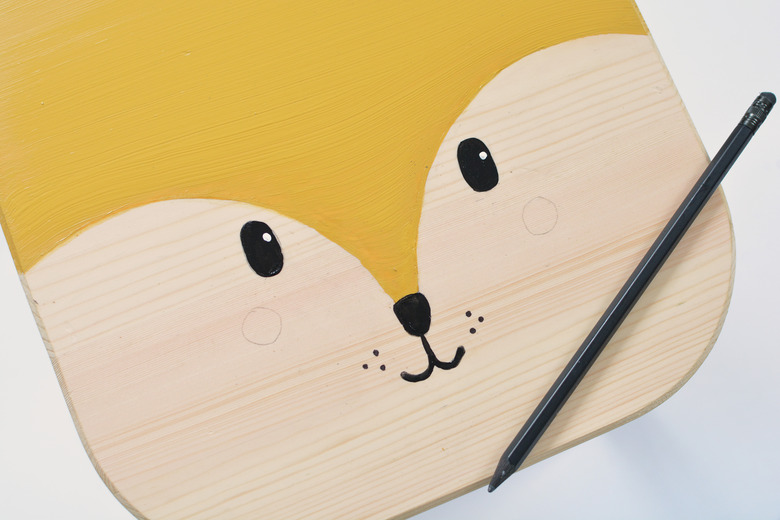
Step 7
Paint the eyes, nose, and mouth black — you can add some dots around the mouth for whiskers, too. Take a pencil and draw some circles on either side of the face to create some little cheeks.
 Caroline Burke
Step 8
Paint the cheek circles pale pink to finish the face. Seal the seat with some furniture wax to protect it before use.
 Caroline Burke
 Caroline Burke