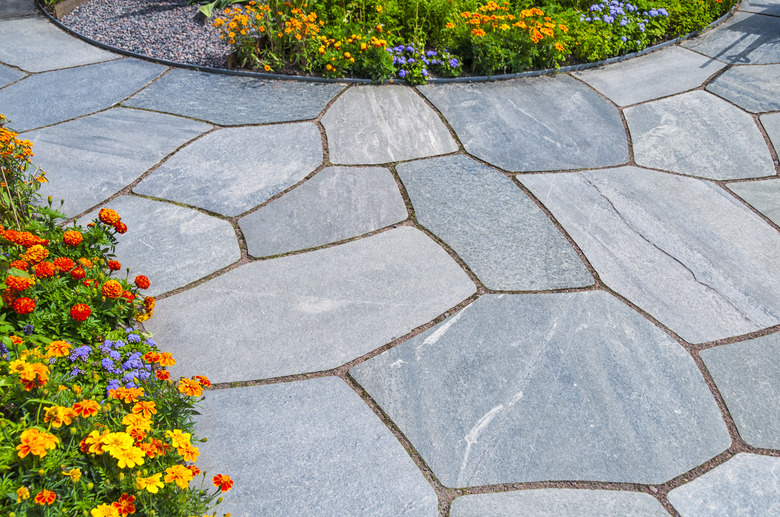
How To Install Pavers On Unlevel Ground
We may receive a commission on purchases made from links.
If all ground were level, a lot of construction would be easier. Unfortunately, the earth is not flat, so yard pavers must sometimes be installed on uneven areas. There are design techniques to cope with these situations. All pavers — brick, concrete or stone — must be laid on a firm base of gravel and sand or, in extreme conditions, concrete.
Things Needed
-
Shovel or rented excavator
Installing Paver Stepping Stones
1. Assess the Terrain
Assess the ground by using a long board and a level to determine slopes and valleys. Draw a diagram showing major changes in the area where you will work.
2. Design the Path
Design the path around major obstacles, like big rocks or deep drops. A curving path may have more visual appeal.
3. Accommodate Any Slopes
Build path on unlevel ground by accommodating to the terrain. Incorporate slight slopes — some drop will help drainage. Lay pavers or flagstones as individual stepping stones down a slope. Tamp firmly under the pavers to provide a solid base.
4. Install Steps on Steeper Slopes
Use steps or terraces on steeper slopes. Build the steps 30 to 36 inches wide, 11 to 12 inches deep and between 7 and 9 1/2 inches high. Make terrace steps on lesser pitches, with long gentle slopes leading to short steps.
5. Add the Pavers
Secure step edges by turning pavers sideways or on end and embedding them into the soil to ensure they are solid enough to walk on safely. Fill the space behind the paver edging by tamping, then layering landscape fabric, coarse gravel, then sand. Tamp each layer firmly before installing the paver steps.
Installing a Patio on Uneven Ground
1. Assess the Ground
Assess the terrain for a patio. Find out if humps hide boulders or other solid elements. Check dips and valleys to see if they result from a leaky drainage pipe or are natural drainage depressions. Remove boulders, move the patio away from them or incorporate them into the patio, depending on size and other conditions.
2. Fix Underlying Issues
Replace any leaky drain pipes. Divert natural drainage to other areas — the water must be eliminated, so it does not flow over or under the patio surface. Use a shovel to make swales, gentle depressions in a yard, to change the drainage pattern.
3. Consider Retaining Walls
Level a patio on a slope by using retaining walls on one or two sides. If the slope is extreme, consider adding a retaining wall on the down side, made from paver bricks or blocks, and another on the opposite side. If the pitch is moderate, a single wall may suffice, with one side level with the ground.
4. Excavate the Area
Excavate the paver area with a shovel or rent an excavator and level it. Dig 6 inches deep for walks, patios and other paving that will not bear heavy weights. Dig at least 8 inches for driveways, and deeper for any that will handle big boats or other heavy vehicles.
5. Install Landscape Fabric
Put down a layer of landscape fabric before adding the gravel base. Always outline walkways and patios with metal, plastic or concrete curbs to prevent pavers from shifting.
6. Add Base Gravel and Sand
Lay gravel first, 2 inches for walks and patios, and compact it firmly. Use medium gravel, 1/2 to 3/4 inch. Start with larger gravel for driveways, then add a smaller course. Finish the base with at least 2 inches of medium sand; do not use coarse construction sand or fine mason sand.
7. Install the Pavers
Smooth the sand base by moving a 2-by-4-inch board across it, jiggling it side to side to set the sand firmly. Lay bricks or blocks in any desired pattern, alternating seams and gaps, or set flagstones to fit the outline of the patio. Use a level to make sure the surface is level. Tap pavers firmly into place with a rubber mallet.
8. Fill the Gaps
Finish any patio, walk or paved surface by sweeping sand into the gaps. For a stronger installation, use polymeric sand, which features a binder that seals joints after wetting.
