How To Repair A Chewed Power Cord
Things Needed
-
Wire cutters
-
Wire strippers
-
Utility knife
-
Heat shrink tubing
-
Soldering iron
-
Solder
-
Micro torch or heat gun
Tip
You can shrink the tubing using a mini torch, but be careful not to get too close to the tubing. This may char it and cause it to become brittle.
Thread the larger heat shrink tube first. You will shrink this tube last and it will provide the exterior insulation.
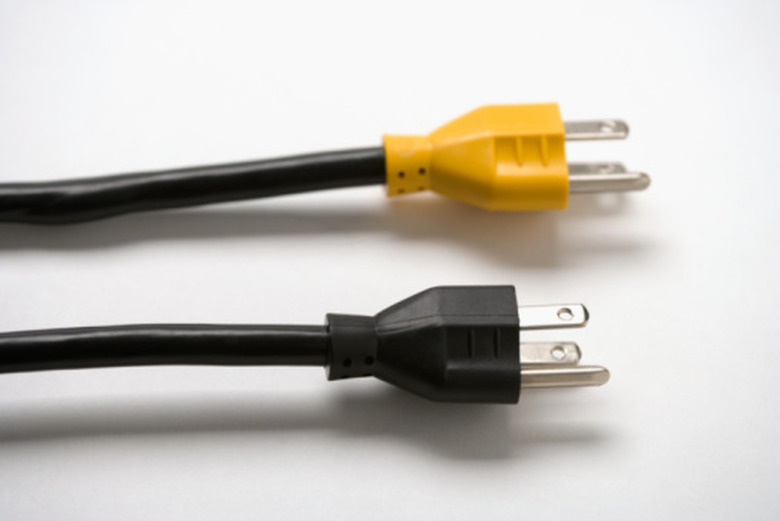
If you have household pets, chances are you have a few chewed power cords in need of repair. This common problem exists in many households. Repairing a chewed cord is not very difficult. It is always better to solder electrical wiring and insulate the repair properly to avoid fire hazards. The following technique will restore your damaged cords to like-new working condition quickly and easily.
Step 1
Unplug the cord from the power source if the attached device is in use.
Step 2
Remove the damaged portion of the cord using a pair of wire cutters.
Step 3
Strip the ends of the remaining cord to remove the protective insulation using wire strippers or a utility knife to remove the insulation.
Step 4
Slide heat shrink tubing over one of the sections to be reconnected. Use a separate heat shrink tube for each wire within the cord to ensure proper insulation after soldering. Use smaller heat shrink tubing for the interior wiring and a larger heat shrink tube for the cord exterior insulation.
Step 5
Reconnect the corresponding wires and solder them together using a soldering iron and solder. This is the best way to guarantee a good connection.
Step 6
Slide the heat shrink tubing over the individually repaired wires and apply heat using a heat gun. This will shrink the tubing, giving the newly soldered connection stability and insulation.
Step 7
Slide the largest heat shrink tube over the repaired section and apply heat to shrink the outer tube.