How To Replace An Extension Cord Plug
We may receive a commission on purchases made from links.
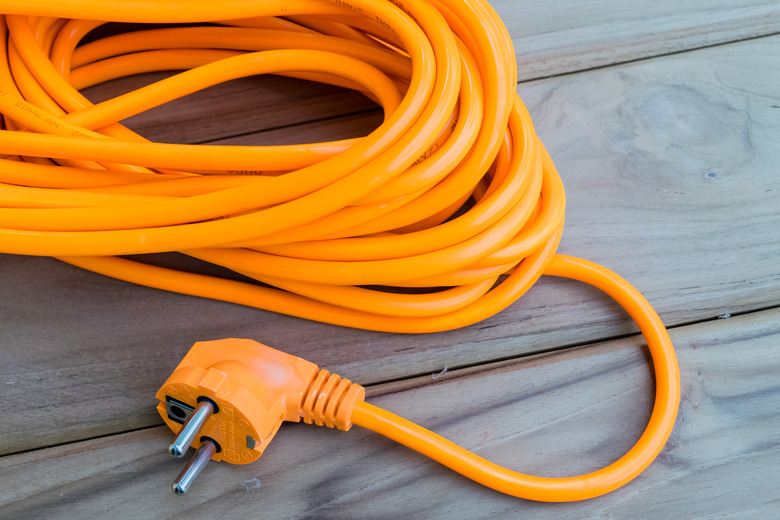
Long extension cords, especially outdoor ones, can be costly, and though they should work for years, the plugs often wear out before the cords do. Replacing the male or female plug on a cord is far less expensive than replacing the entire cord, and it's easy to do. The main thing to remember is to buy a plug designed for the wire gauge of the cord. You'll know if your plug is too small, because the wires won't fit on the terminals, and the casing won't fit around the cord sheathing. Don't try to make it fit. Just return the plug and get a larger one.
Warning
To avoid shock risk, always unplug the cord from any receptacles before starting any work, and ensure the cord is actually dead by using a multimeter to measure for any voltage.
Know the Wire Gauge You're Replacing
Know the Wire Gauge You're Replacing
Three-prong extension cords generally come in two wire gauges: 12 and 14. Twelve -gauge cords have larger-diameter wires and are suitable for heavier loads, such as operating power tools. A 14-gauge cord is suitable for indoor appliances and indoor or outdoor lights. You'll generally find the wire gauge marked on the cord sheathing or on the plug. Lightweight indoor cords may be 16-gauge, but these usually have two-prong polarized plugs instead of three-prong ones, which means they don't have a green ground wire.
Replace the Male or Female Plug
Replace the Male or Female Plug
You may be able to remove the old plug from your extension cord by loosening a screw, separating the casing and loosening the wires from the terminals using a screwdriver. That extra effort usually isn't necessary, though. Here's how to replace the male or female plug on an extension cord:
- Simply cut the wire an inch or two away from the plug, using wire snips. Even if you manually disconnect the wires from the terminals of the old plug, you'll want to cut the wires back to the sheathing anyway, so you can start fresh with fully intact insulation on all wires.
- Separate the casing of the new plug by loosening the screws. Push the cord through the hole in the bottom section until the end extends about two inches inside the casing.
- Strip the two inches of sheathing from the cable, using a utility knife.
- Next, pull the exposed wires apart and remove 1/2-inch of insulation from the end of each one using a wire stripper.
- Use pliers to make a clockwise hook on the end of each wire.
- You'll see three terminal screws. One is silver, one is brass and one is green. The white wire goes on the silver terminal, the black wire on the brass one and the green wire on the green one. Loosen each terminal screw, hook the wire around it and put the screw down tightly.
- When you're done, join the two halves of the plug casing and tighten the screws to hold it together.
Check Your Work
Check Your Work
After you've finished this simple repair, none of the wires that should be inside the sheathing should be exposed and visible at the base of the plug. If they are, remove the plug, cut a bit off the end of each wire and repeat the wiring procedure.