How To Acid Stain A Concrete Floor
We may receive a commission on purchases made from links.
If you're looking for a durable, high impact flooring option that won't totally break the bank, consider a do-it-yourself acid staining project. Muriatic acid, available in a variety of colors, penetrates concrete and reacts to the lime deposits, coloring the surface and giving a unique mottled, swirly finish.
No two acid-stained concrete floors will be the same! But everything can be done by even a novice DIYer. Depending on the amount of preparation your surface needs, you can get this unique, durable flooring option for as low as 60 cents per square foot, including all the tools needed to apply the finish. For a large area and a small budget, this is the perfect solution.
How to Acid Stain a Concrete Floor
1. Prepare Your Surface
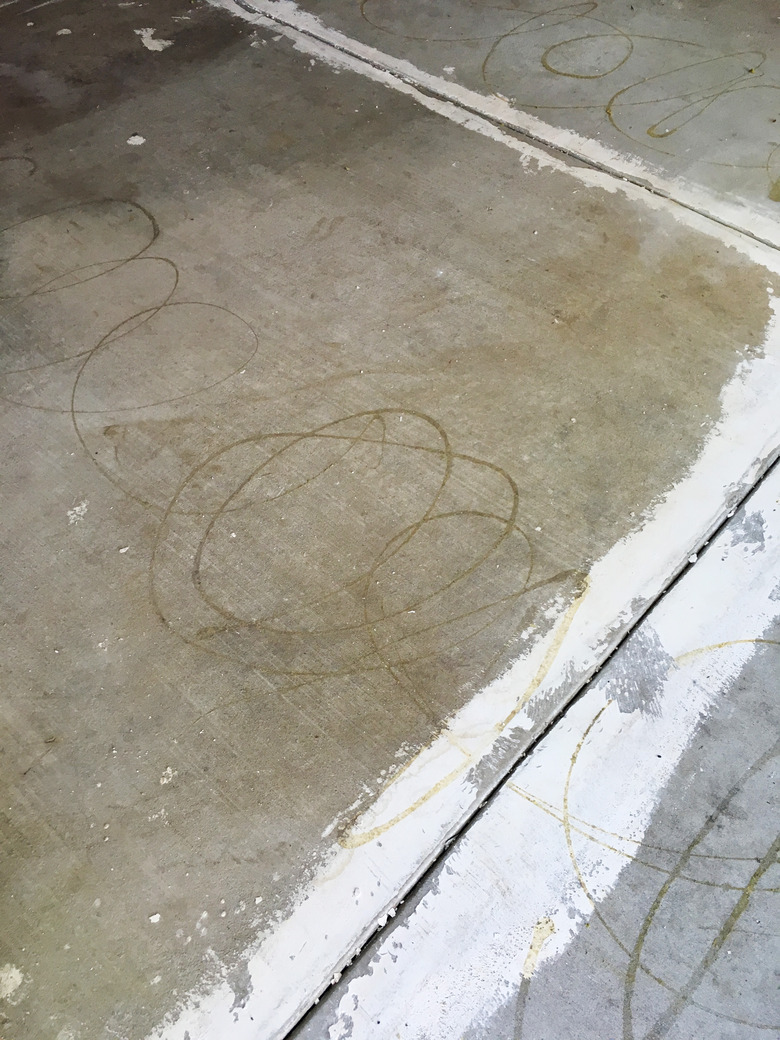
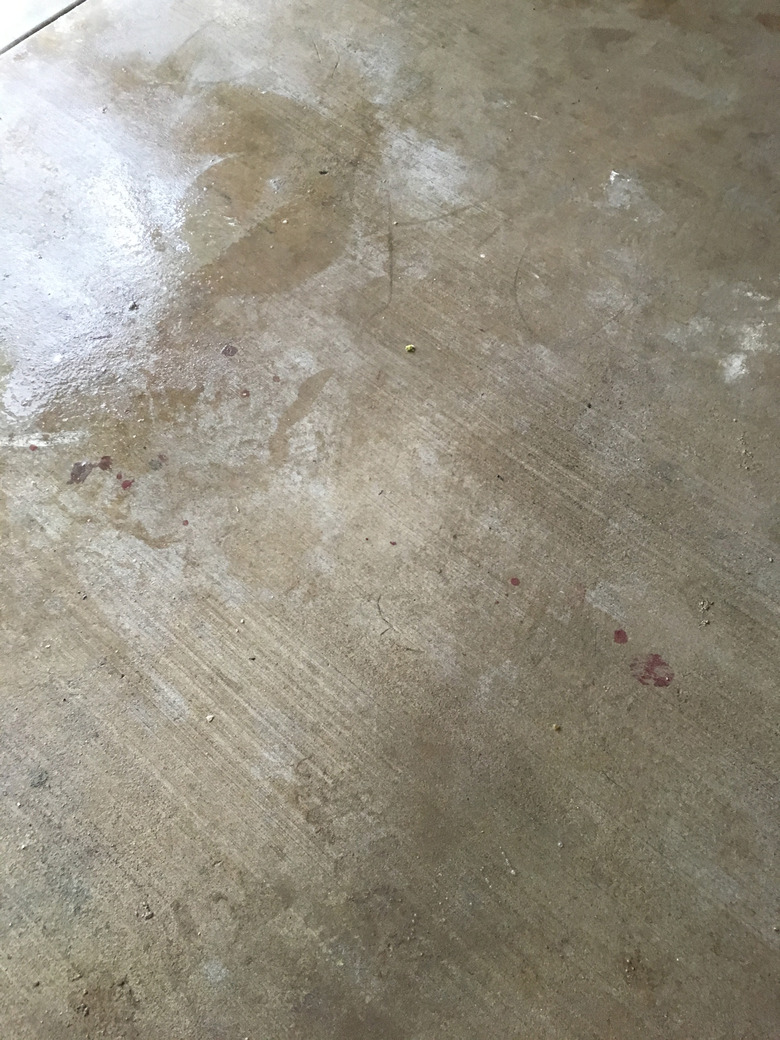
Your concrete should be free of any major cracks, chips, or stains — any impurities will show through the acid stain. Acid staining is semi-transparent, so paint drips and the like will show through.
Some of these impurities will give your floor added depth and dimension, and having them show through will only add to the look you're going for. Others, if they are too intense, it may distract from the look of the floor. An example of this would be carpet glue which is generally laid out in a swirly, unpredictable pattern and will be very obvious through your stain. There are appropriate steps to remove most impurities, so do some research and determine what may help you achieve the look you want.
Your floor may require grinding, filling divots with concrete crack filler, using acid cleaners, filling and leveling out tension breaks, sanding and scraping. But keep in mind your surface doesn't need to be perfect for this DIY.
 Machelle Vanderhoeven
2. Clean the Concrete
 Machelle Vanderhoeven
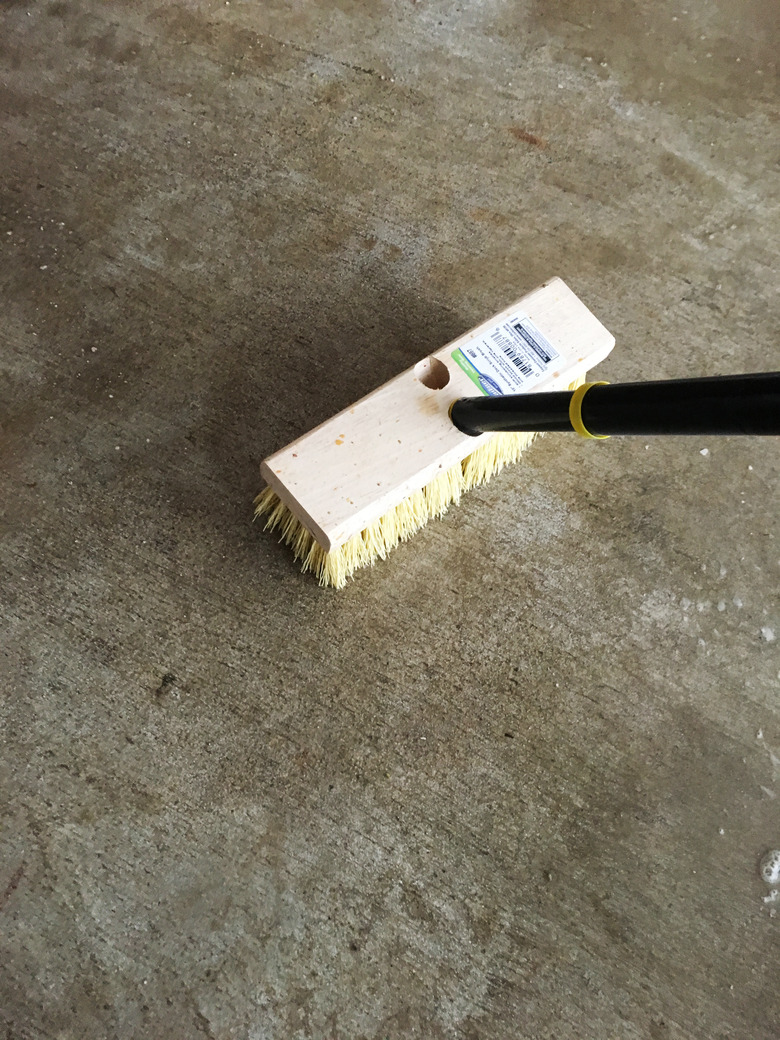
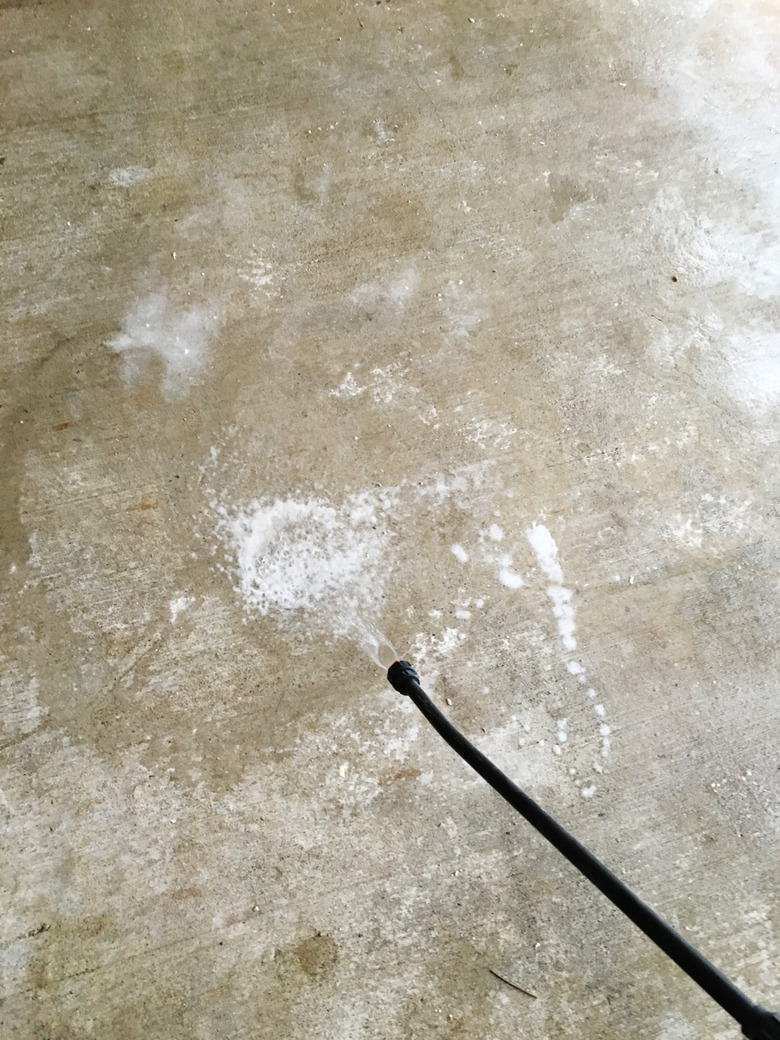
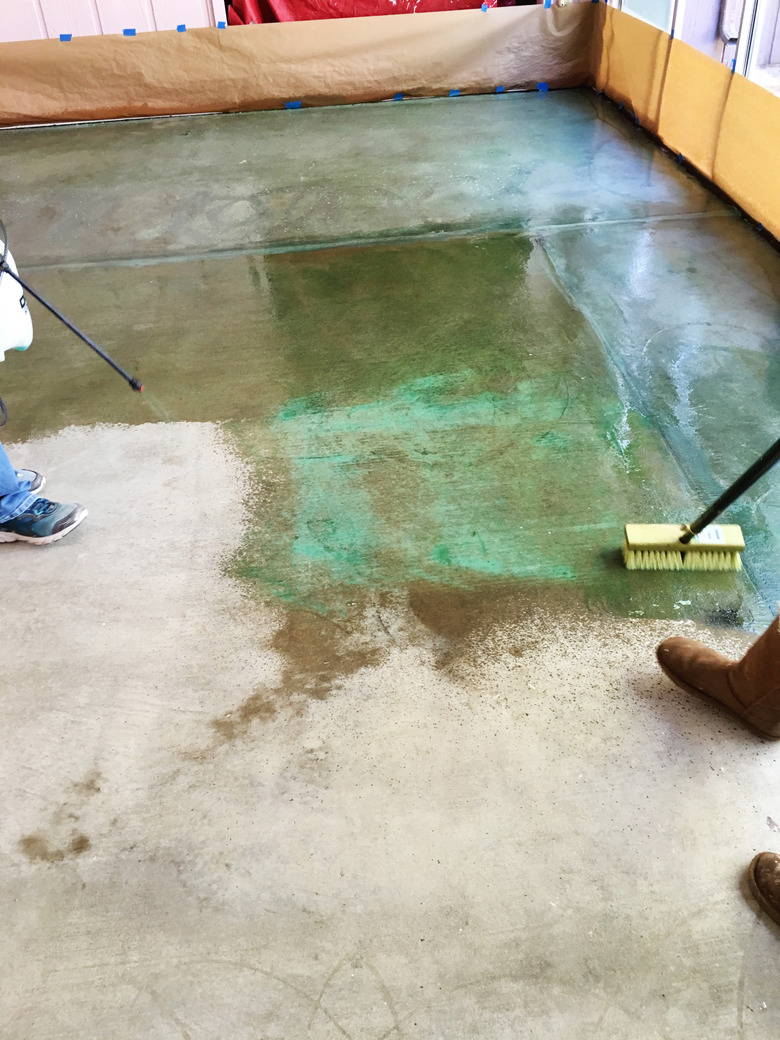
No matter the brand of stain you use, your concrete needs to be pristine before the application. Using a pressure washer here is very effective but not necessary. Simply going over your surface with the plastic pump spray filled with water and then scrubbing it with a push broom, rinsing again with water and allowing to fully dry is perfectly effective. Using your shop vac to vacuum up the water will speed up drying time significantly. Even using some mild soapy detergent is okay in this step.
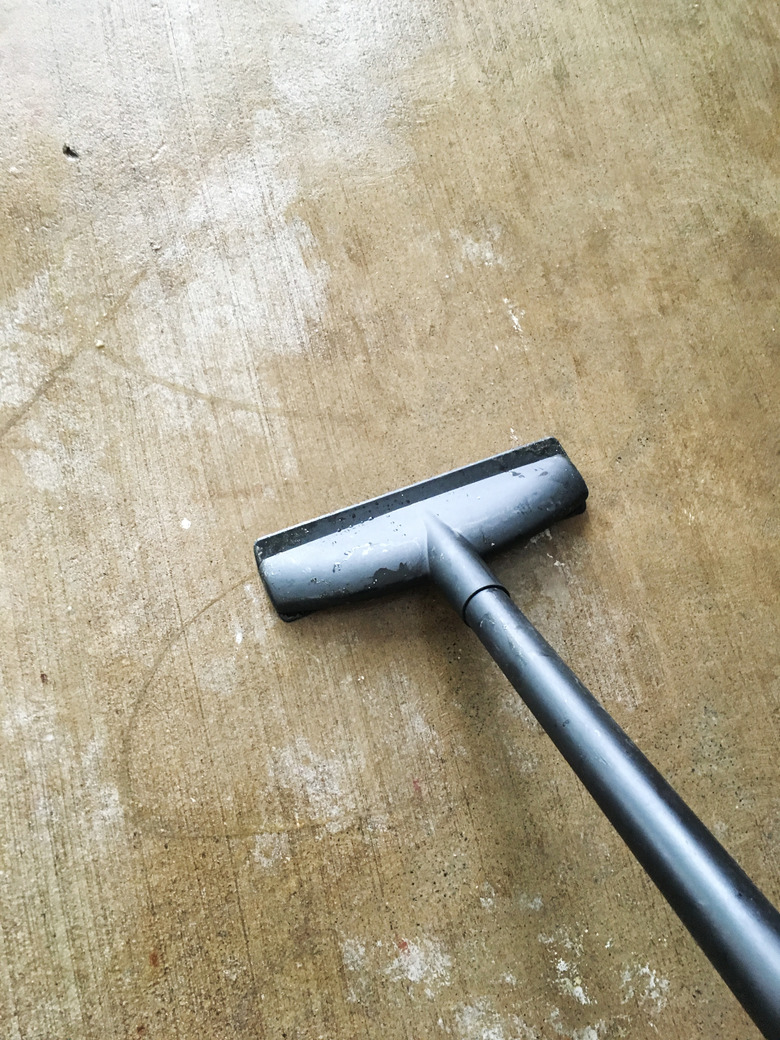
Depending on the staining product you use, you may need to use a specific cleaning product, like Etch & Clean. Wear your protective gloves and then mix one part Etch & Clean with four parts water in your pump sprayer. Spray this onto your floor, allow it to dry for a few minutes (you will hear it fizzing) and then scrub over it with your synthetic broom.
 Machelle Vanderhoeven
Rinse the surface with clean water and vacuum it up. And then rinse and vacuum again to make sure you've cleaned up as much of the residue as possible. If your surface is outside, you may not need to vacuum, just thoroughly spray the surface off with clean water.
 Machelle Vanderhoeven
Allow the surface to completely dry, preferably for 24 hours or longer.
3. Apply the Acid Stain
 Machelle Vanderhoeven
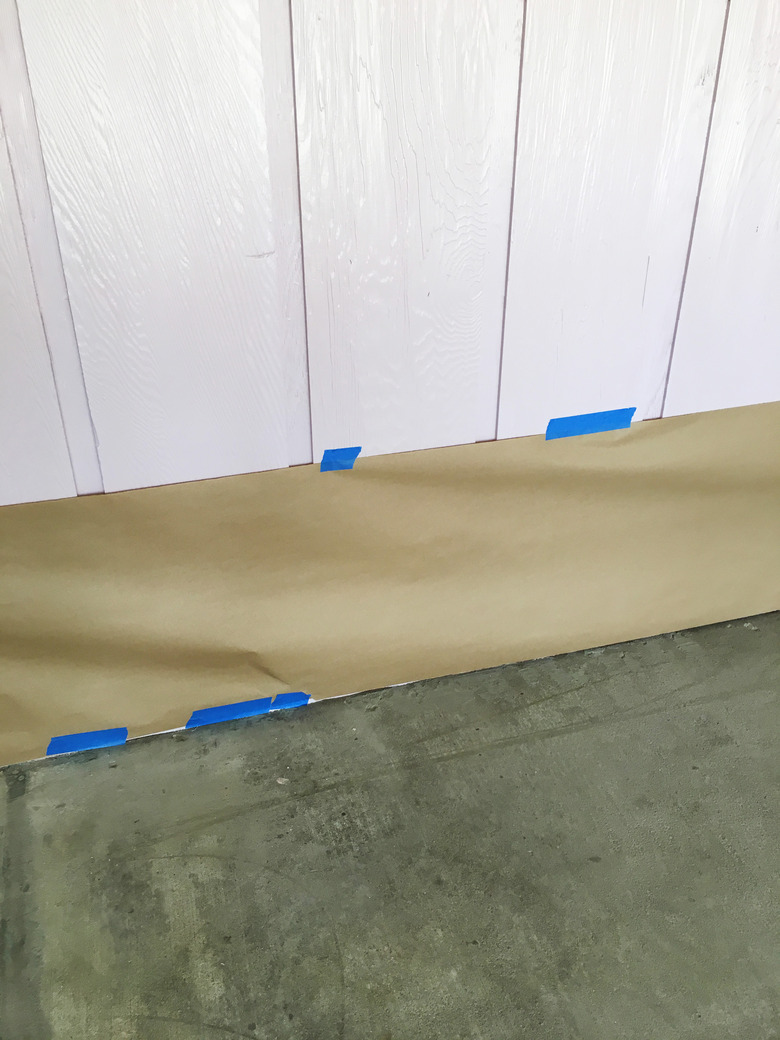
Prepare the room you're working in by masking off all surfaces and walls that you do not want to get acid on them. You can find different widths of masking paper in the painting section at home improvement stores.
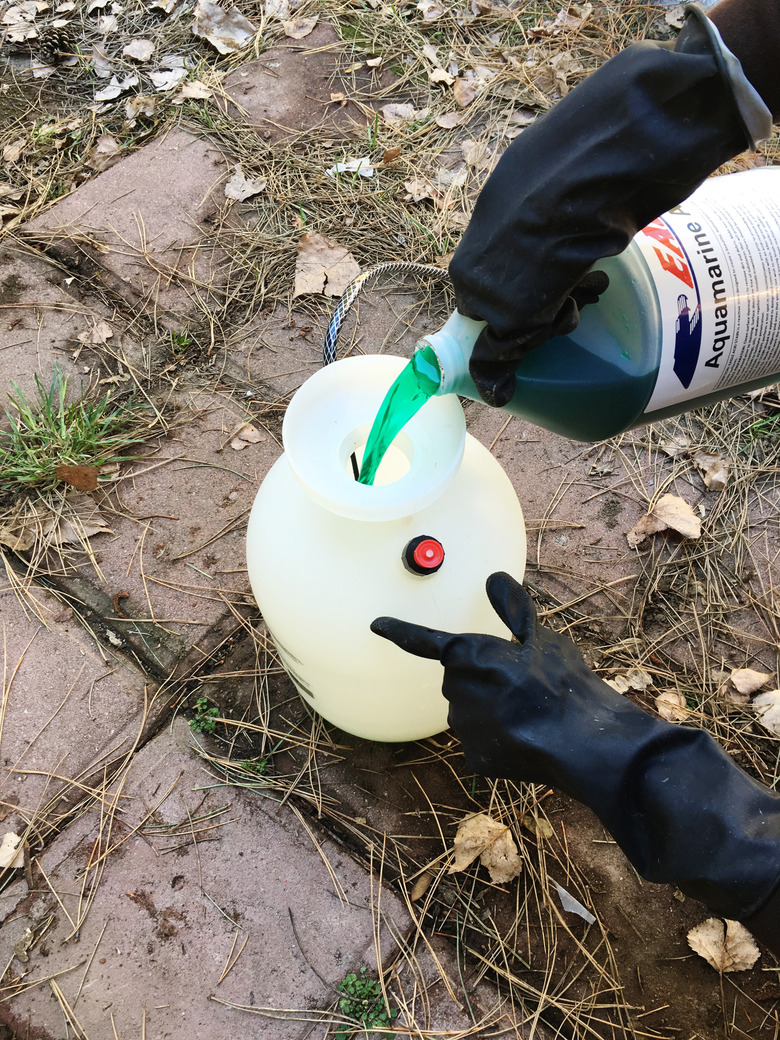
Don your protective eyewear, mask, and gloves and pour the acid stain directly into your clean pump sprayer. The application process will be much easier with two people but it isn't necessary.
 Machelle Vanderhoeven
If you have two people, one person should spray on the acid stain, in a semi-unpredictable pattern, going back and forth in different directions while the second person follows behind with the broom, scrubbing the acid stain into the surface. The sprayer can then go back over as needed to cover any brush marks or spots that appear to have less coverage.
 Machelle Vanderhoeven
If you are doing this on your own, just apply it on a small area, about 3 feet by 3 feet, and then go over and brush it in and then respray to cover brush marks and move forward, again in a varying pattern across your floor.
Tip
Remember to plan for an exit strategy where you won't have to step over your acid stain. Any steps will show up through the stain so if this happens, be sure to brush and spray over the footprint.
4. Wait for the Desired Color and Apply More Coats as Needed
The acid stain will continue to deepen and develop into your concrete for several hours, probably about 10. You may be happy with the color after just one hour, though. Each surface will penetrate differently so there is no right amount of time to wait other than just when you are happy with the look of it.
If you let the acid sit overnight and still want a darker color, you may decide to apply another coat. Use the same application process and wait about 24 hours to give it a really dark finish.
5. Add Neutralizer and Remove the Stain
 Machelle Vanderhoeven
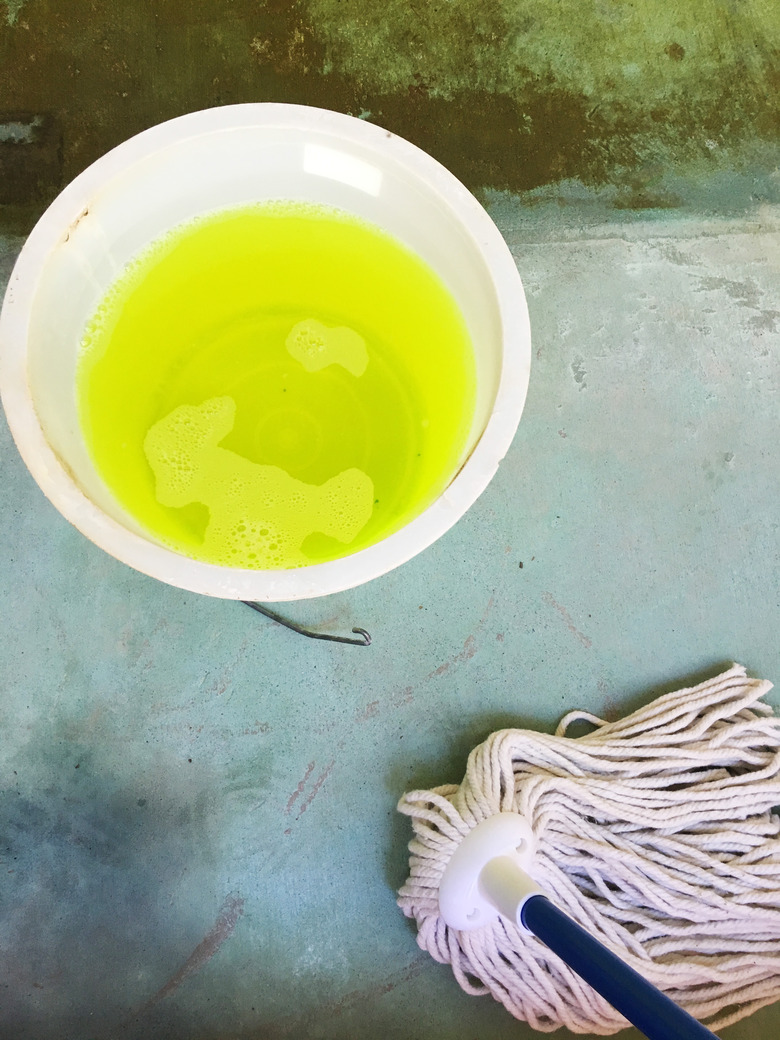
When you are happy with the coloring of your floor, neutralize the surface to stop the staining process.
There are ready-made products to do this, but you can get the same effect by mixing one part liquid ammonia with one part water.
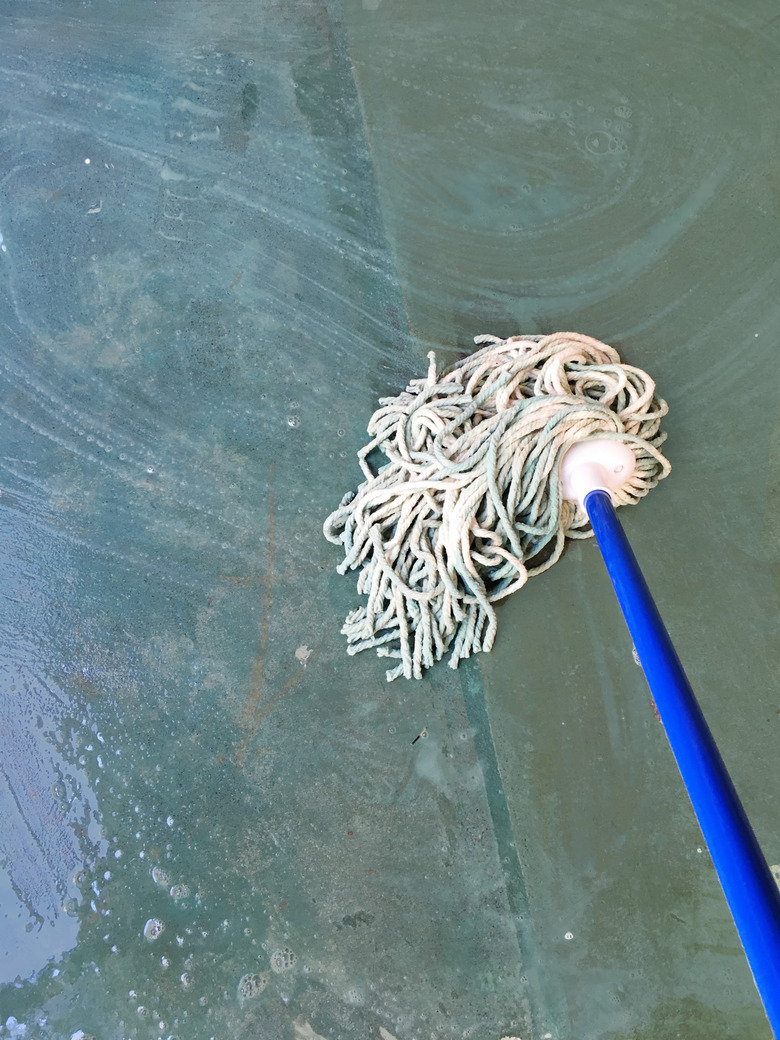
Pour your neutralizer onto the surface and scrub it in with your broom or a mop.
Tip
Synthetic brooms are typically better to use than yarn mops as some of the yarn may come off and leave debris on the floor.
 Machelle Vanderhoeven
The easiest method for clean up on a large area is to:
- Spray over the floor with clean water.
- Brush puddles of water into one general area, like the middle of the floor.
- Use your shop vac to go over and vacuum up all the puddles.
- Repeat this process at least once more, possibly twice more, until the water is no longer the color of your stain.
- After the last time you've vacuumed up puddles, go over the whole room with your vacuum to get as much of the water up as possible.
 Machelle Vanderhoeven
6. Apply Sealer
 Machelle Vanderhoeven
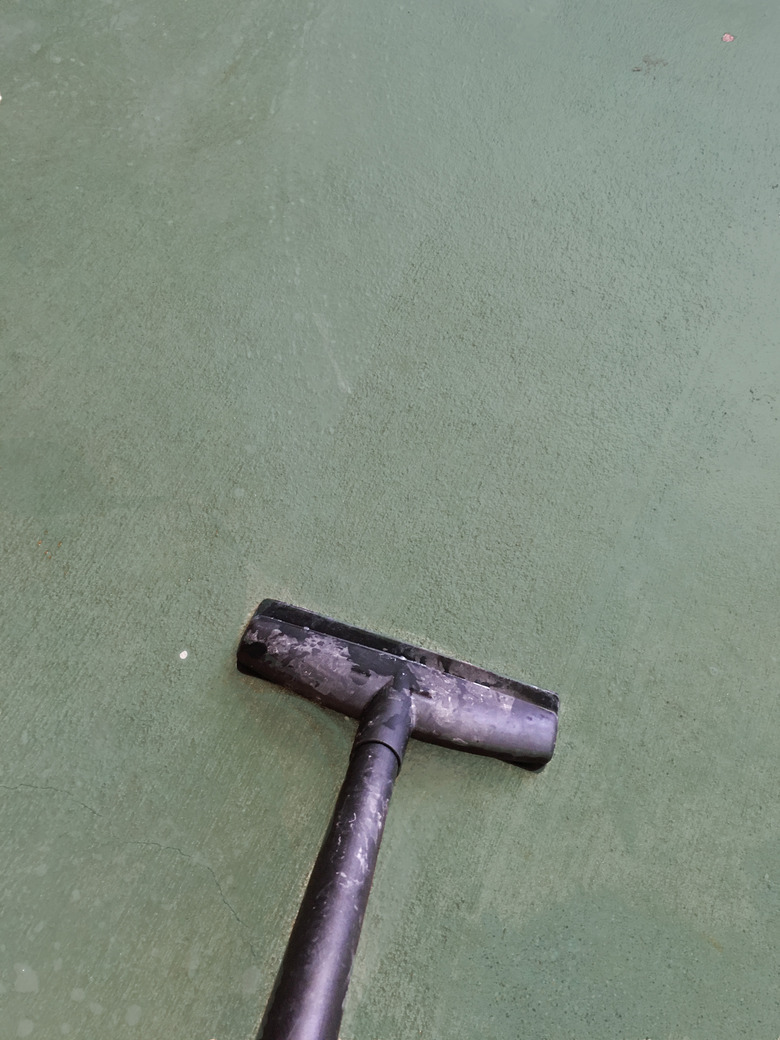
When your floor dries, it will look much lighter than it will once the seal and polish have been applied, so don't be alarmed if it looks different than you were hoping. At this point, you can also remove the masking paper on our walls.
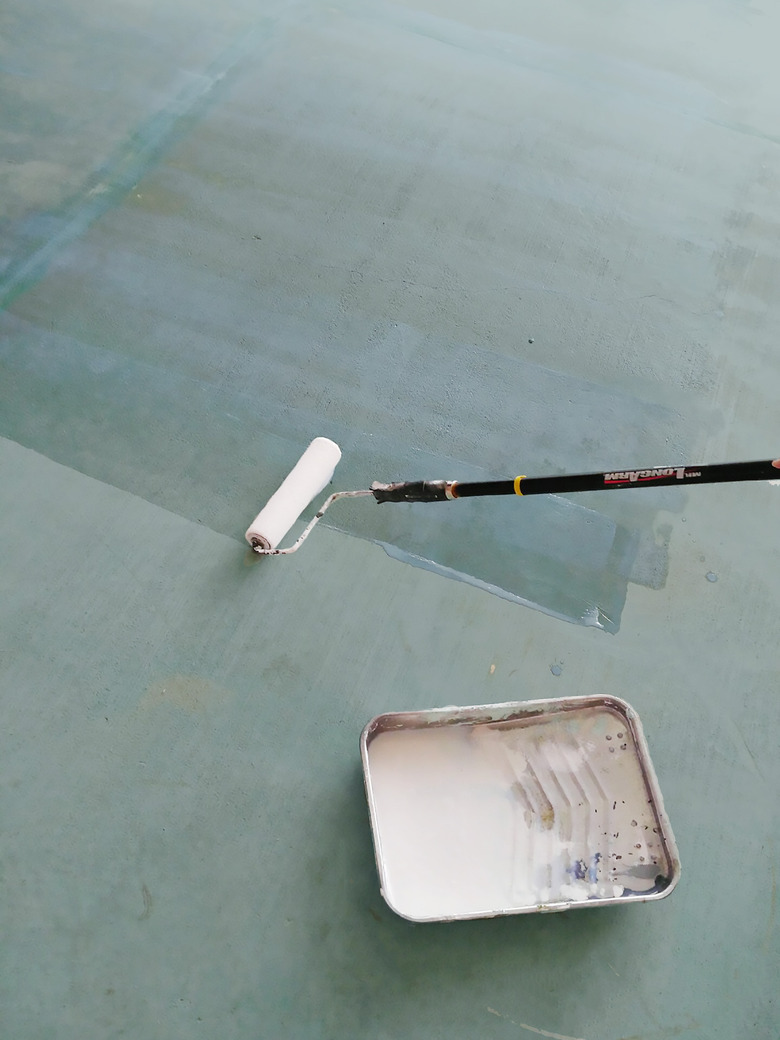
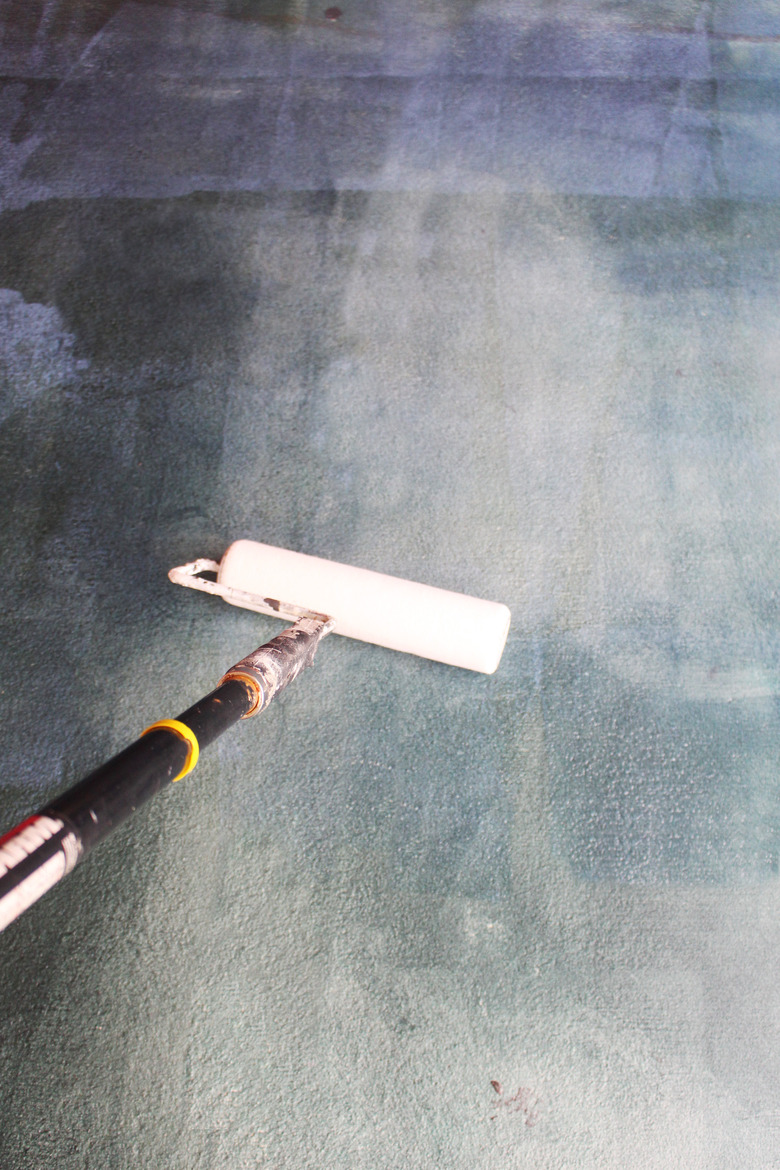
There are multiple ways of putting sealer down — one popular option is to use a 3/8" nap roller on an extended arm. Check the instructions on the product bottle to get other options for spreading it on.
Apply the sealer in thin layers, and you can do multiple layers if needed. You may need more than one coat of sealer, depending on the product you use. Allow this to fully dry overnight.
7. Apply Polish
 Machelle Vanderhoeven
Polish gives another layer of protection for all of your hard work. Additionally, you can choose a gloss coating that will leave you with a nice wet look or go with something more matte. There are a variety of polish options to choose from.
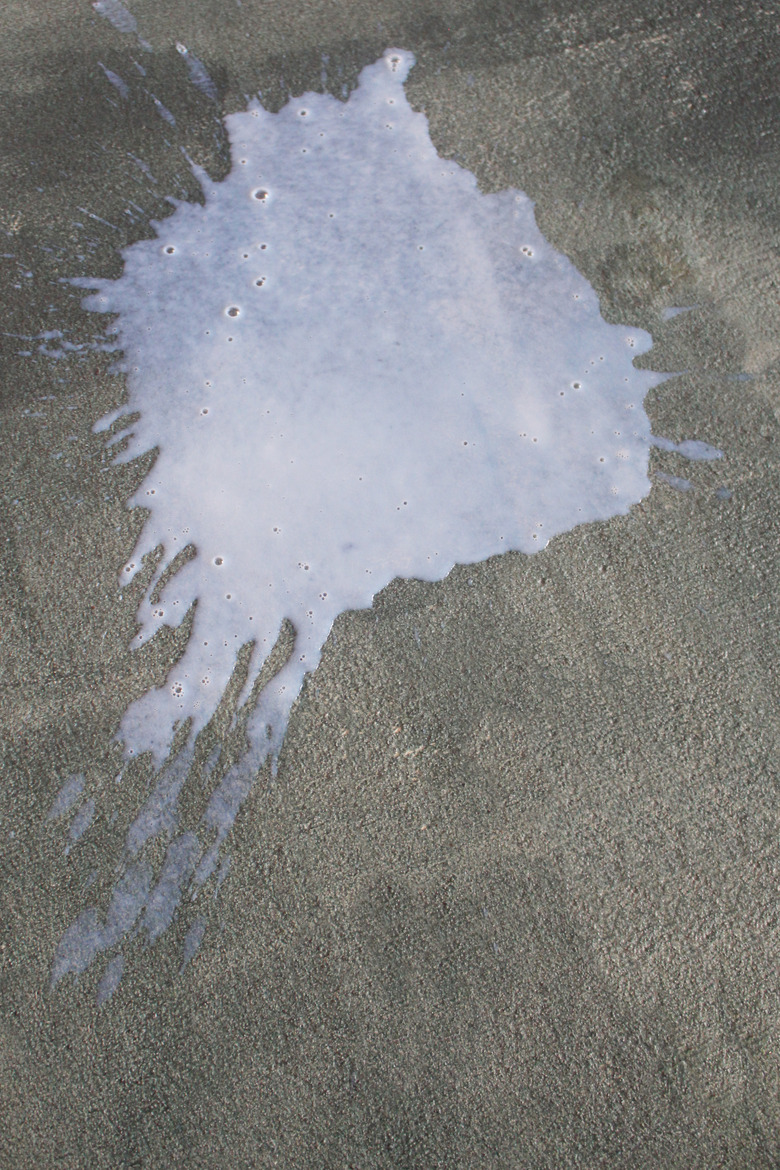
This process is important to do quickly and thinly so you don't get a milky finish. Pour the polish directly onto the concrete in a small puddle and immediately disturb the puddle with your roller or mop, pushing it forward and backward in a thin layer. Remember an exit strategy. Don't be too worried if you have a slight milky surface when you finish, this should go away after just an hour or two.
 Machelle Vanderhoeven
Allow to dry for 1 to 2 hours and then apply more coats as desired. With one gallon of polish, you will have enough to coat 325-square-foot area four times with some left over. A little goes a long way!
 Machelle Vanderhoeven
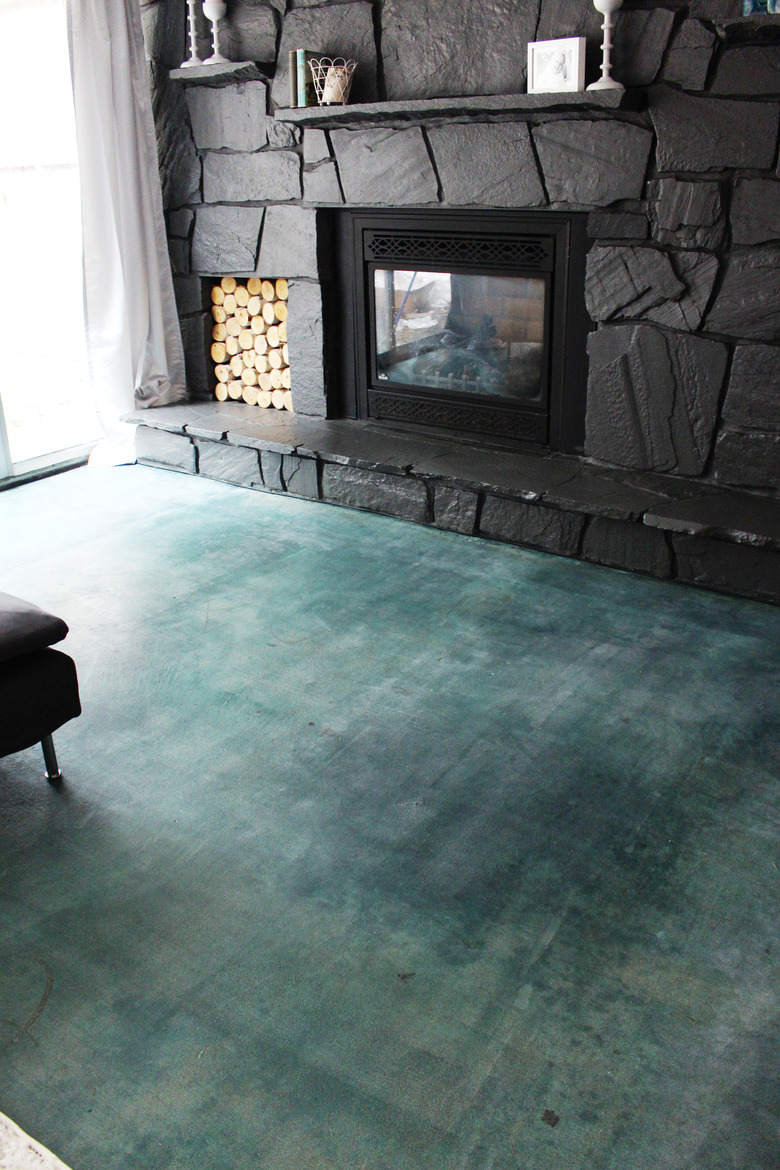
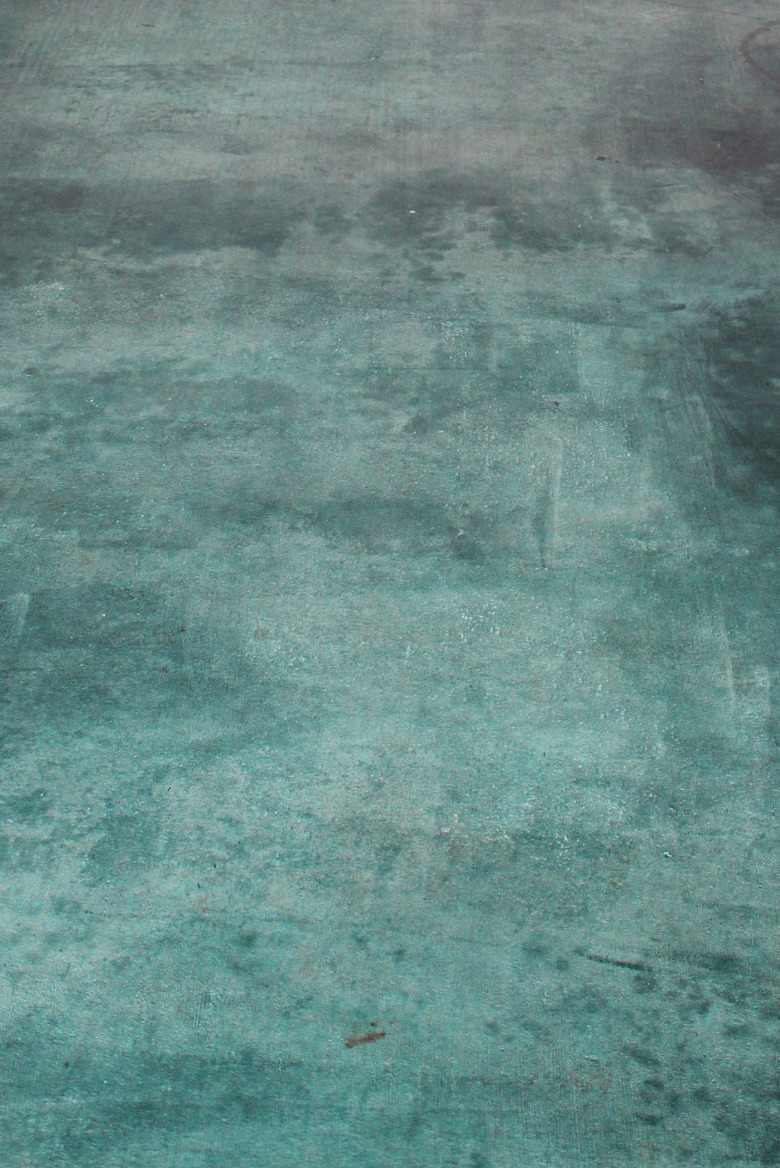
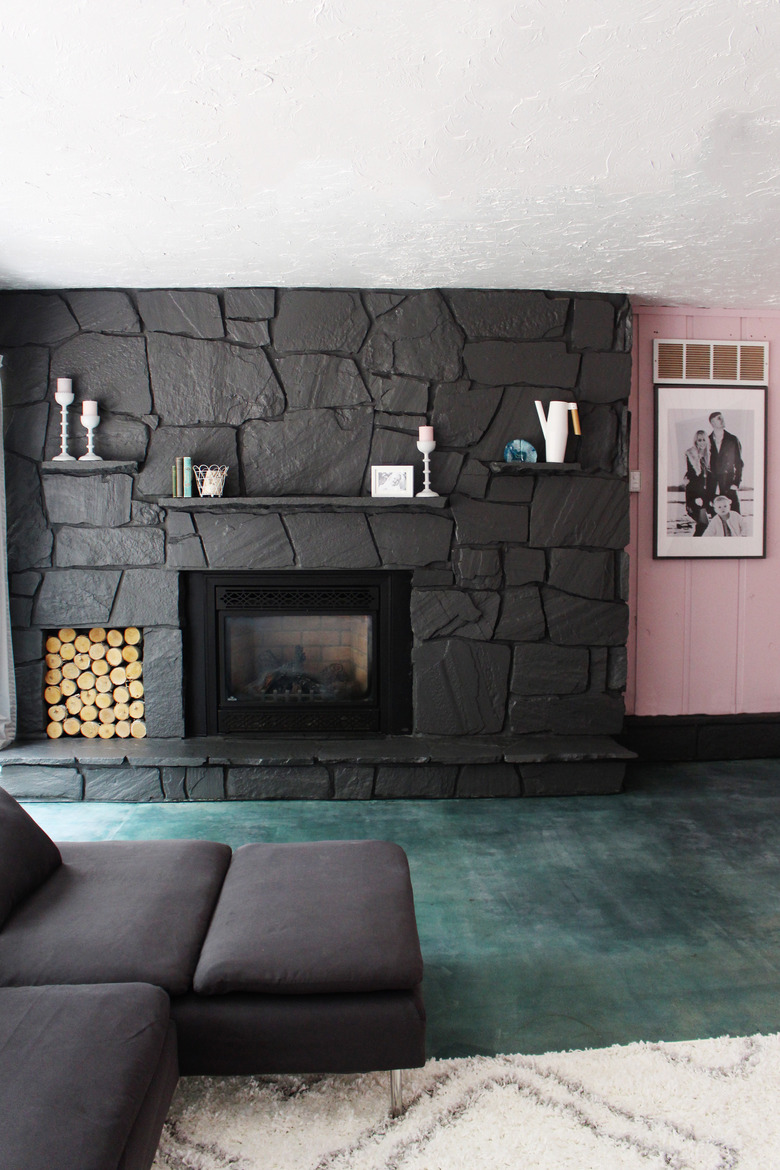
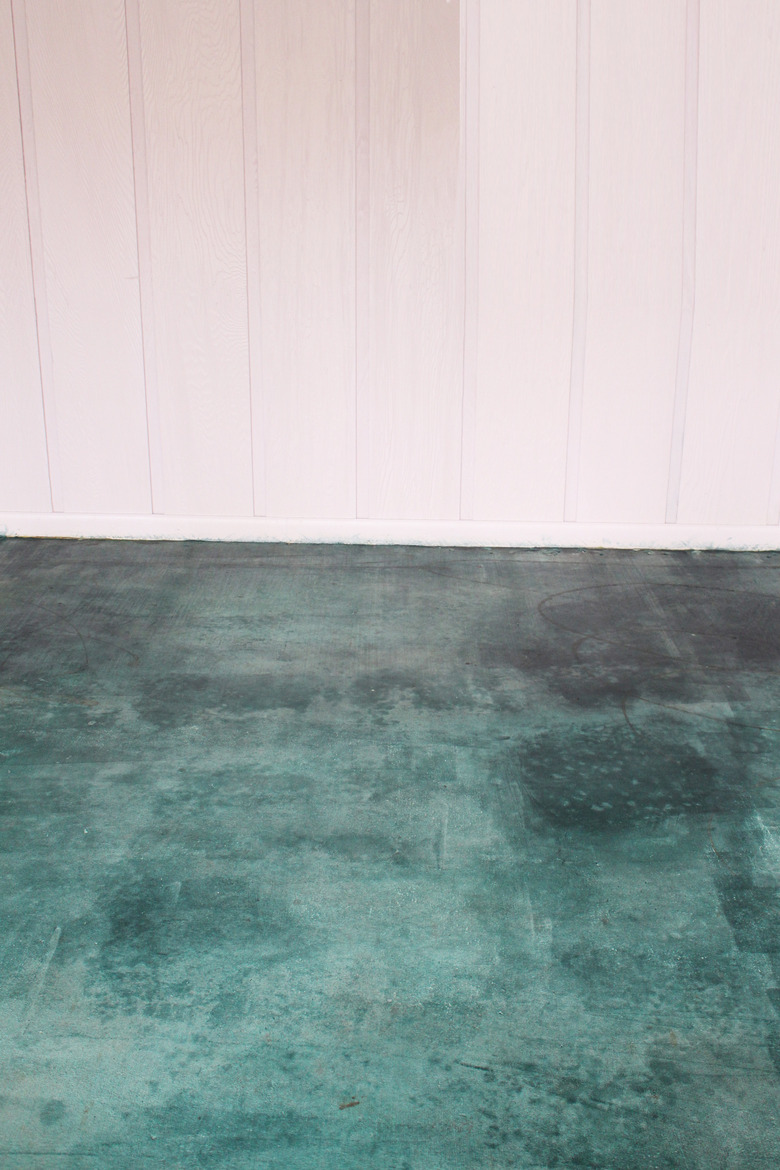
As you can see, acid staining gives a really mottled finish, inconsistently coloring the floor throughout, which is the appeal. Acid-stained surfaces are ideal for any location. They are perfect for restaurants and many retail locations but can also be eye catching for your home. And, this finish is exceptionally cheap compared to other new floor coverings, which can be a great solution for anyone!
 Machelle Vanderhoeven
 Machelle Vanderhoeven