How To Test Drain Pipes
We may receive a commission on purchases made from links.
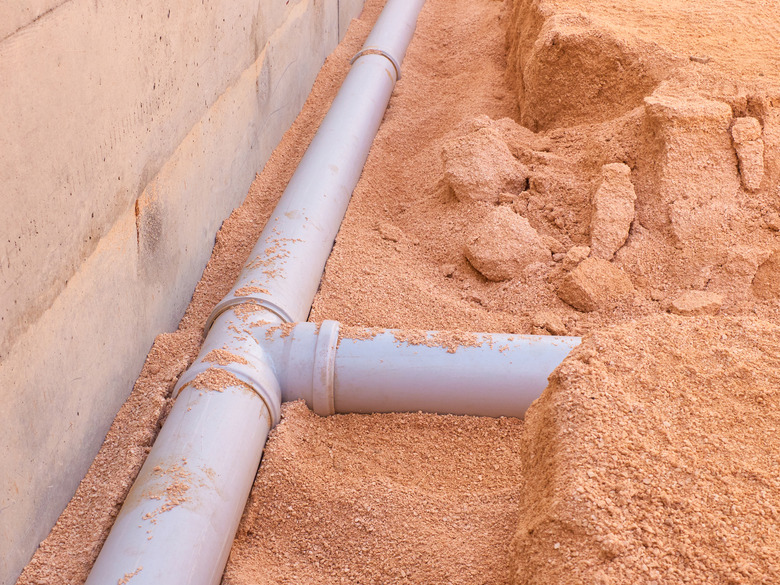
A drain pipe test ensures the pipe is sufficiently watertight. This prevents the pipe from leaking its contents into the surrounding soil and potentially overloading or contaminating the local water table. When laying new pipes, it is essential to test them before the trenches in which they are laid are backfilled with soil, as this saves you a lot of time and effort in digging them back up again should they fail.
How to Conduct an Air Test for Drain Pipes
1. Put Bungs in the Ends of the Pipe
Clean the end of the pipe that will be tested to remove any dirt or other debris that could affect getting an air-tight seal. Place the bung stopper in the end of the pipe. Turn the wing nut on the stopper until it cannot turn anymore to expand the stopper and create an air-tight seal. Seal off any branches on the pipe with more bungs.
2. Connect a Pump
Connect a hand pump to the hose via a tee connector. Connect one end of the hose to the manometer. Fix the hose nipple in place on the stopper in the pipe, to allow the hose to be attached. Connect the free end of the hose to the hose nipple.
3. Pressurize the Pipe
Squeeze the hand pump to increase the air pressure in the pipe until the level on the pressure gauge reads between 5 and 6 inches. Close the control valve on the hand pump. Let the pipe stand for 10 minutes to level off temperature and pressure in the system.
4. Release the Air
Open the control valve and allow the pressure to drop so the manometer reads 3.93 inches. Close the control valve again and leave the pipe for five minutes. If after this time the pressure in the pipe has not dropped below 2.95 inches, the pipe is sealed correctly. If the pipe fails this air test, run a water pressure test to check its seals again.
How to Conduct a Water Test for Drain Pipes
1. Seal the Pipe
Seal off all branches of the pipe with bung stoppers. Seal off the lower, or downstream, end of the pipe to be tested with another bung stopper, as if creating an airtight seal. Connect the 90-degree pipe bend to the other end of the pipe, which is the upstream end.
2. Attach a Vertical Pipe
Connect the 5-foot length of pipe to this bend to create a vertical pipe configuration. Either fasten this vertical section to your support struts with the rope, or brace it between two supports. The idea is to prevent the pipe from falling over under its own weight when water is added.
3. Fill the Pipe with Water
Fill the pipe with water and leave to stand for two hours to allow time for any trapped air to bubble out of the system. Inspect the level of water in the vertical pipe and ensure it is to a depth of 4.92 feet. Leave for 30 minutes, topping up the water as required to maintain a level of 4.92 feet.
4. Record Changes in Level
Record the total amount of water added each time the pipe needs topping up. Sum up these values. If the total is less than 0.88 pints per 3.28 feet of pipe, not including the 90-degree bend or the vertical pipe, the pipe has passed the water test. If it exceeds this amount, the pipe is not watertight and the seals between each section of the pipe should be tested for integrity.