How To Find Hidden Plumbing Leaks
A burst water or drain pipe is a serious matter even when you can see it and fix it quickly. When it's hidden in the ceiling or behind a wall, though, it can cause an untold amount of expensive damage before you even know it's there. Fortunately, hidden pipe bursts are a rarity, although they can occur more frequently during winter in houses with inadequate insulation. But it's not just bursts that cause problems. A slow leak from a loose or corroded joint can be even more insidious, because it can go on for a much longer time before you notice it, and by then, the damage is usually extensive and accompanied by mold.
Even more common and problematic are the leaks that occur because of poorly sealed bathroom and kitchen fixtures. These produce slow drips that infiltrate kitchen cabinets and bathroom vanities, warp flooring, rot subfloors and create mold problems. These rarely produce standing water, and you notice them only because of seemingly unrelated problems, such as lifting floor tiles or a rocking toilet.
Most hidden leaks are easy to fix, but that usually isn't true for the damage they cause. If you want to avoid expensive repairs, you should know the signs of a hidden leak and how to follow those signs to the source of the trouble.
Zeroing in on Leaking Pipes
Zeroing in on Leaking Pipes
Your first indication of a burst or leaking pipe in the wall might be water on the floor at the base of the wall, but that's if you're lucky. The water could just as easily find a way to seep through the wall plate into the room below. Whether or not there is standing water, however, there is bound to be wet drywall on a ceiling or wall, accompanied by lifting paint, mold and possibly active dripping. If this is what you see, don't be squeamish about cutting through the drywall to find the leak, because that drywall has to be replaced anyway. Before you start cutting, turn off the circuit breakers that control any electrical wires in the wall or ceiling and leave them off until the leak has been fixed and everything has dried out. This might mean plugging a work light into an extension cord to provide light.
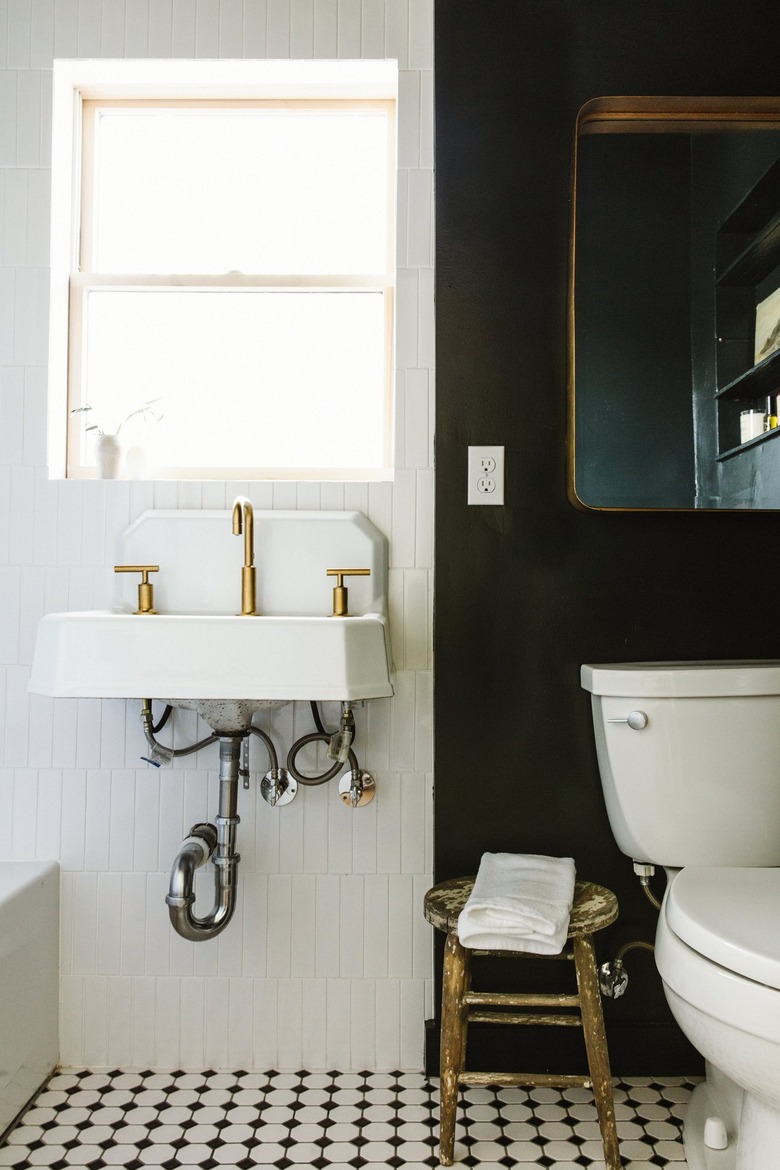
When a pipe leak occurs behind a tiled wall, you won't see any water damage on the tiles, but you'll probably notice moisture on the floor, along with floorboard warping and the musty smell of mold. The baseboards may also get wet and discolored. You have to get into the wall cavity to find and fix the leak, but hopefully, there's a way to do it without breaking the tile. Many bathroom walls adjoin a bedroom or some other room with drywall that is easier to cut through and replace. There may even have an access panel behind the shower wall. However, when there's no other way to get into the wall, the tile has to go.
Ceiling Drips Could Be Coming from an Upstairs Bathroom
Ceiling Drips Could Be Coming from an Upstairs Bathroom
Got a drip, drip drip from the ceiling, accompanied by spongy drywall? You already know that the drywall has to be replaced, so go ahead and remove as much as you need to see what's happening. Chances are you'll find the drain pipes for an upstairs tub or shower, and the water may be coming from that general direction. It could be a cracked pipe, a bad seal around the tub or shower drain, or a crack in the shower pan. Here's how to tell which:
- Remove the grate from the shower drain and stuff a rag in the pipe so water can't get in.
- Turn on the shower and let the water level in the pan rise to about an inch.
- Go downstairs and watch for drips. If they're coming from the drain, the drain seal needs to be tightened or replaced. If they're coming from anywhere else, the shower pan is probably cracked.
- Remove the rag and turn on the shower if you haven't seen any drips yet. Watch the drain pipes for leaks. The most likely places are the P-trap connections.
You can use the same general procedure to check for leaks from the tub. Of course, if the water supply pipes pass through the ceiling, and the drips are coming from any one of those, that fact will be apparent as soon as you remove the drywall. No need to look any farther.
Diagnosing Toilet Leaks

Diagnosing Toilet Leaks
Leaks from the toilet tank spill water onto the floor behind the toilet, so they are easy to find. Leaks from the bowl aren't as easy to detect, and they often go on for years. The problem usually is that the wax ring designed to seal the joint between the toilet and drain opening isn't making a complete seal, and water spills out during every flush. The water often seeps under the floor covering, so you can't see it, and rots the subfloor. The floor becomes mushy, the toilet starts rocking and you can usually smell sewer gases.
You can catch this problem early by removing the toilet and checking the wax ring as soon as you notice sewer odors or toilet rocking. If the leak started fairly recently, all you may need to do is let the subfloor dry out before resetting the toilet with a new wax ring. If you don't catch the problem early, you may have to replace part of the subfloor that is soft and rotting.
Leaks inside the toilet won't ruin your floor, but they waste water—sometimes a lot of water. The problem is usually a bad flapper or a poorly adjusted float. Flappers are easy to replace, and floats are easy to adjust. Doing so will stop the fill valve from cycling on or staying on when no one is using the toilet. Leaks from the bottom of the toilet tank are sometimes caused when the tank bolts holding the tank to the upper flange on the toilet bowl are loose or when the rubber washers are worn out. Tightening these bolts or replacing the washers will stop such leaking.
Leaks In Bathroom and Kitchen Sinks
Leaks In Bathroom and Kitchen Sinks
You might not know your sink is leaking until you see water on the floor. You then open the cabinet doors and see that the bottom and sides of the cabinet are moldy and starting to rot. Hopefully, things won't get to that point, and you only notice water pooling. Here's how to figure out where the water is coming from:
- Check the supply hoses —specially the connectors—for spraying water or drips. If one of the connectors feels wet, wipe it dry with a rag then shine a flashlight on the connector and wait for a minute. If the connector gets wet again, it's leaking.
- Look for signs of water damage around the rim of the sink on the underside of the counter. That means water is seeping between the counter and the sink flange. A bead of caulk around the perimeter of the sink usually fixes this problem.
- Put the stopper in the drain and fill the sink with a few inches of water. Watch the strainer from underneath the sink. If you see any drips, the strainer probably needs to be tightened or reset.
- Remove the stopper and let the water drain while you watch the drain pipes. If any of the P-trap connectors are loose, water will seep out and drip onto the floor. Tighten the loose connector with channel-type pliers. If that doesn't work, disassemble the P-trap and replace the plastic flange on the leaking connector or, if necessary, replace the entire P-trap.