How To Remove Old Toothbrush Holders From The Wall
We may receive a commission on purchases made from links.
Some bathrooms are designed with empty space over the counter, perfect for the addition of hand towel bars or mounted toothbrush holders. If you are renovating your bathroom or simply prefer to store your toothbrush elsewhere, you might wish to remove the toothbrush holder from the wall. Depending on how the fixture is mounted, this will need to be accomplished differently. However, most toothbrush holder removals are fairly straightforward.
Tile-Mounted Toothbrush Holders
Tile-Mounted Toothbrush Holders
Some toothbrush holders are tile-mounted models, meaning that they are attached directly to the tile (or other material covering your drywall). In nearly all cases, these tile-mounted models will have been attached with ceramic tile adhesive, also called tile mastic. While ceramic tile adhesive is an excellent way to ensure stability in such a fixture, it can make removal tricky.
Ceramic tile adhesive can be removed using one of two methods: water or steam. Only the most stubborn adhesive may require more potent adhesive removing chemicals.
To use the water method, soak a cloth in water that's hot to the touch. Hold the cloth up against the toothbrush holder to soften the mastic underneath. When the mastic has softened, pull off the toothbrush holder and scrape the residue off with a wallpaper stripper or other similar tool. You may need to repeat this process a few times.
For a quicker solution, use a wallpaper steamer to supply heat. This will soften the mastic so you can pull off the toothbrush holder, then you can scrape off the softened mastic.
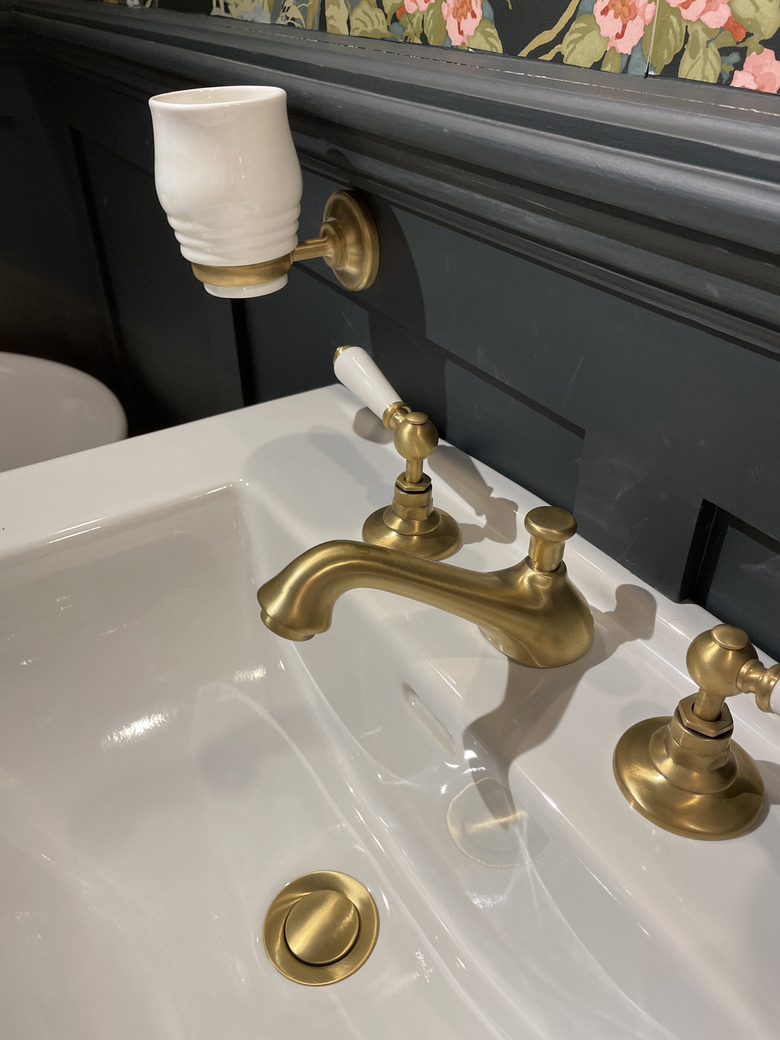
Screw-Mounted Toothbrush Holders
Screw-Mounted Toothbrush Holders
Many toothbrush holders are held to the wall with screws. You should be able to determine this via a visual inspection of the edges or back of the holder. In many cases, the screws are located at the edges of the mounting plate rather than on the holder part of the fixture.
Once you have identified the screws, you should match them to the appropriate screwdriver, both in terms of size and head type. Then turn the screwdriver to the left and begin to loosen the screws. It's a good idea to loosen each screw most of the way, but not completely. This will keep the toothbrush holder attached to the wall until all screws are loose, and then you can gently pull the entire unit off at once.
When you remove the toothbrush holder, the screws may drop out. Pick them up right away to avoid losing them and put them in a storage bag or tape them to the fixture if you plan to keep and reuse it in the future.
Repairing the Wall
Repairing the Wall
The removal of your toothbrush holder might damage the wall on which it was located, but only slightly. If the wall is tiled, use warm water and a cloth to soak the adhesive off the wall. If regular warm water doesn't work, add some sugar (1 part sugar/10 parts water) or vinegar to the water. Acid-based brick and patio cleaners may also be used for very stubborn jobs but as they're more likely to damage the tiles or other surfaces, take care with them.
You may wish to fill your screw holes if the toothbrush holder was screw-mounted. Try using either spackle or wall joint compound for this project.