How Do I Clean A Furnace Thermocouple?
We may receive a commission on purchases made from links.
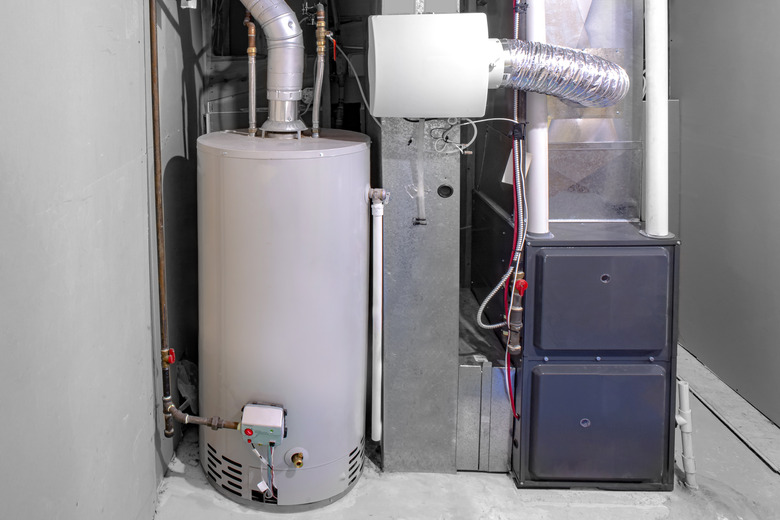
If your old workhorse of a furnace isn't working so great, don't give up yet. Older furnaces will inevitably run into issues with the thermocouple, which will never last as long as the furnace itself. The good news is that thermocouple issues can often be solved with a simple DIY cleaning.
Tip
It's easy to clean a furnace thermocouple, and all you need is a little elbow grease and an emery cloth. You won't need any special solutions or tools for this job.
What Is a Thermocouple?
What Is a Thermocouple?
Essentially, the thermocouple is a sensor that connects to the pilot light. Its job is to maintain the gas valve is open after proving the pilot is lit. It's a thin, rod-shaped component between the gas valve and the standing pilot light. Given time, it's normal for thermocouples to corrode or become crusted with dust and debris.
When this happens, the thermocouple loses its ability to keep the gas valve open, and it stops functioning properly. When it's working correctly and it feels the heat of the pilot light, it sends an electrical current that opens the gas valve. However, if the pilot light goes out or gas is disrupted, it's supposed to shut down everything to protect you and your home from gas explosions.
The dust, rust, or debris that can form a crust around the thermocouple will also prevent it from detecting the heat that's required to put it to work. The good news is that it's easy to clean, and even better, if that doesn't work, it's simple to replace.
How To Clean a Thermocouple
How To Clean a Thermocouple
You'll need a lint-free cloth, some emery cloth sandpaper, and a screwdriver. You should be done in under 20 minutes. Whatever you do, never use any cleaning products or liquid of any kind. All you need to do is scrape the thermocouple clean and then dry-wipe the residue.
1. Turn Off the Gas
Turn off the furnace and shut off the gas valve. Allow the space to air out for a few minutes before you get to work.
2. Find the Thermocouple
Take the pilot cover off if there is one and use your phone to snap a photo of what everything looks like before you start tinkering. This is always a smart move when working with anything around the house, as it's a guide for putting it together correctly. The thermocouple should be positioned between the gas valve and the pilot light.
3. Remove the Thermocouple
Depending on your setup, you'll need a screwdriver or wrench to detach the thermocouple from the pilot assembly so you can clean it.
4. Clean the Thermocouple
Don't touch the tip or sensor on the thermocouple with bare fingers or the oils could hinder function. Use the emery cloth to gently scour off any dirt, debris, and rust from the thermocouple.
5. Tidy Up and Put Things Together
Wipe the scoured thermocouple clean and return it to its home in the pilot assembly, reattaching it as it was before. With everything back as it should be, you can turn the gas valve back on and fire up your furnace according to the manufacturer's instructions.
While you're in there, why not clean the pilot light too?
Other Solutions To Try
Other Solutions To Try
You may need to adjust the pilot light so the flame is high enough to trip the sensor tip of the thermocouple. Sometimes, this can mean simply bending or pushing the thermocouple into a better position. Never touch the tip with bare fingers because your finger oils could dirty the sensors.
If your cleaning efforts and adjustments have not shown success, replacing the thermocouple isn't too complicated. Refer to the owner's manual for your unit and purchase the part online or from your local hardware store.