How To Clean A Pilot Light
We may receive a commission on purchases made from links.
Pilot lights are an imperfect power source — one gust of wind and they can go out. That's partly why they've been rendered obsolete by electric ignitions over the last 15 to 20 years. If you have an old-school appliance with a standing pilot light that isn't burning properly or won't ignite or stay lit, then give the pilot light a good cleaning. Some pilot lights are straightforward to clean, and this can be an easy DIY fix to get your appliance running smoothly again.
Finding Your Pilot Light
Finding Your Pilot Light
When it comes to wall heaters, boilers, and furnaces, the standing pilot light is often behind a panel. For fireplaces, they're usually hiding in plain sight. There will be a valve that's usually marked with "on," "off," and "pilot," and that's always a sign that the pilot light is nearby, whether it's behind an access panel on an appliance or mounted on the side or back of a fireplace insert.
The pilot light should be burning a blue flame. If it's yellow or any other color, it may not be burning well enough to heat the thermocouple, which controls the gas flow to the appliance. There are two parts of the pilot light that look like little rods — the thermocouple and the gas nozzle — and dirt impacts both.
Cleaning the Pilot Light
Cleaning the Pilot Light
Before starting, turn the valve off to stop the flow of gas. If the appliance is connected to electrical power, turn the breaker off too. Always let the air clear for a few minutes before working any gas-burning equipment.
1. Unplug the Gas Nozzle
The gas nozzle could be plugged. Use a sewing needle or a paper clip to remove any debris from the small hole in the center of the nozzle.
2. Remove Loose Debris
Use a can of compressed air to loosen and remove any remaining particles of dirt around the nozzle. Then, vacuum the nozzle and the surrounding areas.
3. Clean the Thermocouple
Any soot on the thermocouple can prevent it from working, so give it a light clean too. Very lightly, clean the thermocouple with some fine steel wool or an emery cloth. Gently wipe with a dry, clean, soft cloth to remove any loosened debris.
4. Light the Pilot Light
Turn the gas valve back on (or to "pilot") and follow your owner's manual for how to re-light the pilot light. Most standing pilot lights are lit with a few simple steps, but if it won't stay lit, then dirt wasn't the issue.
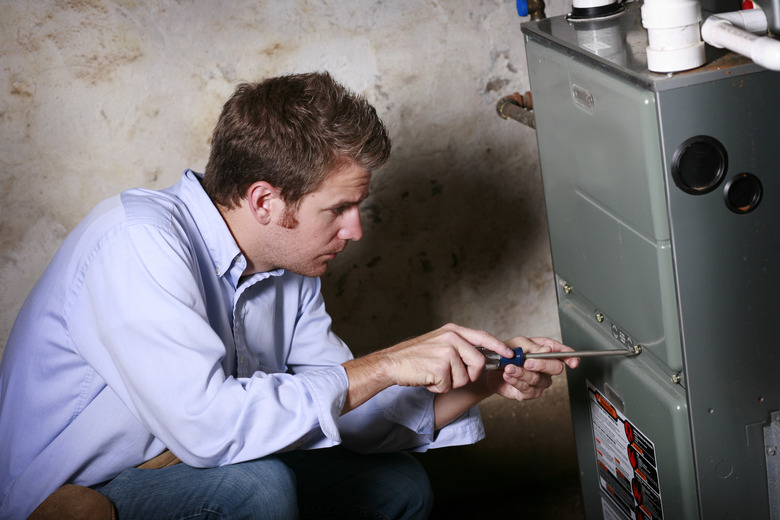
When to Call a Professional
When to Call a Professional
If your pilot light is easy to reach, you should absolutely try cleaning it before you spend money on a service call. However, if that doesn't improve your pilot light's performance, you could have parts issues. Your thermocouple might be loose or require replacement and ditto with the pilot nozzle. Those parts likely run under $50.
Whenever you're working with gas, it's literally a combustible scenario, and absolutely zero shortcuts should be taken. If your pilot light is hard to reach, complicated to access, or appears to have damage, then it's wise to call a professional. Far too much is at risk, and it's worth paying a cleaning fee of $100 or less to keep your family, your home, and your neighbors safe.