Hate Your Formica Countertops? Here's How To Paint Them Properly
We may receive a commission on purchases made from links.
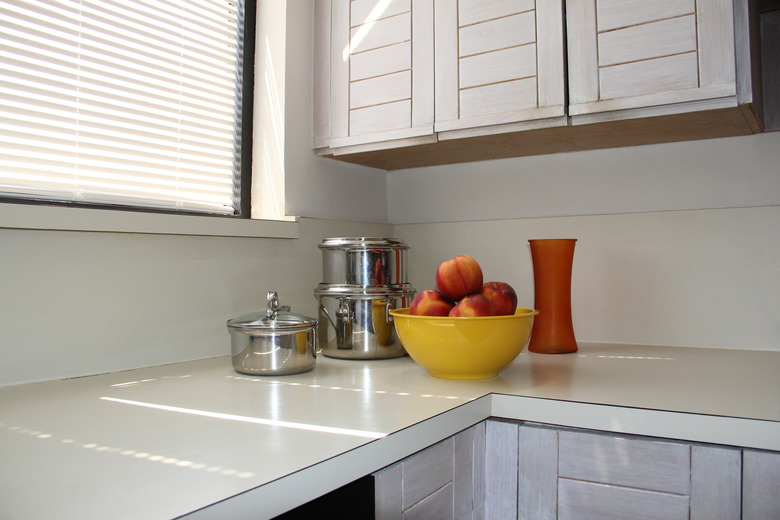
Although Formica countertops are popular products, to many homeowners, worn out or outdated countertops usually means removing them and starting over. However, there is a less drastic and cheaper option: painting Formica countertops.
But the term "painting" doesn't exactly denote what it means when you're updating your laminate countertops. Though you can technically change the color of your countertops with a fresh coat of regular paint, this wouldn't be recommended because it'll likely chip or peel due to the heavy traffic in the kitchen. What you'll want to use is paint specially formulated for kitchen countertops. But you can also refinish Formica with marble, granite, and other stone coating kits.
Tip
Formica and laminate countertops are the same thing, and you'll often see the terms used interchangeably. The difference is Formica is a brand name and laminate is just the type of surface material, but they refer to the same thing. (It's basically what happened when Kleenex became synonymous for "tissue paper.")
Products for Painting Formica Countertops
Products for Painting Formica Countertops
Want to give your laminate countertops new life? Here are some of the most popular products for countertop painting and refinishing.
Rust-Oleum Countertop Coating
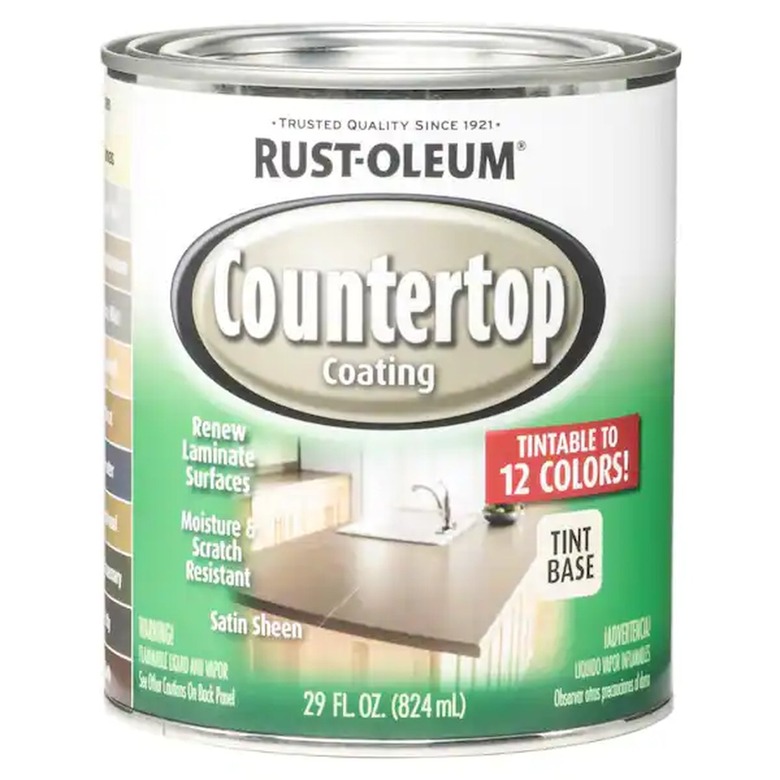
Rust-Oleum countertop coating is a paint-on coating that is designed for counters, cabinets, and furniture. Here are some important specs to know about this product:
- Can be tinted with one of 22 colors; (there is a base for light colors and another for dark colors)
- Applied like paint and usually covers in two coats
- An all-in-one product; neither a primer nor topcoat is needed, though glossy surfaces should be sanded before painting
- Alkyd base; use in well-ventilated areas, respirator use, gloves, and eye protection recommended
- Provides antimicrobial protection to prohibit mold and mildew growth
- The least expensive option among countertop finishes
- One 29-ounce can cover 25 linear feet (about 50 square feet) of countertop
- You need to wait three days before using a freshly coated countertop
- You can clean up countertops with mineral spirits
Rust-Oleum Countertop Transformations Kit
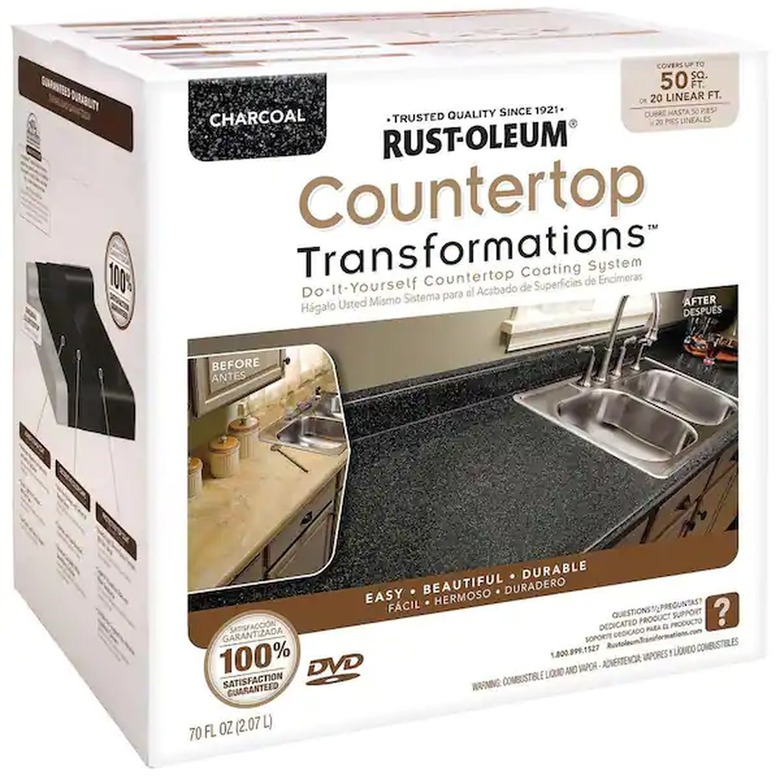
Rust-Oleum's Countertop Transformations Kit is available in four granitelike finishes. Here are some important specs to know about this product:
- Kit contains coatings and decorative chips that are dispersed over the surface
- Coatings, chips, a chip dispenser, and sanding tools are included in the kit; 2-inch brushes, 6-inch microfiber rollers, and other tools and supplies must be purchased separately
- Color chips are embedded in a base coat that is treated with a wetting solution
- Dried, decorative chips require thorough sanding for smoothness
- A two-part epoxy topcoat provides protection to the surface
- Kits cover 30 to 50 square feet
- Painted countertop is ready for light use after 48 hours and full use after seven days
- Cleans up with soap and water
Daich Coatings SpreadStone Textured Stone Coating
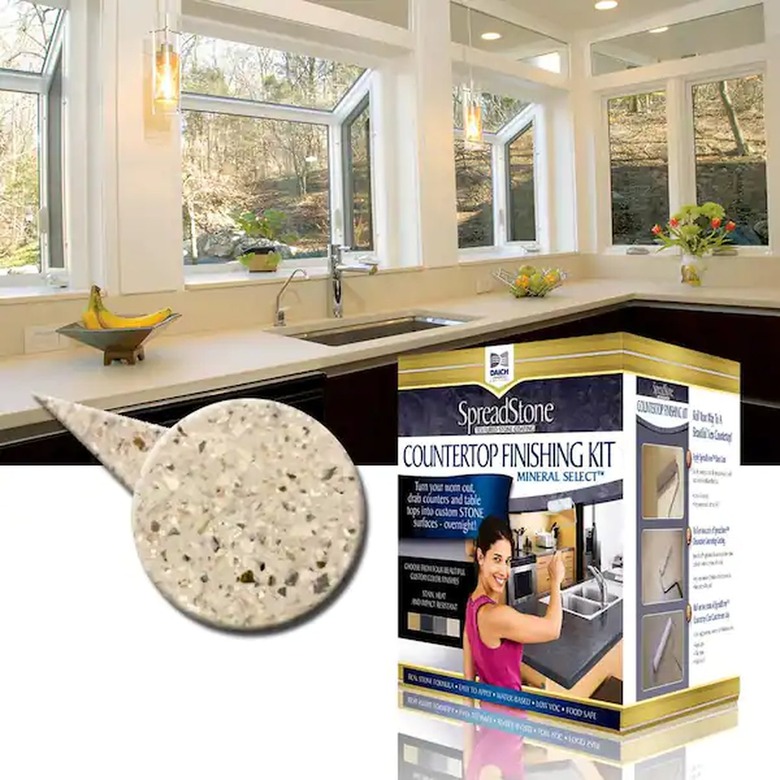
SpreadStone textured stone coating from Daich Coatings provides a stonelike finish. The product is sold as a kit. Here are some important specs to know about this product:
- Kit contains the coatings as well as brushes and rollers to complete the project
- Application includes a base coat, stone coat, and finish coat
- There are 11 colors from which to choose
- The stone, or middle, coat provides the stone texture
- The stone coat should be sanded before applying the finish topcoat
- Final coating takes 24 hours to cure, but the company recommends light use of the counter for the next seven days, which usually means not working on the counter or placing items weighing more than 5 pounds on the surface
- Kit covers 30 to 40 square feet of countertop
- Cleans up with soap and water
Daich Coatings Lux Rock Solid Surface Granite Countertop Kit
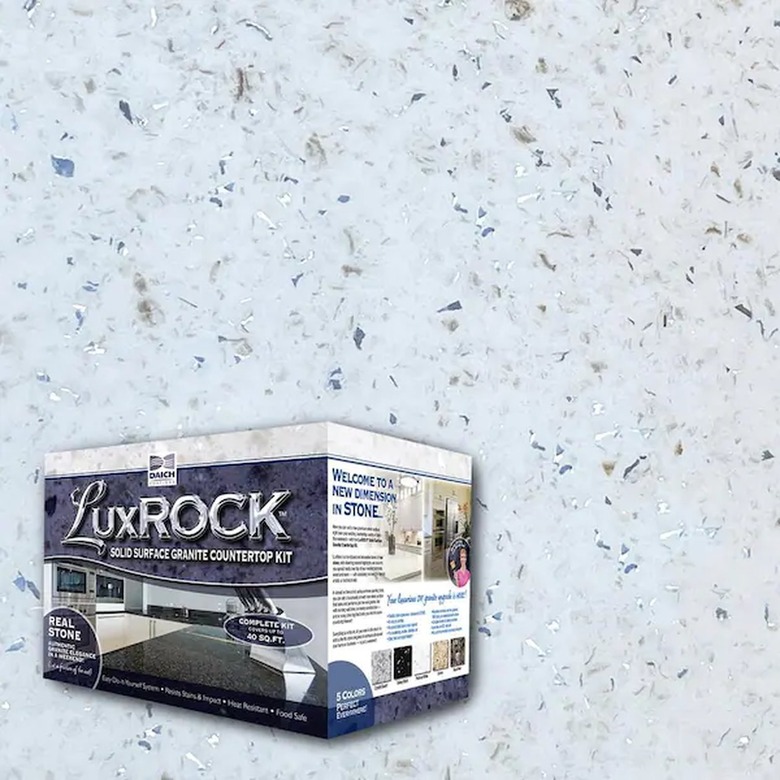
Lux Rock Solid Surface Granite Countertop Kit from Daich Coatings is the company's premium product. It contains real stone for a more realistic granite look. Here are some important specs to know about this product:
- Kit contains coatings as well as the tools necessary for the project
- Available in five colors
- Application involves a five-step process that includes brushing on the stone layer and then smoothing and compacting the layer with a smoothing tool
- Some steps require sanding the surface, including wet sanding before the final topcoat is applied
- Air bubbles that form in the two-part epoxy coat can be removed by applying heat from a small butane torch (not included in the kit)
- Final coat cures in 24 hours
- Kits are available that cover 20- and 40-square-foot counters
- Cleans up with soap and water
Giani Countertop Kits
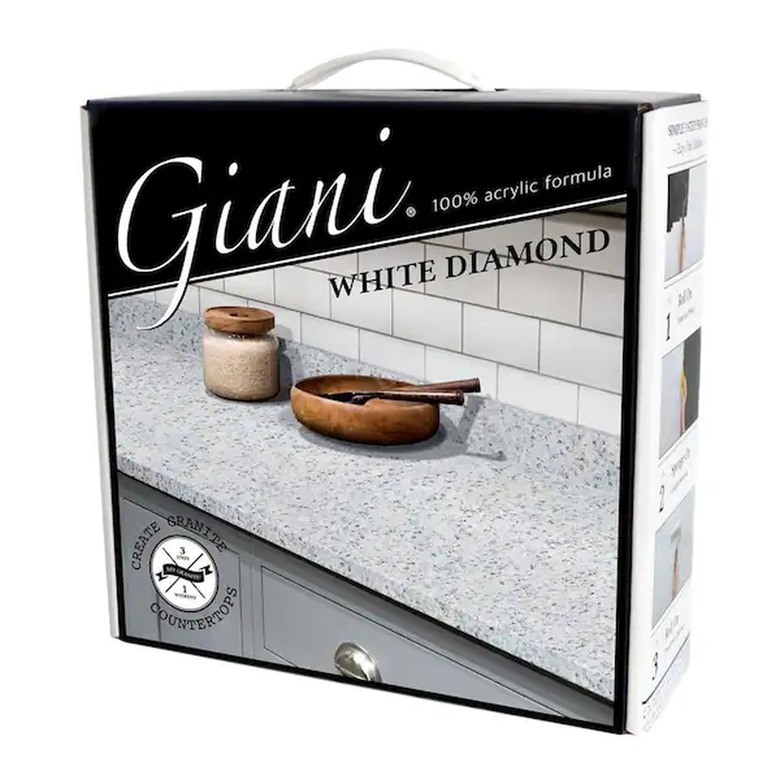
Giani produces kits for marble, granite, and slate finishes. Here are some important specs to know about this product:
- Available in two marble finishes, four granite finishes, and one slate finish
- Kit contains coatings and application tools
- Application includes a base coat, decorative finish, and topcoat
- Requires painting on marble veining or dabbing on granite speckles; complete directions and necessary tools are provided
- Protective topcoat is a two-part epoxy that must be mixed for application
- Final coating dries tack-free in about eight hours; countertop can be used after two days; product fully cures in about seven days
- Kits cover about 35 square feet of countertop
- Cleans up with acetone nail polish remover
Stone Coat Countertops
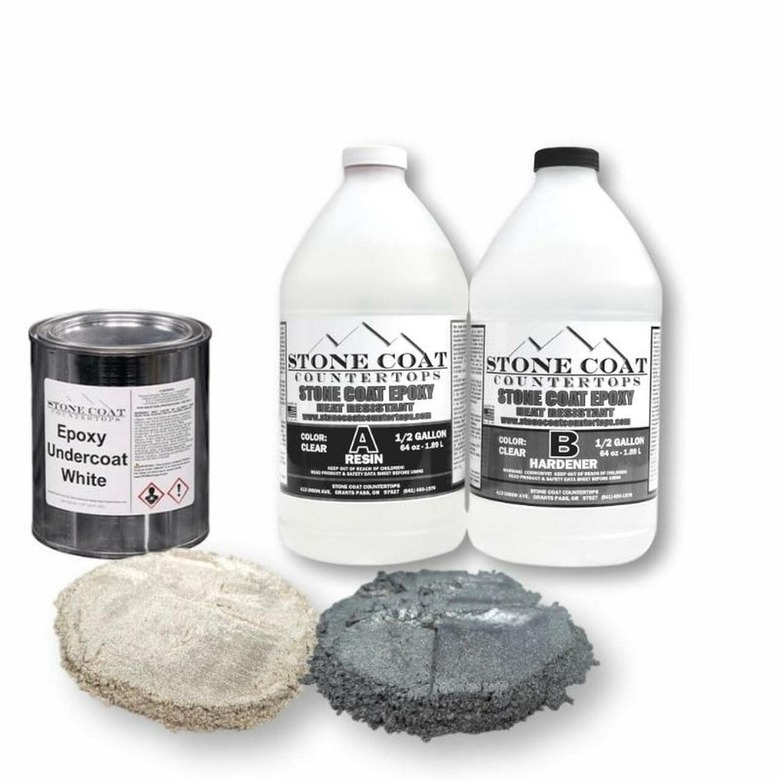
Stone Coat Countertops offers two-part epoxy coating. When combined with powder and liquid colorings, it can produce a number of custom effects. Here are some important specs to know about this product:
- One basic kit includes an undercoating, epoxy, and color powders, but you can create your own kit from a selection of available materials
- Protective topcoats, additional colors, and application tools must be purchased separately
- Application instructions recommend applying a primer before the undercoat for best results
- Once the two-part epoxy is mixed, colors are added to the mixture
- Epoxy is poured onto the surface and then spread using trowels, paint sticks, or a gloved hand
- A heat gun, propane torch, or hair dryer is used to remove air bubbles from the epoxy
- One-gallon containers of epoxy can cover 20 square feet of countertop
- Countertop is ready for light duty after 24 hours
- Cleans up with soap and water
Things Needed
-
Vacuum or broom
-
Canvas and plastic drop cloths
-
Cloths and bucket
-
Laminate countertop finishing kit
-
Sandpaper (follow kit manufacturer's requirements for grit)
-
4-inch rollers (follow finish manufacturer's requirements for nap size)
How to Paint Formica Countertops
How to Paint Formica Countertops
Follow the manufacturer's instructions that come with your countertop refinishing kit. These products have very specific application methods and drying times. In some cases, you may have to clean the tools, such as brushes and rollers, after each step. Here's an example of the basic process you might follow to achieve a stonelike finish using a countertop refinishing kit:
1. Prep the Countertop
Countertop paints are designed with superior holding power but only if the surface is clean and dry.
- Use sandpaper to scuff up the surface.
- Vacuum or sweep up any sanding dust and wipe the counter with a clean, damp cloth.
2. Prep the Area
Place painter's drop cloths on the floor and use painter's tape to protect the edges of the sink and appliances and the walls adjoining the countertop. Use tape and lightweight plastic sheeting to completely cover the fronts of the base cabinets and appliances.
3. Apply the Base Coat
The base coat acts like a primer and provides the holding power for the coats to follow. Be sure the entire surface is covered.
- Use the small brush to cut in around the edges of the counter. The brush can also be used to cover the edges of the countertop as well as any vertical portion of the countertop if it exists.
- Switch to the roller to cover the main portion of the countertop.
- A small ridge will develop where the front vertical edge meets the countertop. Smooth it by rolling from the back of the counter and down the front edge with the roller.
- Allow the base coat to dry per the manufacturer's directions, and apply a second coat if necessary.
4. Apply the Decorative Coat
This will vary from kit to kit, but typically the middle coat contains the decorative additive. In this case, the decorative stonelike material is suspended in the second coat of paint.
- Cut in along the edges with the small brush.
- Use the roller to cover the rest of the countertop.
- Apply even pressure and make sure the finish material is distributed evenly.
- Let the first coat dry as directed, then apply a second coat and let it dry.
5. Sand the Decorative Coat
Put on a good-quality dust mask or wear a respirator to prevent breathing in the sanding dust. Sand all painted surfaces of the countertop with the sandpaper recommended by the manufacturer. The goal is to provide a smooth, even surface. Vacuum up the sanding dust, then wipe the surface with a damp cloth.
6. Apply the Finish Topcoat
The finish coat is a clear liquid that adds a protective layer to the countertop paint. Most have a semigloss sheen. Many finish coatings are two-part epoxies that must be mixed together, but some are single-component products. Handle both types carefully. Stir them gently and don't shake the containers because it may introduce air bubbles to the finish.
- Mix the finish material following the product instructions (as applicable).
- Use the small brush to apply the coating to the edges of the countertop.
- Apply the coating to the main surfaces using the roller. Use light pressure, and avoid overworking the surface to ensure a smooth finish.
- Let the first coat dry, as directed, then apply a second coat.
- Allow the finish to cure fully, as directed; this may take 24 hours or longer.
7. Finish the Project
Remove the painter's tape and the plastic protecting the cabinets appliances. Use caulk to seal the edges of the sink and other fixtures. Follow the manufacturer's directions for cleaning and caring for the countertop to prevent damage.