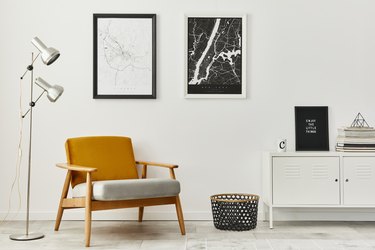
Nothing ruins a beautiful poster or print like fold marks or wrinkles. Before you give up on your wrinkled poster as a lost cause, the application of some heat and pressure may restore it to its original shape so you can display your picture on the wall.
Method 1: Weigh It Down
Video of the Day
Step 1: Lay It Out
Find a hard, flat surface to lay the poster on. Be sure the entire poster fits on the surface and that the area will be available for 24 hours or more. Tables work well for this.
Video of the Day
Step 2: Add Weight
Lay a smooth, flat item over the poster such as a piece of glass or large sheet of cardboard to cover the entire poster. Next, place weighted objects like heavy books on the flat item covering the poster. You can also use other objects, but be careful that you don't create new creases.
Step 3: Wait 24 Hours
Leave the weighted objects on the poster for at least 24 hours. Once your poster is free of creases and you're satisfied, you can remove the objects and hang your poster.
Method 2: Steam and Wait
Step 1: Prepare the Poster
Lay a piece of cardboard or another flat item, such as wood, on the floor of the bathroom. Place the poster facedown on the surface, laying it out so the entire poster fits on the flat surface.
Step 2: Create Steam
Run a hot shower for five minutes with the bathroom door closed, allowing the room to fill with steam. Turn off the water and leave the poster in the steamy room for 30 minutes.
Step 3: Weigh It Down
Move the poster to a flat surface out of the bathroom. Lay it flat as described in the section above and add weighted objects such as heavy books.
Step 4: Wait 1 to 3 Days
After a day or two check the progress to see if the creases are gone. If they are not, put the weights back on top and give it more time. The steam and weight combination should remove many minor creasing issues.
Method 3: Iron It Out
Step 1: Ready the Work Area
Get a piece of cardboard that's larger than your poster. Lay your poster on the cardboard, facedown. Alternatively, if your poster is small enough, you can lay it facedown on an ironing board.
Step 2: Iron It Out
Heat your iron on low and turn off the steam. Lay a clean, thin sheet or other ironable material over the back of the poster and start ironing. Press the creased areas, always keeping the iron moving to avoid burn marks on the poster.
Step 3: Check Your Progress
Check your progress as you go, always replacing the sheet or fabric before ironing more. Once you're satisfied with the results, let the poster cool before finding a creative way to hang your art.