

Man Uses Cardboard To Make Molds For Concrete Pavers With An Impressive DIY
We may receive a commission on purchases made from links.
Pavers come in a limited number of shapes and sizes. You can play with a few patterns, but settling for something you're only half excited about might turn into a design you regret later. If the usual rectangles and stone-like shapes aren't doing it for you, making your own gives you more creative say over what ends up underfoot. A custom shape could turn a small patio into a feature of the backyard and give it some personality, the best part being that you made it yourself. So, turn upcycled materials into stunning DIY pavers, starting with cardboard you might already have flattened in your recycling bin.
YouTube creator HomeMadeModern uses cardboard to build prototypes for concrete pavers, then makes reusable silicone molds from those shapes. To be clear, the DIY is kind of involved, but the payoff is something totally unique that you (hopefully) won't see anywhere else. Once the silicone molds are ready to be used, you can cast the same shapes repeatedly or alternate them with other ones to create a unique pattern.
To create the mold prototype, gather cardboard, a ruler, a utility knife, a hot glue gun, joint compound, a putty knife, sandpaper, and sealer. You'll also need a melamine board for the mold-making base, caulk, and two-part mold-making silicone. Concrete mix and mixing containers, as well as optional pigment powder, are used to create the pavers.
Making a mold you can reuse over and over
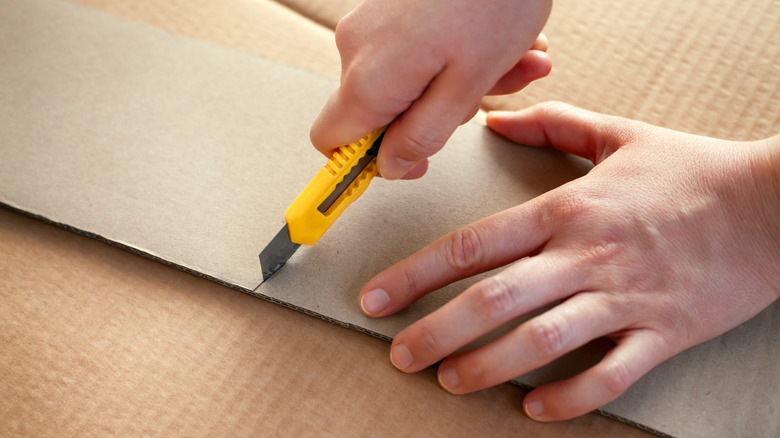
Plan out the shape of your pavers and draw them on your cardboard pieces using the ruler before cutting them out with a utility knife. For each prototype, hot glue a cardboard border around the bottom shape, the same thickness you want your pavers to be. Add some strips of cardboard inside for support. Then, cover the exposed cardboard with joint compound, letting each coat dry before sanding it smooth. Whatever texture you leave here will carry through to the finished mold and pavers, so take your time. Seal the prototype with a water-based finish and let it dry.
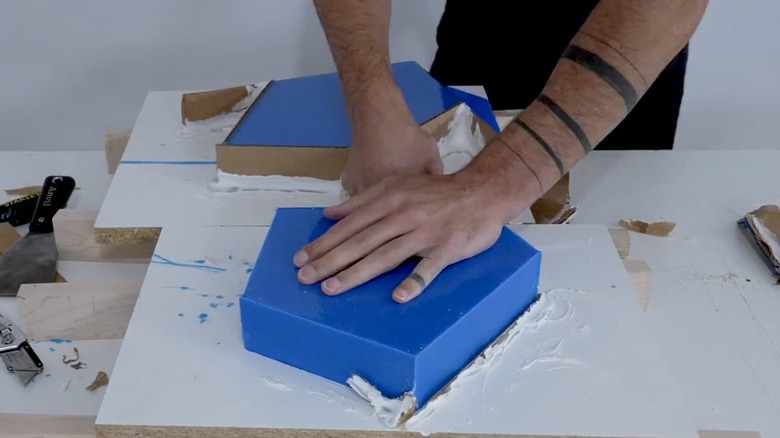
Now it's time to make the actual mold by securing the prototype to a melamine board with hot glue. Then, build a slightly taller cardboard border around each one to contain the silicone. Mix and pour a two-part formula, like Mold Star Platinum Cure Silicone Rubber, according to its directions. Once cured, peel away the cardboard surround and remove the prototype. Now you have a flexible mold you can fill with concrete, gently tapping it to release trapped bubbles. Follow your concrete mix's instructions for unmolding and curing before putting the pavers underfoot. Before you make a whole bunch of pavers, it's probably a good idea to cast one first, just to make sure everything comes out okay.
Customize your pavers even further
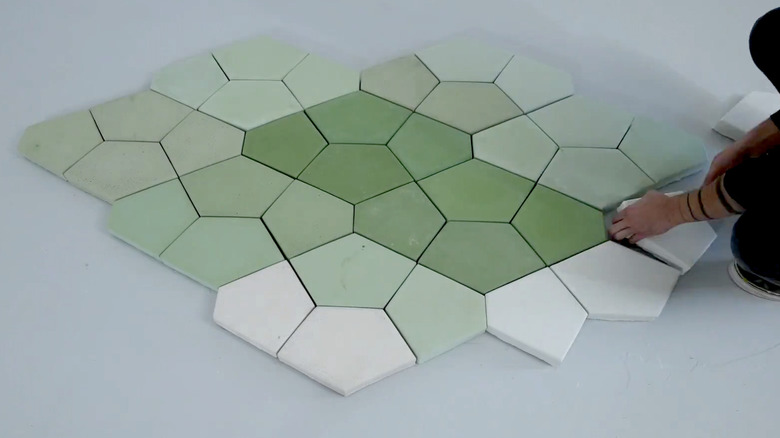
You could leave your pavers as-is and let your interesting shape do the talking, or add concrete pigment during the mixing process for a pop of color. Small mosaic tiles placed face down in the mold before pouring are another option to create a cute DIY garden path, or add some metal numbers and create a set for the front of your house to display your address. Opt for a monochrome color scheme throughout to tie everything together, or alternate light and dark pavers for a checkerboard effect. You could even hand-paint some fun designs on top of the pavers with acrylic latex paint after they've cured, adding a weather-proof sealant on top so it doesn't wash off.
You also don't have to hand-pour every piece of the patio. If you're looking for great patio layout ideas, try using your custom pavers as a decorative border around store-bought ones or creating a small patterned section beneath a bistro table. Just choose pieces with compatible thicknesses so you don't create any tripping hazards.