

Cover Storage Boxes With Shells To Create Vintage-Inspired Decor Gems
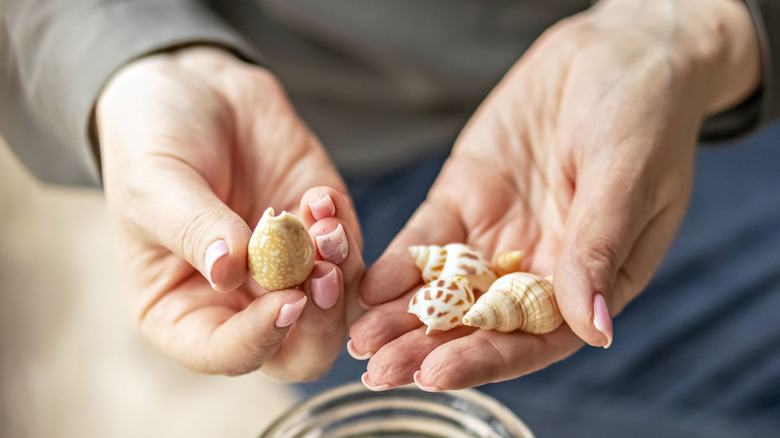
There's something enchanting about seashells, whether you're lining them up on the beach as you collect them or digging through a collection you snag at a garage sale. Artsy DIY ideas for decorating with real seashells can also be functional, as is the case with this DIY: a shell-covered storage box. Simply glue lots of little seashells onto a wooden box to create functional storage that's so beautiful and unique that you want to keep it on display.
The idea takes inspiration from the sailor's valentine, which is a rare thrift store find that could be worth thousands. Popular in the 1800s, the shell-covered wooden boxes were often made by sailors, who collected the shells and presented the handcrafted gifts to loved ones. Since your chances of finding one at a thrift store are slim, this DIY gives you a creative way to make your own.
This DIY works best on a wooden box. The wood structure creates a stable, rigid surface that you can glue the seashells to easily. Wood also offers an elegant look itself, so any areas that show still look attractive. Sturdy paper mache boxes may also work. Check craft stores, thrift stores, and garage sales for unfinished wood or paper mache boxes to use as the base. You can use the finished DIY as pure decoration, but if you want to use it as storage, choose the box size based on what you plan to put inside the container. Use shells you already have or buy shells from a craft store. One sentimental option is to use the shells you collected on a beach vacation as the embellishments and put souvenirs from the trip inside.
Cover a wood storage box with shells
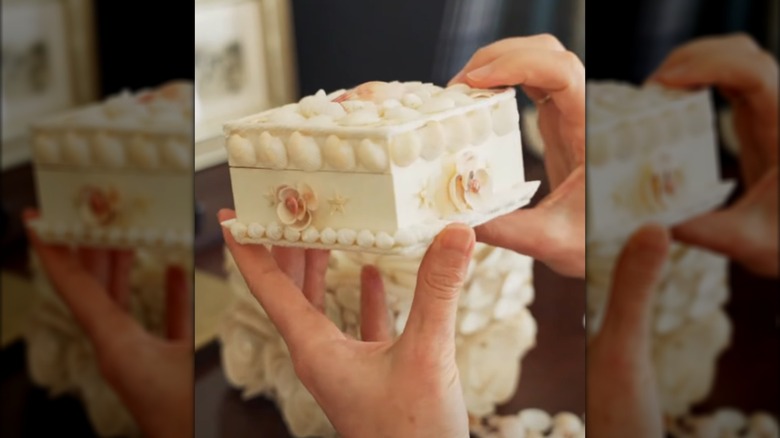
It's helpful to have a design in mind before you start gluing shells onto the box. Decide if you want to completely cover the box in shells or if you want to keep some of the wood showing. For the latter option, paint or stain the wood container first. You may want to complete this step even if you plan to cover it completely with shells just in case some of the wood shows through.
Create designs using the shells, and hot glue them in place on the box. This part is often easier if you have several shells of the same type. That way you can repeat designs — one type of shell glued around the bottom edge of the box as a border, for example. You might use a different shell to create a border around the top edge. Design specific patterns or shapes, like flowers made by layering together small shells to form petals. Or create rows or organically shaped sections of different types of shells. Another idea is to place one larger shell in the center and surround it with smaller pieces.
If you want a little more variety, work in other accents. False pearls offer a fitting embellishment for the design. Or, use a small piece of driftwood to create a handle on top of the lid. You can also add some seashells on the inside of the lid to make it decorative as well. Brushing on a sealer, like Mod Podge Pearl Lustre or Iridescent, adds a nice finish to the shells. Place the shell-covered storage box on a shelf for a cozy way to bring coastal grandma style into your home.