

She Turns An Aluminum Baking Pan Into A Vintage-Inspired Picture Frame
We may receive a commission on purchases made from links.
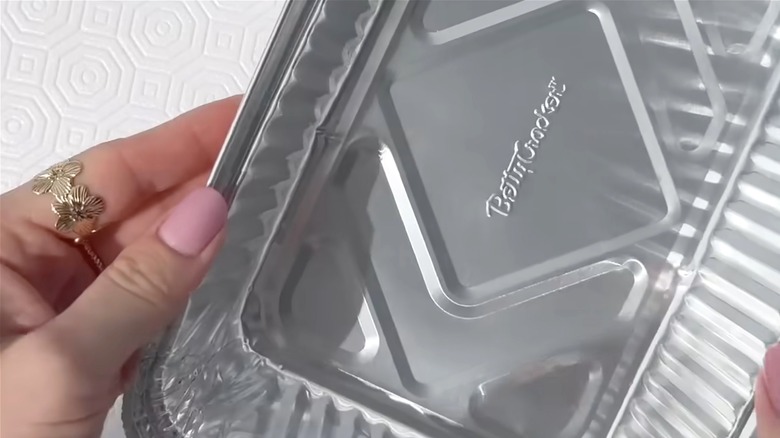
Fiddling with bakeware typically results in sweet treats, but not always. Sometimes, it can be the unexpected help you need to achieve a retro aesthetic on the cheap. Just take it from Yulia, the DIY pro behind Warm Placee who specializes in "making things you didn't know you needed." She chose to fashion a simple aluminum pan, such as Dollar Tree's Aluminum Cake/Stuffing Pan, into a detailed rococo picture frame that exudes vintage vibes with a contemporary twist.
By tracing an outline of an ornate picture frame design onto the malleable metal surface, she embossed the silhouette's playful scrolls and flowy lines onto it. Then, it was just a matter of cutting out the center of the aluminum piece to leave a gorgeous "antique silver" highlight to put on a wall or shelf to elevate her decor. Once you catch the final results of this Dollar Tree DIY wall art, you'll feel inclined to ditch the cake recipe and follow her lead.
Easy, engaging, and inexpensive, this repoussé project doesn't take much to come together. You simply need to trace a frame template right on the aluminum with tools like the Ceemiaa Embossing Stylus Set. If you don't have a stylus, don't worry — a pencil or a dead ball-point pen can work as well. Printable picture frame templates are available and easy to find for free or for purchase online with a simple search for "printable vintage frame designs." You may just have to experiment when scaling the template to fit the photo you want to put in the finished frame.
How to make and style your vintage frame from aluminum
Start by cutting the walls off the aluminum pan, leaving just the bottom. To flatten out the grooves and bumps, rub the aluminum with a dish towel or stiff card until it is smoothed out. Then, you just have to attach your printed frame template to transfer the design onto the foil. Keep in mind that, if you're feeling confident, you can also skip the template part by using a ruler to outline a square frame shape and free-handing design elements directly onto the foil.
If you're playing it safe and using a printed frame template, secure the paper to the aluminum with pins, clips, or tape. Carefully trace over the design with your embossing tool. Then, go over it again, sans paper outline, directly on the aluminum to sharply define each detail. Cut out the center, and you're free to style your finished frame however you'd like, including painting it to suit your decor. Just make sure to choose a paint that adheres to aluminum, like acrylic or tempera paint.
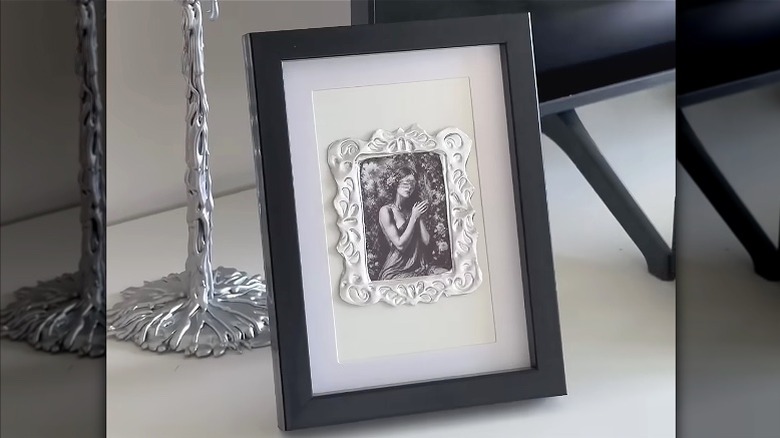
Colors, shapes, and sizes aside, there are a number of ways to make this craft your own. Yulia places her DIY picture frame and mini photo in a simple modern black frame to clean up the look without distracting from the aluminum focal point. For a personalized upgrade to this approach, frame your craft and place it on top of a printed fabric backing to add pops of color and pattern. There are also plenty of other clever ways to display your photos without the frame. Attach a number of vintage frames to a large pendant to hang on the wall, or adhere your framed photos on a sturdy ribbon for DIY hanging wall art.