

Turn Old Milk Crates Into A Bookshelf With This Easy DIY
We may receive a commission on purchases made from links.
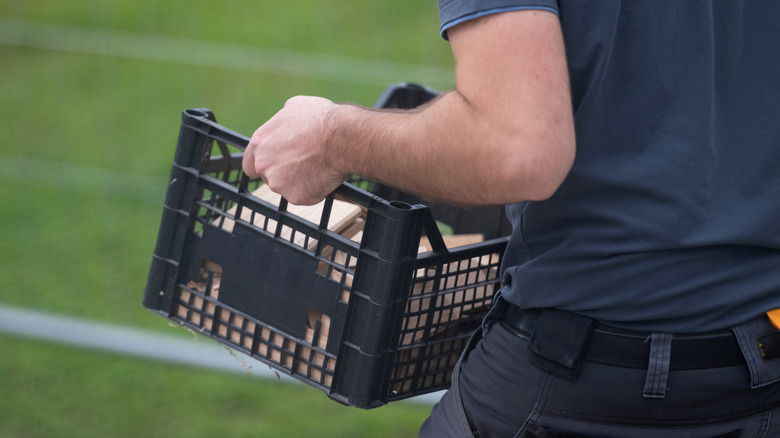
Whether you're an avid reader or not, a bookshelf is a wonderful piece of furniture to have. After all, one can be used for storage, organization, as well as displaying your favorite decor. However, it's not necessary to resort to a premade bookshelf if you'd rather think outside the box. You just need old milk crates and basic supplies — along with a willingness to roll up your sleeves! C-A-L Ranch Stores shared a project where the milk crates are connected to form a multi-level bookcase. The steps are very easy, making it a DIY project that's perfect even for those not accustomed to building their own furniture.
In a world of gorgeous bookshelf ideas, this is one that's on the simpler side. For starters, you'll need eight milk crates that are matching in color and design. A good avenue for getting ahold of some is online platforms like OfferUp or Facebook Marketplace. You could also try asking local establishments if they have any to spare — but it's not a guarantee you'll end up being successful. The next required items are cable ties (like these SKALON Black Zip Ties) and eight thin pieces of plywood. As for the size of the wood? Find the answer by measuring the inside dimensions of one of the crates.
How to make a neat-looking bookshelf using milk crates
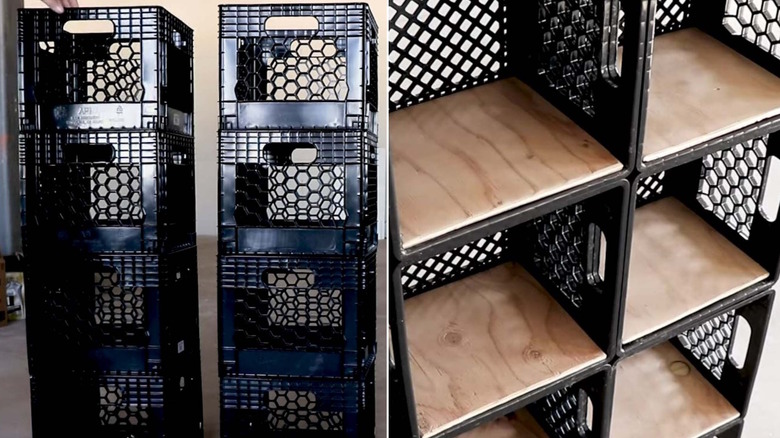
If your milk crates haven't been cleaned yet, you'll want to hose them down prior to starting. Now, begin stacking them up in a 2 x 4 pattern. Their openings should be facing forwards, just like a standard bookshelf. Note that you could flip the dimensions if you'd prefer to create a horizontal piece instead. Or, feel free to use less containers. After the crates are evenly stacked, you're going to connect them together with cable ties. Use multiple ties on each touching side to ensure everything is secure. Cut off the excess tails.
Set a piece of plywood into each of the cubbies, which will help give them stable bottoms. If desired, you could screw a thin piece of plywood to the top of the bookshelf, so it can have a smooth surface, too. Carefully move the DIY bookcase against the wall where you'd like to keep it. For safety reasons, you should always consider anchoring furniture to a wall to prevent tip-over accidents. There are kits that can help, such as this Ougourim Furniture Anchor pack on Amazon.
Time to make the DIY bookshelf your own
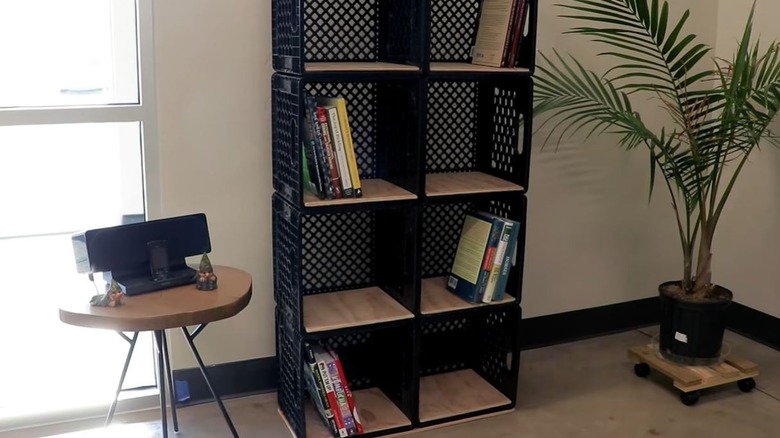
You'll now have eight separate shelves to hold books. Or frankly, whatever suits your fancy! With so many openings, the bookshelf can easily be used as both a storage and display piece. Split up a collection of novels between the crates, then add decor items like plants, figurines, or picture frames. Save a few shelves for fabric storage boxes to help conceal personal belongings. To keep the cost low, Dollar Tree typically carries a variety of options, like these Closet Essential Collapsible Storage Containers. You could also place stacks of clothing, linens, or vinyl records in the bookshelf cubbies.
Do you find the plywood to be a little boring? It would be easy to cover the pieces with contact paper before inserting them. For example, this Orainege Vintage Peel and Stick Wallpaper could help soften their look. Alternatively, forget the wood and use pretty trays instead. You could also cover the crate bottoms with large books, tiles, or shallow baskets. Do keep in mind that painting the bookshelf is also an option. However, to help keep paint on plastic surfaces, the process usually involves giving the item a light sanding prior to picking up spray paint. But it could be worth it if you want the crates to boast a new color.