

If You Have Toilet Paper And A Balloon, You Have The Start Of A Cool Moon Lamp
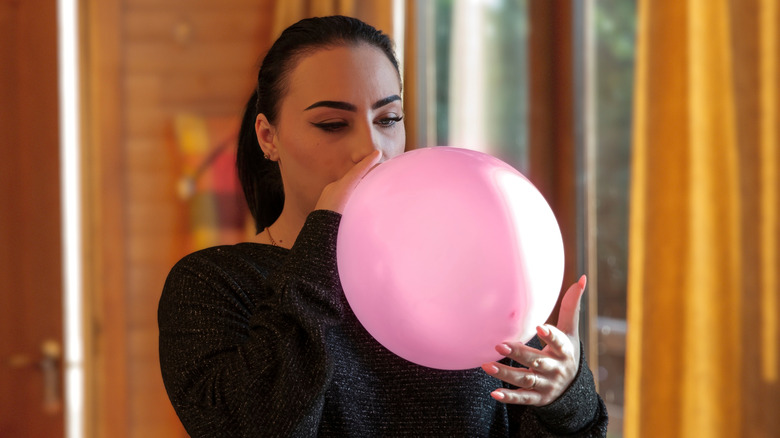
Adding signature lighting features that elevate your home doesn't require sticker shock. There are plenty of ways to get high-end home décor for less by using common items you (probably) already have on hand. That's what YouTuber HerMillionCrafts did using little more than toilet paper, a balloon, and some glue. The result? A very cool papier-mâché moon lamp that promises an astronomical improvement to any space.
Starting with an inflated balloon as a mold, smooth on an even but not-too-thick layer of glue using a brush, then apply your first layer of toilet paper sheets. Layer them in a slightly overlapping pattern for extra strength and texture. When they stop adhering easily, it's time for another round of glue. One to two layers of toilet paper should be enough, but keep in mind that fewer layers mean more fragility. Then leave it to dry for at least 24 hours.
Lastly, let the air out of the balloon — carefully! Don't pop it, or you might fracture the delicate shell. Gently fill it with an LED light string, buy or craft a stand for it, and that's amore. Make sure to use an LED light string, also known as fairy lights, or another LED light source that doesn't emit heat — any heat will add up and eventually turn your pretty little moon lamp into a flaming comet. Seriously, though, toilet paper is flammable, and using heat-producing lighting is a common household safety hazard, so choose your bulbs wisely.
How to supersize your moon lamp
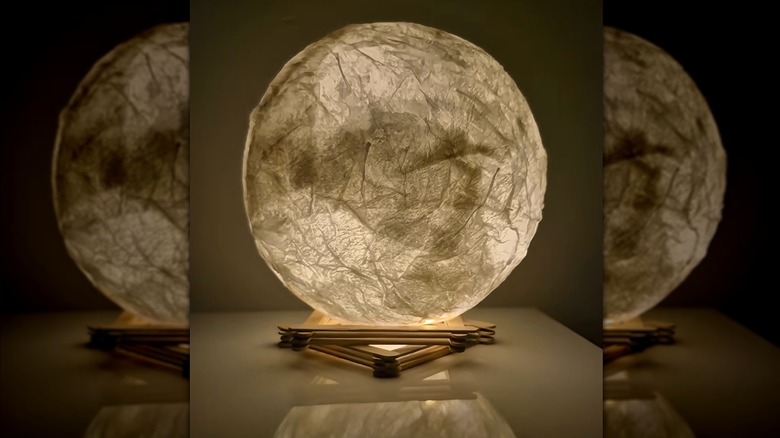
A delicate DIY like this shines as an adornment for an office desk or as a piece of whimsical children's bedroom decor. If you want to take the technique past the moon and build something bigger, a few layers of TP won't cut it. The reason is two-fold, or rather, double-ply. Toilet paper doesn't offer a ton of structural support. You'll need a planetary core, if you will, to keep a larger moon from collapsing.
However, instead of launching with toilet paper, start with a thicker, structural layer that won't crack as easily. Still, try to use materials that let light through, like thin pieces of cheesecloth fabric or rice paper. Dilute your glue with some water in a 2:1 ratio of glue to water for the structural layer. A diluted glue solution spreads more thinly and evenly, penetrates the paper fibers, and produces a cleaner bond. You want about three to five layers of underlayment to make it nice and strong, and you should wait for each layer to dry before applying the next.
Once the last structural layer has fully dried, you can apply the outer cosmetic layer, the decoupage, using toilet paper or paper towels and straight, undiluted glue as in the video. Larger structures with more layers need more time to dry, so leave your lamp shell in a dry place for 48 to 72 hours before attempting to remove the balloon mold. HerMillionCrafts adds some pale purple eyeshadow to give her lamp a slightly mottled, lunar look. Alternatively, a few drops of acrylic paint stirred into your glue solution can tint that final layer into Mars red, Jupiter yellow, or Neptune blue. Just keep in mind that adding paint will dim the glow a little.