

Woman Turns A Pizza Pan Into A Glamorous Table With A Fun Dollar Tree DIY
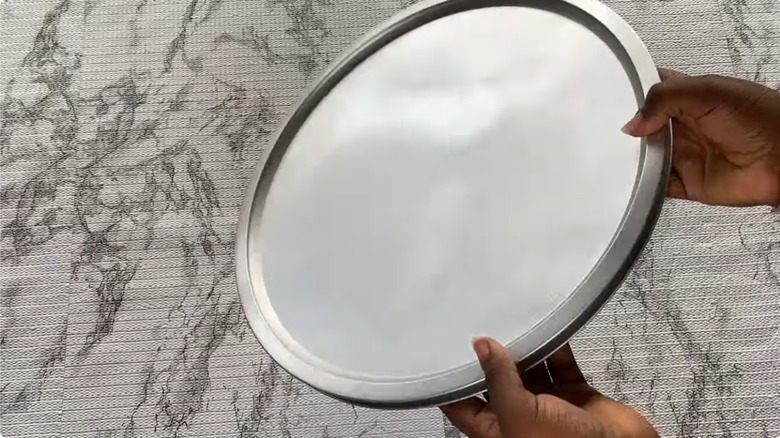
Savvy DIYers know — a trip to your local Dollar Tree can easily stand in for a trip to your local craft store, where pizza pans and other everyday essentials, like candle pedestals and serving bowls, can take the place of crafting materials. With a bit of spray paint, some rhinestone trim, and every crafter's favorite, hot glue, YouTuber INSPIRE 2 DIY transforms two basic Dollar Tree pizza pans, five pillar candle pedestals, and two clear serving bowls into a glammed-up, blinged-out side table. Her DIY is just one example of genius ways to use Dollar Tree pizza pans for home decor projects.
If you'd like to make something similar, pick up two 16-inch pizza pans from Dollar Tree at $1.25 a piece, plus five pillar candle holders, two clear bowls, like the 8-inch Clear Plastic Fluted Serving Bowls for $2, battery-powered LED lights, and a bag or two of acrylic gems. You'll also need spray paint, contact paper, and rhinestones to dress it up, as well as hot glue and a strong glue like Fix All Adhesive to hold it all together.
Assemble your table
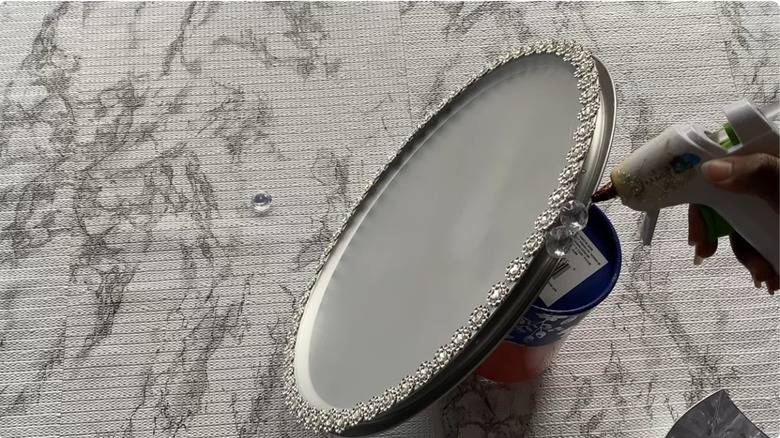
To transform some candle pedestals, bowls, and pizza pans into a work-of-art table, start by gluing the pedestal base together. In the video, the creator uses Fix All Adhesive to attach the candle pedestals end on end. You can use the same or another type of adhesive, like Liquid Nails, Gorilla Glue, or Loctite. She also uses hot glue, which dries quickly and gives an instant hold and stability while waiting for the adhesive to cure. After you've adhered the candleholders to each other, glue the bottom of a bowl to each end, then glue the bottoms of the pizza pans together.
Spray paint the pedestal base and the pizza pans the color of your choice and let dry. To make a table that lights up, wrap and hot glue battery-powered LED lights around the rim of the pizza pans, taping the battery pack to the underside of one of the pans. You can even find battery-powered lights with timer options so you don't have to worry about manually turning them on and off each day.
To dress up the table, and conceal where the candle pedestals join together, wrap and hot glue rhinestone trim around the base, then attach the trim around the pizza pan. Cut a round of contact paper to fit the interior of the pan. To lay the contact paper, remove the backing from ¼ of it, then smooth in place, pushing out any air bubbles. Remove more backing and smooth as you go, until the circle is adhered to the pizza pan. Finish the table by using adhesive to attach the top of the pedestal base to the bottom of the pizza pans.
Bling up or down your table
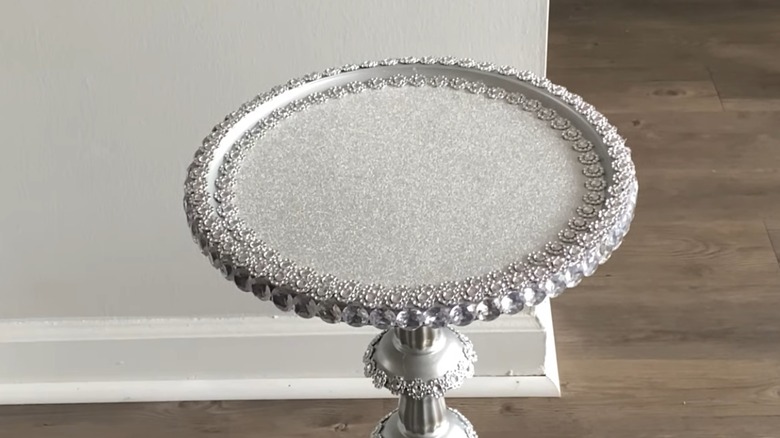
The table in the video certainly is blinged up, with its rhinestone trim, glittery contact paper, and silver spray paint. If that's your taste, then go for it. But if you're looking for a side table that's a little more sedate, you can still make the project work for you.
Trade the shiny silver pedestal for one in a more neutral color, using wooden candle holders, like the $5, 10-inch-tall Wooden Pillar Candle Holder from Dollar Tree, and a different color spray paint, such as white or cream. Pick contact paper in a solid color or go for a funky pattern, rather than glitter, or leave the contact paper off entirely. And, instead of the rhinestone trim, choose a velvet ribbon to wrap around the base.
While the LED lights are a unique addition to the table, the DIYer admits that installing them was the trickiest part of the project. So, if you don't really care about having a light-up table, go ahead and skip the LEDs. You can replace them with a beaded garland, similar to the garland used to make a pizza pan hanging storage display, or wrap the rim of the pizza pans with ribbon instead.