

Grab Old Glass Jars And Cardboard To Make The Cutest Boho Countertop Storage Set
We may receive a commission on purchases made from links.
If you have a growing collection of old glass jars that you don't know what to do with, you're in luck. There are many genius ways to turn these mason jars into home treasures. One clever idea was shared by the YouTuber Camelia DIY. They turned three empty containers into a stylish boho storage set. Although plastic containers were used in the original DIY, you can easily swap plastic for glass jars, which will have a far sturdier and classier look.
The finished DIY features three jars with woven lids that nest inside a matching woven-style basket. It has a boho look that adds texture and softness to hard countertops. In addition to their decorative appeal, the arrangement of jars is perfect for organizing small home essentials. Use them to hold jewelry, craft materials, office supplies, and even disposable bathroom products, like Q-tips and cotton swabs. You could even use the jars to store assorted wax melts or potpourri to add color and fragrance to a space.
To create this rustic but chic storage set, all it takes are a few crafting materials. Save an old cardboard box and three mason jars. You'll also need crafting rings, like the Hanwer Natural Wooden Rings, off-white braided rope, and a neutral-colored fat quarter of fabric. The only tool required is a hot glue gun.
How to upgrade jars into a boho storage set for countertops
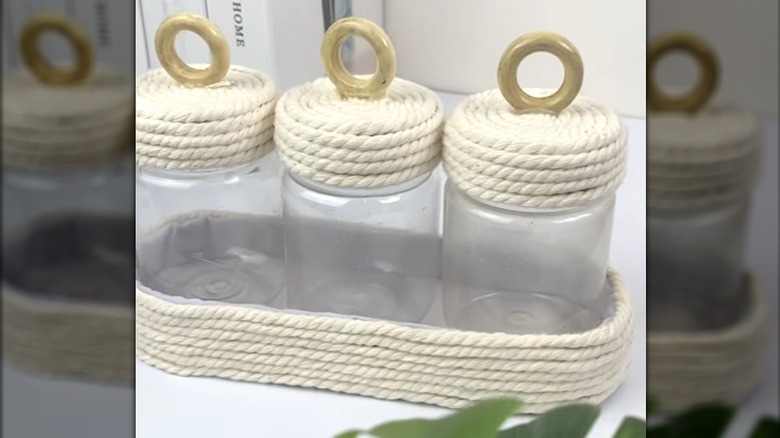
When transforming the old mason jars into beautiful countertop decor and storage, start by unscrewing the lids. Circle the top with a piece of braided rope, starting in the middle and working your way out. Apply a thin line of hot glue as you go. When the outside of the lid is fully covered, dab hot glue on the outer rim of one of the wooden rings and place it standing up in the center of the woven lid. It should emulate the look of a looped handle. Repeat the process with two other glass jars, then line them up side by side on a piece of cardboard. Make sure they have a little wiggle room, and aren't too tightly pressed together.
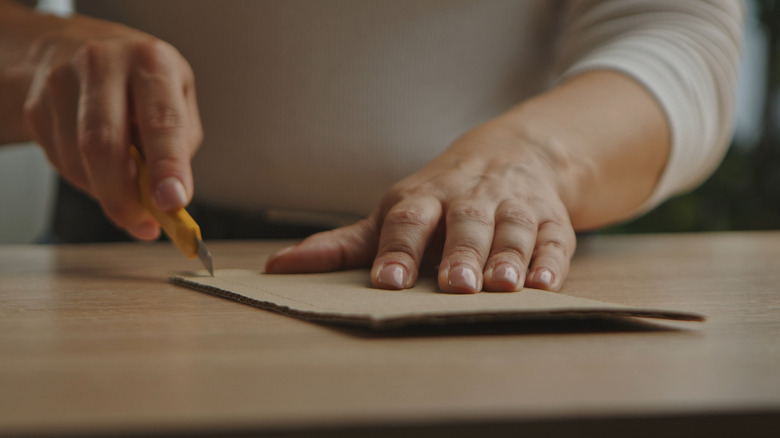
Trace around the row of jars with a pen or marker, but don't trace too tightly around the edges. This will be the tray they sit in, and they should be easy to pick up and put back. Cut the cardboard into a rectangle shape with rounded ends, then layer the inside with fabric attached with hot glue. Wrap the outside with braided rope to hide the glue spots and completely mask the cardboard material. Try to arrange the braided rope ends on the same side of the tray, and designate this side as the "back" that will be up against a wall or other decor to keep the seams hidden from view.
Since this project is made of cardboard, avoid placing it close to sinks and other plumbing appliances. The high humidity will break down and soften the cardboard material over time. A well-ventilated bathroom might be safe. However, your best bet would be to spray down the cardboard with a protective coating, like Aleene's Clear Acrylic Spray Sealer, to improve its chances against excessive moisture.