

She Upcycles Cardboard And Paper Into Unique Storage With An Impressive DIY
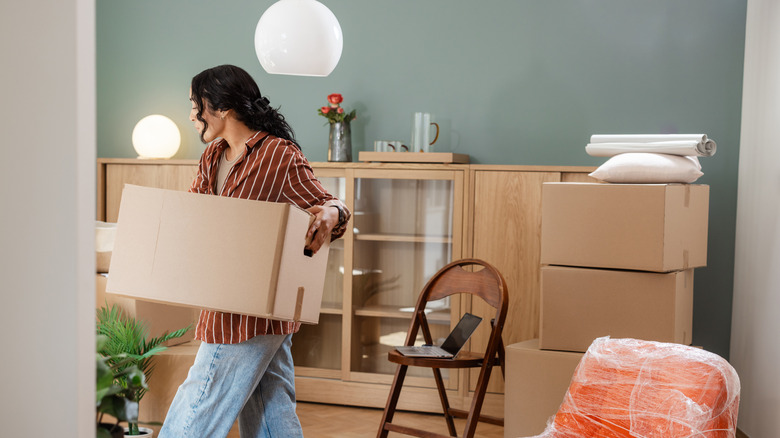
Picture this: you've just moved into a new place and have loads of cardboard boxes, but almost no furniture. What do you do? Instead of running to your nearest IKEA, remember that an old cardboard box isn't trash and can be upcycled into something useful. For example, bookshelf artist Dansy Thomas created a colorful unit out of various-sized boxes and homemade paper clay.
Thomas' creation is a unique, fully upcycled bookcase that evokes "Alice in Wonderland" or Candy Land with its lime green exterior and hot pink interior. The rounded form of the bookcase and decorative details make it look like something straight out of the pages of Dr. Seuss, not something made from recycled materials. In a series of Instagram posts, Thomas breaks down the process, demonstrating how to build the bookcase's cardboard frame, make your own paper clay, and decorate the nearly finished shelving unit.
You can build something similar, but thoroughly unique to you, with sturdy cardboard boxes, like those used for shipping or moving, masking or paper packing tape, plenty of paper, joint compound, and white glue. Common household items like a shredder or pair of scissors, a pot of boiling water, a blender, vinegar, salt are also used. Paint, in your choice of colors, will put the finishing touch on the bookcase.
Build a 100% recycled bookcase
Building your own bookcase from cardboard and paper clay is a two-part process (not counting the decoration). First, you need to build the structure using boxes. Cut away the flaps from the top of the boxes so they are completely open and tape up the bottom and sides to reinforce them. Arrange them into a bookcase shape, with however many shelves or cubbies you'd like. Thomas stuffs the boxes on the bottom of the bookcase with packing materials and paper trash to give them weight and more support.
Once you've arranged the boxes in a structure you like, tape them all together. Don't be shy with the tape, as you want the piece to remain intact. Now it's time to make the paper clay.
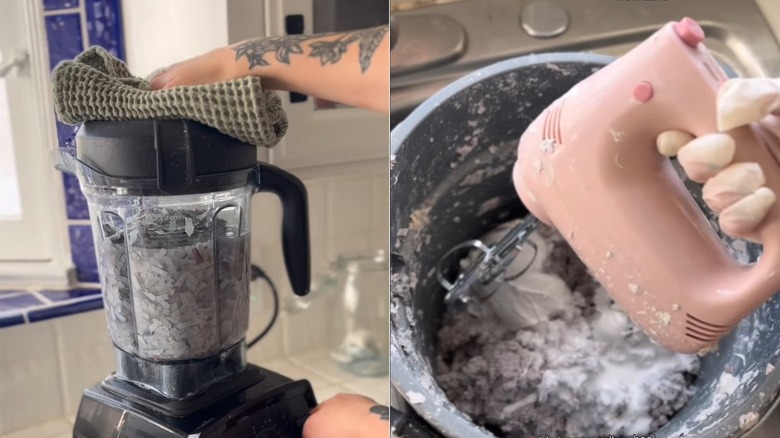
Shred or cut up lots of paper into tiny pieces, put it in a large pan or bucket, and pour boiling water over it. Let the paper-and-water mixture sit for at least a day, until it's mushy. Then, use a blender to mix it all up. If you're not using a super powerful blender, you may need to add some more water to help it out. Strain the mixture and squeeze to remove excess water, then add a bit of salt and vinegar, followed by one part each of joint compound and glue. Mix it up until it feels like clay.
Put your personal stamp on the bookcase
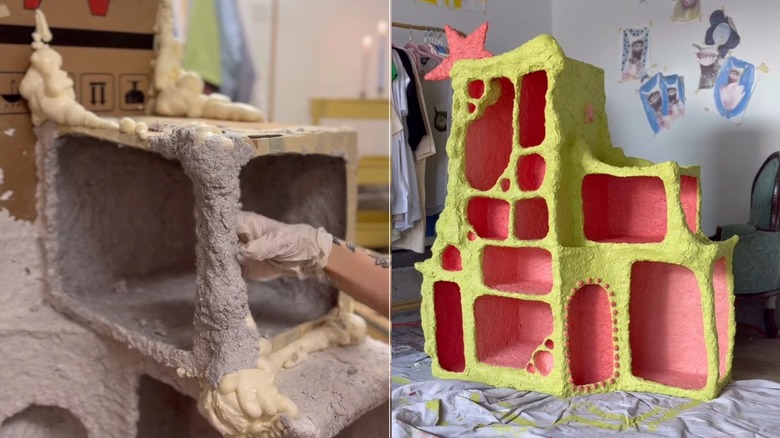
You've got your structure, you've got your clay. Now it's time to go wild with creative expression. If you'd like, add some decorative touches to the bookcase structure itself by cutting out arches from cardboard and taping them to the shelves' openings. You can also add little details, like cardboard stars or flowers, if you'd like. Spread and smooth the paper clay over the structure, completely encasing it. Since the clay will give the bookcase some texture, play around with it, making it as thick as you'd like. Let the clay dry before painting or doing anything else.
Thomas uses house paint to add color to her DIY structures. You can do the same, opting for bold and bright colors, if that's your style, or going for a more neutral look. Bright colors may be perfect for a shelf you'll use in a kid's room, while a more sedate color palette would be appropriate if you're going to put the bookcase in your living room. You could also leave the clay unpainted and seal it for a concrete-like, industrial look.
Whatever style you choose, a DIY bookcase made from 100% upcycled and reused materials is budget-friendly and earth-friendly. If you've got any cardboard leftover when you're finished, use it to make adorable, eco-friendly picture frames for your kitchen.