

Turn Old Cardboard Into An Adorable, Eco-Friendly Way To Decorate Your Kitchen
Ordinary cardboard boxes can be upcycled into a million things, and this DIY shows that includes adorable, magnetic picture frames for your fridge. Made by Yaya Knudsen (yaya_knudsen), this super cute project is more than just fun — by repurposing trash you are doing your part by helping to keep it out of the landfill. To complete this project, all you need is cardboard (before you set it aside for this project, make sure you store your boxes properly), a hot glue gun, fabric, a small magnet, scissors, and a print of one of your favorite photos. Start to finish, the project shouldn't take longer than an episode of your favorite show. When you are done, you'll have a beautiful picture to hang on your fridge — or make twenty and use your fridge as a gallery wall alternative!
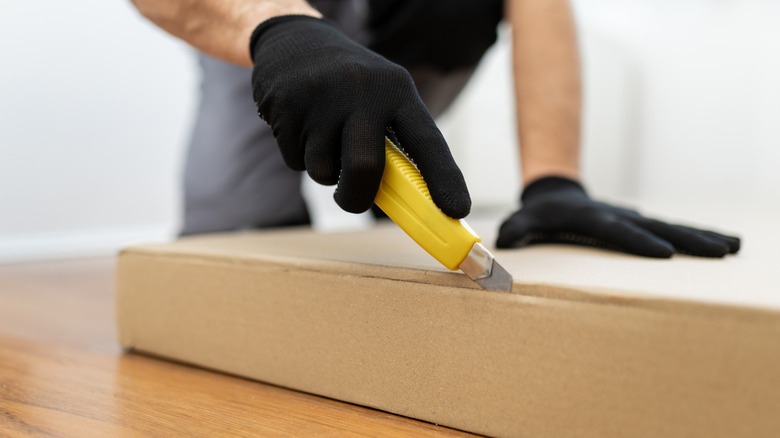
To start, cut out the shape of your frame. In her tutorial, Knudsen creates rectangular frames, but you can do these in any shape (though wrapping the fabric might be a bit trickier). Then lay the picture you want to frame in the center of the cardboard and trace the perimeter. Use this outline to cut the inside of your frame using scissors or a craft knife. Try to keep the center in one piece, as you will be using it later. If you choose to make a frame that isn't rectangular, you will want to cut your picture to match that shape before using it to trace.
How to make a DIY picture frame for your fridge
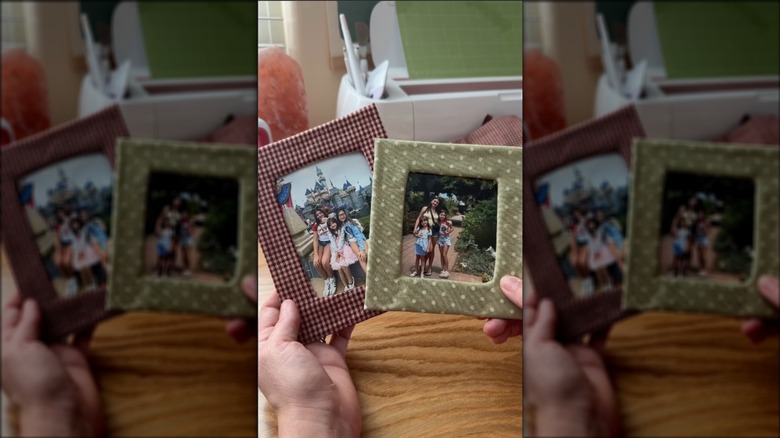
With the skeleton of your picture frame complete, it's time to dress it up a bit! Lay your fabric down flat. Using a hot glue gun set to low (around 250 degrees Fahrenheit), put glue on one side of the cardboard frame. Then, set the frame on top of your fabric, glue-side down. Now use your glue gun to place glue around the top surface of the cardboard frame. Fold the fabric up and over the edge of the frame and press it into the hot glue. Next, cut the fabric stretched over the center of the frame and wrap it over the back, gluing it in place. Then, use your scissors to trim away any excess fabric. Using the piece of cardboard you cut from the center, mount your photo and then glue all the pieces together. Once the photo has been placed, attach a magnet to the back of the frame. Make sure you choose a magnet with smooth edges and a rubber coating to avoid scratching your fridge, and also keep in mind that too-powerful magnets can also damage its internal electrical components.
There are plenty of ways to add personal touches to this DIY. You could use beads, flat-backed gems or pearls, puffy fabric paint, jute twine, or ribbon to add embellishments to your frame. You could even cut out a second cardboard piece an inch or so narrower than the first, wrap it in fabric, and glue it to the top of the first frame for a stacked-frame effect. Using a photo mat instead of leftover cardboard to mount your picture, will give it a more polished look, too.