

She Uses Old Window Shutters To Make A Modern Rustic Side Table With A Clever DIY
If you've ever balanced a coffee cup on a sofa arm because there's nowhere else to put it, you know how useful a small table can be. Sometimes you just need an extra surface without buying another bulky piece of furniture. A narrow side table can give everyday essentials a home while fitting into a spot that would otherwise go unused. If you're ready to swap traditional side tables for a chic DIY, an old wooden shutter could be part of your next weekend project.
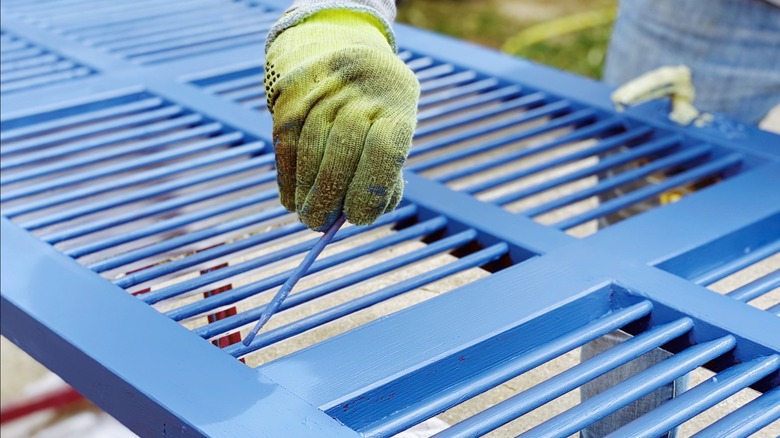
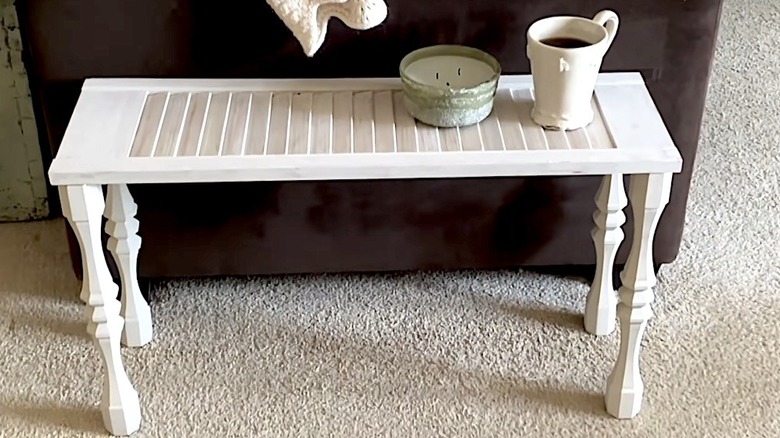
In a video shared by Hometalk on YouTube, a creator turns a window shutter into a slender side table by adding four wooden legs. The shutter becomes the tabletop, with its solid outer frame providing attachment points for the legs and its slats adding texture. In the video, the creator levels recessed areas underneath with thin wooden pieces before painting and attaching wooden spindles. The result gives an overlooked item destined for the trash a practical new purpose while keeping its character intact.
For the DIY, you'll need a wooden shutter free from damage, four furniture legs at your preferred height, compatible mounting plates and screws, and wood glue. For assembly, grab a drill, measuring tape, sandpaper, and optional paint or stain. If you're looking for end table ideas that you can DIY without spending the entire weekend in the garage, this one keeps the construction relatively simple.
How to make a side table from an old window shutter
If you want to upcycle old shutters but don't have any tucked away, check salvage shops or Facebook Marketplace. Look for secure slats and skip anything rotten or badly warped. Clean it and remove leftover hardware. Assess potentially lead-painted surfaces before sanding or stripping.
Lay the shutter face down and position the legs near each corner, attaching them to the solid outer frame rather than the thin slats. Level recessed mounting areas if needed, then secure compatible mounting plates and legs according to their instructions. Choose screws short enough that they won't poke through the top. Flip the table upright and check for wobbling, tightening loose connections and checking the leg alignment before assuming anything needs shortening.
To make it look like it belongs in your home, try a whitewashed finish for a rustic room or paint in an opaque color that goes with your space. If you want a more natural look, stain the wood. Painting the legs a contrasting shade is also an option. If you have another shutter or a piece of spare wood handy, you could add a lower shelf, attaching it with brackets between the legs. The finished table could sit beside a sofa, beneath a mirror, or along a hallway where a deeper console would get in the way. Add a tray to keep small items from slipping between the slats or a glass top for an even surface. Now you've got an extra surface wherever you need it, plus bragging rights when someone asks where you bought the table.