

Cover Glass Jar Lids With Paint To Make The Cutest DIY Storage Containers
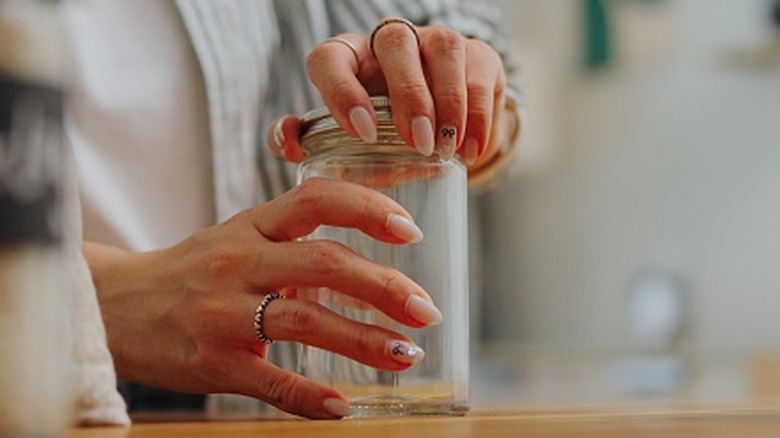
Cute storage containers may not make the clutter disappear, but they do make it much more aesthetically pleasing. If you're trying to organize and declutter your home, jars may be one of the first items you turn to, as they're versatile and easy to decorate. If you'd love to have a pretty jar to sort and store your items, but don't have the art skills to freehand a beautiful painting, there are other options. You can use a paint inlay to give the jar's lid a more complex pattern or image without the need to paint it yourself. You'll need your jar lids, paint, the paint inlays, and a spray bottle with water. You may also want a clear sealant to protect the finished piece and additional decorations.
These paint inlays are a relatively new product from Iron Orchid Designs, or IOD, that allow DIYers to transfer a pre-painted design onto your items. They come in packs of eight sheets featuring one or more designs. When applied to your jar lid, some of the paint from the sheet transfers onto the lid. The paint dries just like regular paint, so you can still use the jar and lid for storage. Don't worry if your local craft stores don't have paint inlays in stock or the currently offered designs don't fit your aesthetic. You can achieve a similar effect using decoupage with a bit of extra effort. In either case, the result is a lovely storage jar sporting detailed artwork on the lid.
Giving your jar lids a new look
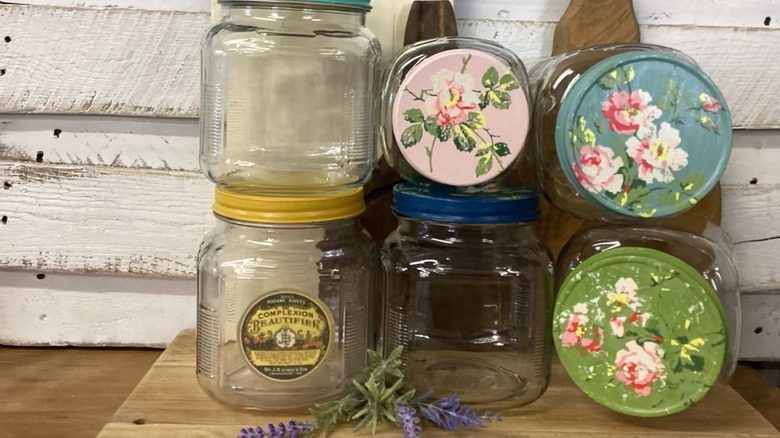
Start by giving your jar lids a base coat of paint. Avoid using a shade that is too similar to the color of the inlay or it might blend in too much. For an overall clean look, take the label off the jar and remove sticker residue from the glass as well. Cut out a section of the inlay that has the design you want on the lid. Make sure the size is a good fit for your lid. Add a coat of fresh paint to the lid so the surface is wet, then apply the paint inlay colorful side down, pressing gently. Avoid moving it around too much, as the design may smear.
Mist the inlay with your spray bottle or dampen it with a rag or sponge. It may sound odd, but think of it almost like applying a temporary tattoo. You'll know it's wet enough when the backing paper turns clear and the design is brightly visible. Let it sit for up to an hour while it dries, then dampen the surface again, allow the water to soak in, and gently peel the paper off. Whether you're using a paint inlay or decoupage, let it dry and add a clear sealant. The lid will be cute enough on its own, but if you don't want the contents of the jar to be visible then decorate it to match. Use your paint inlays for the jar or go in a different direction with other creative ways to decorate jars without paint.