

Grab Clothespins And Transform Them Into A Wooden Storage Basket
We may receive a commission on purchases made from links.
An elegant wooden basket can go a long way when you're trying to cut back on the clutter in your space. These kinds of storage fixtures come in all sorts of different shapes and sizes, and unfortunately, buying them at a home goods store isn't always cheap. The good news is, you can swiftly piece together such a container yourself with wooden clothespins and a couple of other craft supplies that you probably already have lying around.
To make the lid, all you have to do is glue your pins together in a wheel-like formation, with a large wooden bead in the middle. For the sides of the basket, you simply have to attach clothespin halves to a wheel of cardboard facing outward, and link them together along the outside with a bit of jute cord. The finished DIY will look chic and is a creative way to use baskets to organize your kitchen.
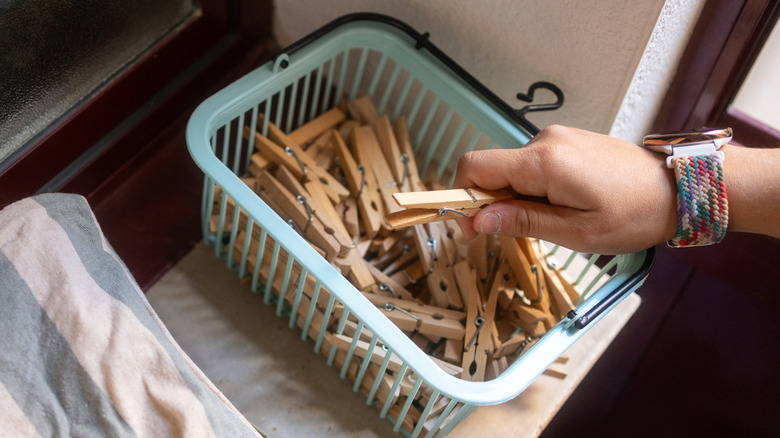
You may already have a collection of spare clothespins at home, but if you don't, there's no need to fret, because buying them won't cost a fortune. A 50-pack of Mr. Pen large wooden clothespins from Amazon, for example, retails for under $6, and you can get them in various sizes. PVA glue is a must for this project, as is a bit of burlap fabric for the interior of the basket. And if you want to give your lid a layered look, you'll want a set of smaller clothespins, too. This DIY is also ideal for those seeking to organize cluttered bathroom drawers.
How to make a wooden storage basket from clothespins
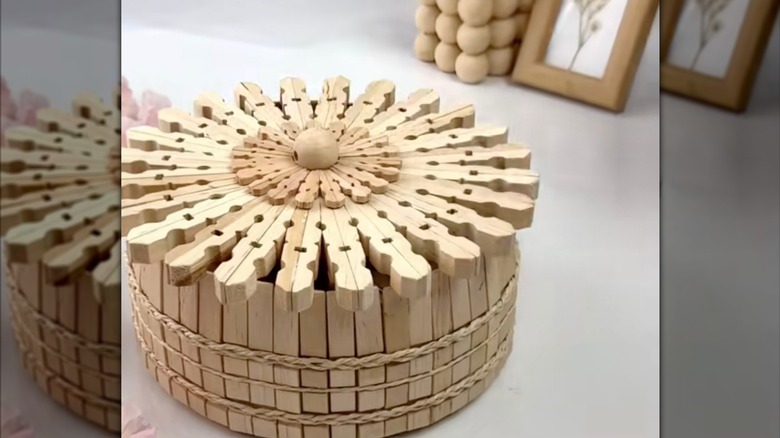
First, you'll need to make your basket's lid. Start by taking your wooden clothespins apart and getting rid of their metal springs. Then, glue a number of your pins back together backward, along their flatter sides. Arrange these glued pins so that they fan out in a circle, with their narrower ends meeting. This will form the main part of the lid. Repeat this process with mini-clothespins and then glue the circle of miniature pins to the top of the larger pin circle to decorate it. After that, simply top off the center of your lid with a handle of choice, such as a wooden bead.
Next, cut out a couple of cardboard circles for the base of your basket. Their diameter should be slightly smaller than the lid. Stack the rounds together, and then glue burlap fabric over the topmost one. From there, simply adhere halves of clothespins to the edges of the cardboard, so that they form the perimeter walls of the basket. The inner parts of the halves should point outward, and the thinner edges of the pins should face upward. Lastly, glue some jute cord into the clothespins' grooves, and wrap it around the basket. Glue more of the cord down along the interior base of the basket as well.
Staining or painting your basket's clothespins allows you to quickly customize its appearance. If you're concerned about the basket's longevity, switch to a stronger craft adhesive, such as E6000, and brace the inside of the basket with more jute cord. Should you have spare clothespins, you can use them to make an elegant DIY candle holder.