

Don't Toss Your Plastic Nursery Pots: Use Them For This Cute DIY Wreath Idea
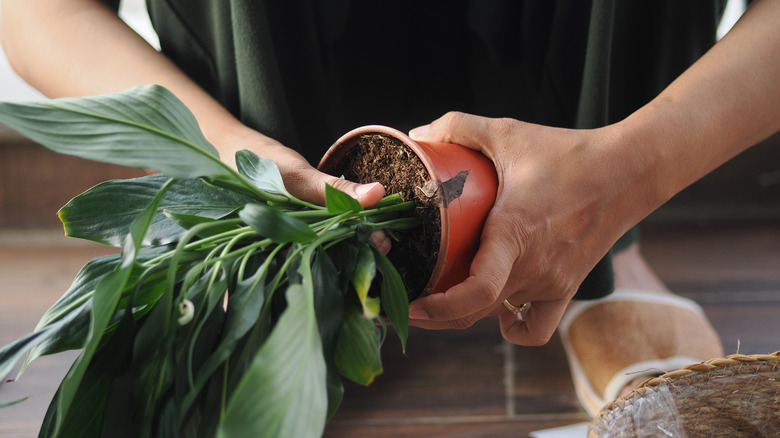
After transferring plants to their new homes, you're often left with the plastic nursery pots they came in. Unfortunately, not every area recycles them, so many times they end up in the regular trash. To avoid this fate, you could upcycle plastic pots into garden decor. But what about something for your actual house instead? DIYers have been turning their pots into really charming wreaths, perfect for any plant lover. Attaching them to a wreath form creates a circular formation of containers. Then, you can decorate it in different ways (likely with some faux plants, of course).
It's possible to use terracotta pots for this project as well. However, what's great about using plastic nursery containers is that they're lighter and less breakable. Don't worry, you can turn those old terracotta pots into patio lights instead! For the wreath, you'll want a handful of the plastic pots (although the exact number will vary). They should be on the smaller side, such as these RooTrimmer 3-inch Plastic Nursery Pots. You'll also need a wreath form, wire, hot glue, and decorations. As for the wreath form, you can use what you like — whether it's grapevine, wood, or metal like the ZUDAY Wire Wreath Form.
Craft a unique wreath out of plastic nursery pots
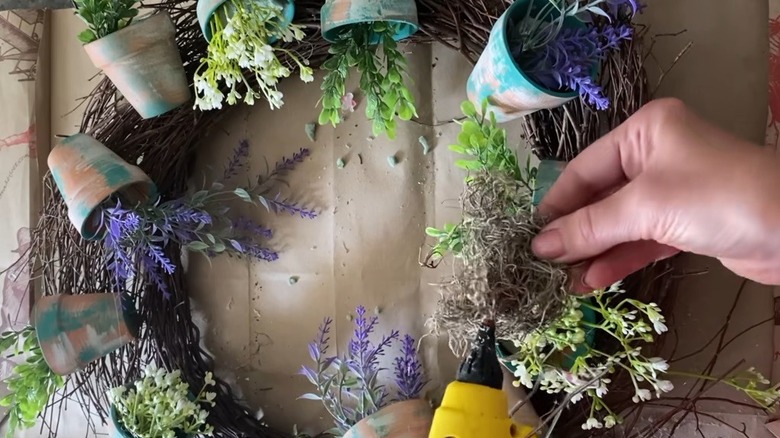
First, clean your pots in soapy water, scrubbing them with a brush to eliminate dirt. After they're dry, lay your wreath form on a surface and start playing with the design. For instance, the pots could all go in the same direction or be tilted differently. If you have a mixture of sizes, perhaps you want to create a pattern. Layout the nursery pots so they go all the way around the wreath form to cover it up. Yet, if you're using one that's vine-based, you could focus on a single section instead.
Next, attach the pots with pieces of wire. Thread a strand through each one by utilizing the pots' drainage holes. Wrap the wire around the wreath form and secure it closed. Then, repeat this step until all of the pots are tightly attached. If you have spots open on the wreath that you'd like filled in, consider doing so with floral materials like artificial moss or greenery. Alternatively, you could wrap the wreath form in fabric prior to starting so it's not a big deal if there are gaps.
Put final touches on your DIY wreath
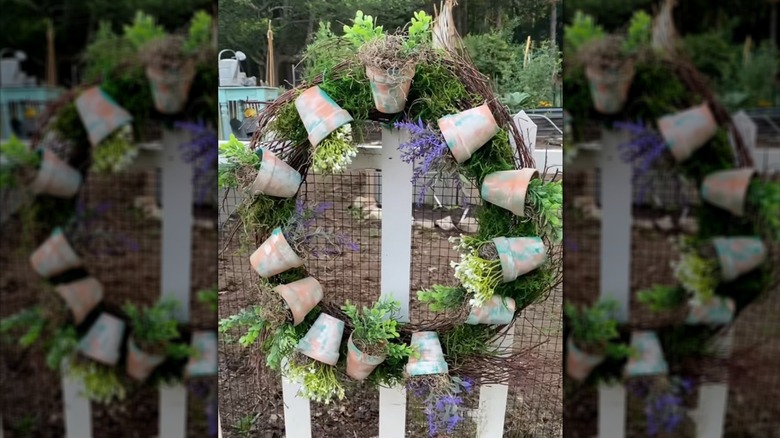
You'll especially want to have your creative hat on for this part. That's because it's completely up to you how to decorate the wreath. You could fill the plastic nursery pots with faux plants, either gluing them in or using floral foam at the bottom of the containers. They could be colorful flowers, succulents, or simple greenery. If you're a gardener at heart, perhaps you want to attach a couple of hand tools as well. Add a bow, or keep it plain so the pots are what shine the most.
There are some decorating steps you could take before assembling the wreath, too. Paint the nursery pots a new color, like with Rust-Oleum Textured Spray Paint, so they look rustic. Or, apply cute little stencils instead. You could even adorn their rims with a border like Mr. Pen Washi Tape, or decorate the plastic pots with various art supplies. The last thing to do is find a safe place to hang your wreath. It should look amazing on a porch, exterior door, or above a window looking out into the yard.