

Turn Extra Clothespins Into A Must-Have Kitchen Countertop Find
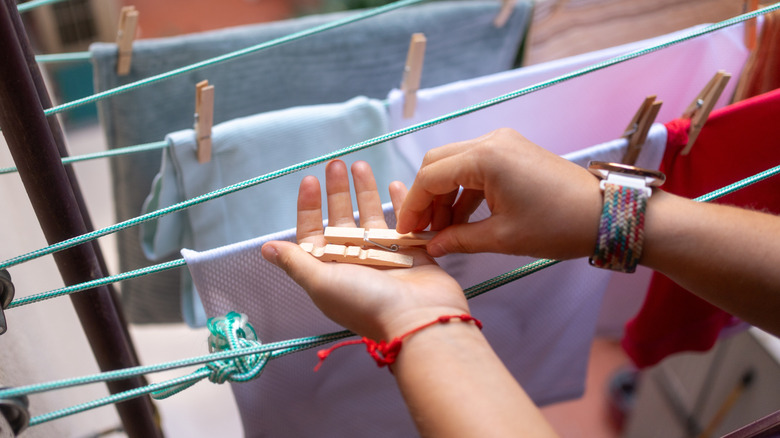
Even if you don't hang your laundry on a clothesline, you might still have a bunch of clothespins lying around. After all, they're great for crafts (including making an irresistible DIY bird feeder). But did you know that clothespins can be upcycled into a trivet, too? If you need a refresher, this is the kitchen accessory you toss on a counter or table before setting down a scorching dish. Trivets help protect surfaces from heat, which could end up damaging them. All you need are clothespins and a hot glue gun to create a homemade version for your countertop. The project entails attaching them together to form a stylish wooden mat — perfect for holding anything fresh from the oven or stove.
Some people are bigger fans of cast iron trivets. But what's great about one made from clothespins is that it won't cost an extra nickel if you've been saving the materials for a rainy day. You'll need several dozen pins, though — especially to make a long, swirling piece like Instagrammer @southernhomeandliving. Luckily, they're inexpensive items if you find yourself needing more. For instance, you can get a pack of 22 Crafter's Square Clothespins at Dollar Tree for $1.25, at the time of writing. Another bonus is that the project could be a relaxing way to spend an evening since it requires minimal effort. Just be prepared for lots of gluing.
How to make a unique countertop trivet with clothespins
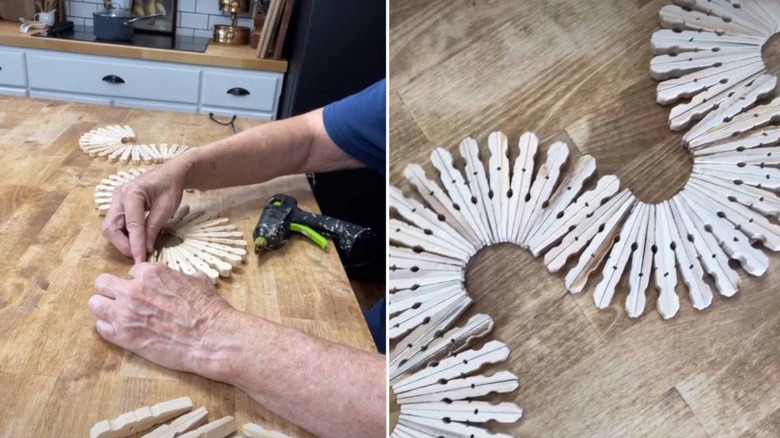
The first thing to do is take your clothespins apart. Feel free to discard the metal springs, as you won't be needing them. Next, glue the clothespins back together with their flat backsides facing each other. Once you have a pile of them reassembled like this, you can start crafting the trivet. Just be sure to clear off your counter as you'll need a big space to work on. To give a visualization, you're going to attach the clothespins together to craft a multi-trivet piece that spreads across the counter.
One by one, start gluing the clothespins together, creating an S shape on the counter by tilting the pins. Continue the design by flowing into another S with the pins facing the opposite direction, and then give the piece time to set before using it. The idea is that you'll be able to set a hot dish down on every curve. Ultimately, how long it is depends on your tastes, but keep in mind that it might be trickier to store away than separate trivets.
Another way to make a beautiful DIY trivet using clothespins
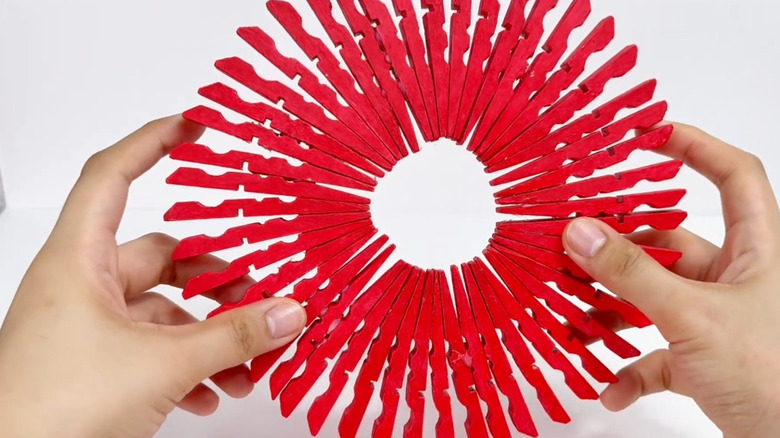
If you don't have enough countertop space for a lengthy trivet (or don't cook much), it's possible to craft a small one instead. Begin by dismantling the clothespins (just like in the last DIY), and get rid of the springs. Then, begin attaching the wooden legs together using hot glue, creating a circular shape rather than an S. You could also do the same with clothespins that have been glued back together without their springs. In no time, you'll have a round trivet.
Want one with a little more style? Slide a clothespin in between each opening to extend the trivet outwards. The end result should look similar to a sunburst. You could also paint the clothespins prior to the project, or paint the trivet afterwards if you want to add color to the dining table. Surely, this DIY piece of functional decor will impress guests as you set down a steaming pot. Similarly, there's also a DIY for making wood bead trivets if you like to keep a variety on hand.