

Not Traditional Headboards: How To Use Leftover Fence Paneling For A Rustic DIY
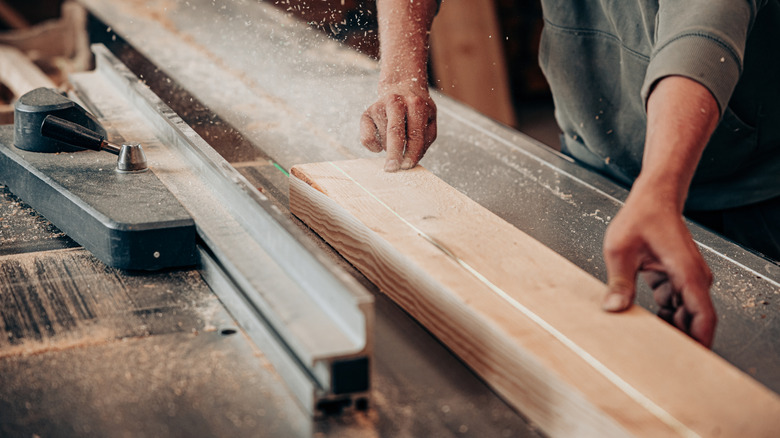
Your bedroom should be the ultimate reflection of your personal preferences, aesthetics, and style, but headboards can be a bit plain. There are plenty of fun headboard alternatives you can try out, and this one is particularly great if you love rustic decor and upcycling. Any leftover wood fence paneling or boards you have from the last time you installed a fence can be used to create a new, custom headboard for your bed. It's a great way to replace a headboard that just isn't working for you or one that's been damaged beyond repair. The fence panels or boards are already tall and relatively even in width, which makes them easy to work with. In addition to your fencing, you'll need a saw, drill, screws, and potentially some spare wood for legs or reinforcements.
When picking out fence paneling or boards for your new headboard, there are a few things to keep in mind. Firstly, the paneling should be in relatively good condition. While you may be able to reuse pieces from a fence you took down recently or leftover boards that have been in storage, broken boards and cracked panels may be more difficult to handle. Likewise, while you can clean your wood fence to remove surface grime, you won't want to bring any rotting wood or bugs into your bedroom. You may be able to use other fencing materials such as vinyl or metal, but keep in mind that they may be more difficult to cut and shape.
Building your headboard
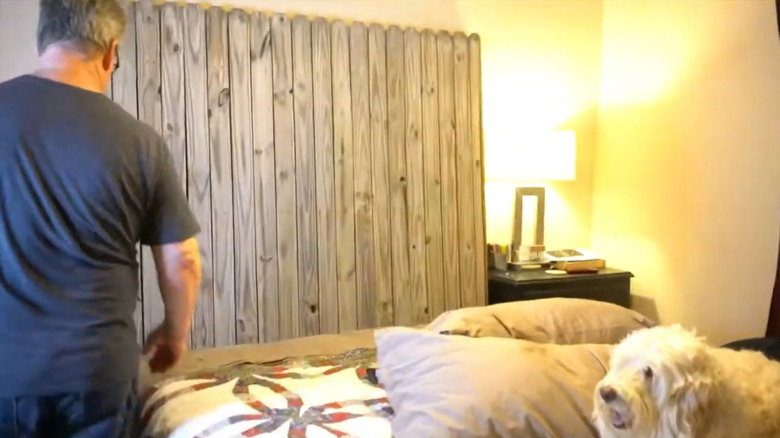
Measure your bed to ensure you have enough fencing to span the entire headboard, then measure the height. Your headboard can be as tall or short as you like, as long as you're willing to adjust your fence panel's height as needed. If you're removing your old headboard, you may be able to use it as a guide. Measure your fence paneling and mark any cuts you need to make to trim off excess at the edges. If you want to make any alterations to the shape, mark the changes now as well. Leaving the top as it is will preserve the rustic fence, but you could cut it into a smooth curve, wave pattern, or a more complicated shape. If you're working with individual boards, line them up completely and make your marks carefully to ensure it will look right when fitted together.
If you're working with individual boards, lay one or more long boards horizontally across them and screw each board into place. Carefully cut along the marks you made. Now is a good time to add any decorative elements, such as fabric, carvings, or stain. This guide to staining wood is a good place to start if you're uncertain. At this stage, you may be able to attach the fence panel behind your behind to the frame or wall and be done. However, it will be more stable if you add some vertical boards to the base for extra support and use those to affix it in place.