

Cover Old Planters In Fabric To Make The Cutest Matching Pots
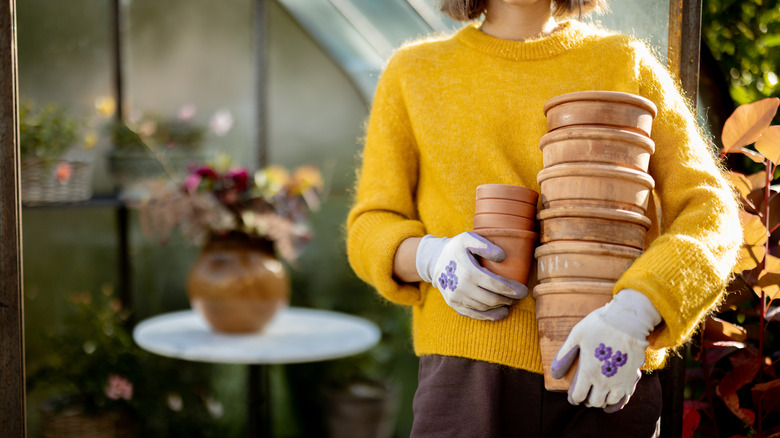
Plant parents often struggle with pot problems — too many pots lacking personality and style. You likely have a stockpile of cookie-cutter planters that you've collected over the years, so the thought of buying new ones may feel wasteful. At the same time, you can't let your perfectly curated little jungle of houseplants grow in plain, boring pots. Solve two problems in one by covering those old terracotta pots with fabric and create a cute matching set. Decoupage glue is the perfect way to adhere your choice of fabrics to your old planters and give them the glow-up they deserve.
Of course, there are easy DIYs that make thrifted planters look high-end using paint. But the fabric element on this DIY makes it simple to incorporate patterns and bold colors without spending hours painting intricate designs. The project can be done in just a few minutes. You also get the fabric texture, which adds dimension and depth to the finished design. And since you're choosing the fabric, you can completely customize the look of the pot. If you have several old mismatched pots, using the same color scheme or fabric on them creates a unified look.
Even better, using old pots that you already own makes this a low-cost upgrade to your planters. It's also a great way to use up scrap fabric. If you don't have any fabric on hand, use old sheets or clothes, or thrift fabric items to use for this project. Other than the pot and the fabric, you'll need decoupage glue and a brush to apply it. You may also want paint to cover any exposed parts of the pot.
Decoupage fabric onto an old pot to upgrade the look
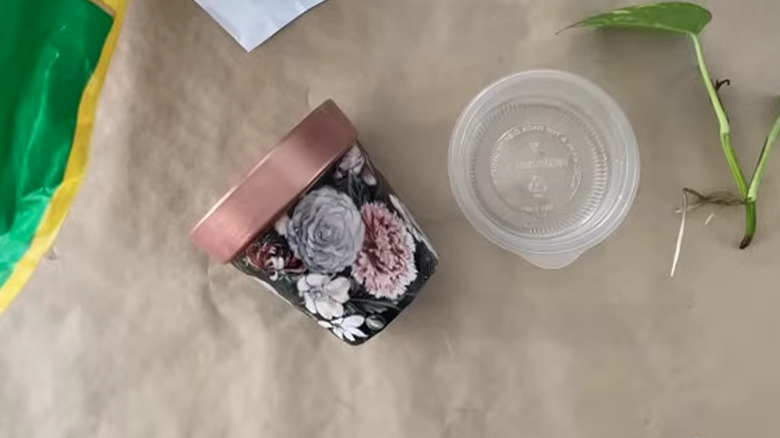
You want to start with a clean pot, so brush off loose dirt and wash the container in soapy water. Baking soda paste or diluted vinegar works if you need additional cleaning power. Wait until the pot is dry before you start decorating it. You can cover the outside of the pot completely with fabric or cover only part of it. For example, you might leave the upper rim uncovered or painted in a coordinating color. Paint any parts that will be exposed where you want a specific color that coordinates with the fabric. You can also waterproof the terracotta pots during the decorating process by applying a sealer over the surface.
@handmadehappyhour DIY Fabric Covered Clay Pots. These are so easy and turn out adorable. They work best with silk plants but you can seal the terracotta and do this craft technique with real plants too. #crafts #tutorial #diy #handmade
Covering the pot is easier if you cut the fabric to about the shape and size you need — wrap the fabric around the pot to get an idea of the size. Apply a generous layer of decoupage glue onto the pot, and smooth the fabric over it as you go to get rid of bubbles. Put more glue on the bottom of the pot, and smooth the fabric around the bottom edge. You can then brush more decoupage glue over the fabric once it's positioned. Repeat these steps with as many pots as you wish, creating your adorable matching set!
If you want to use the saucers with the pots, make sure you leave the drainage holes open without fabric blocking them. Paint the saucers a coordinating color to make the full set look cohesive. If you don't want a completely uniform set of pots, switch up how you use the materials. On one pot, you might cover the lower part with fabric; on another, you might want to cover just the top wide rim, painting the exposed surfaces another color.
Adjust your fabric-covered pot designs to match your style
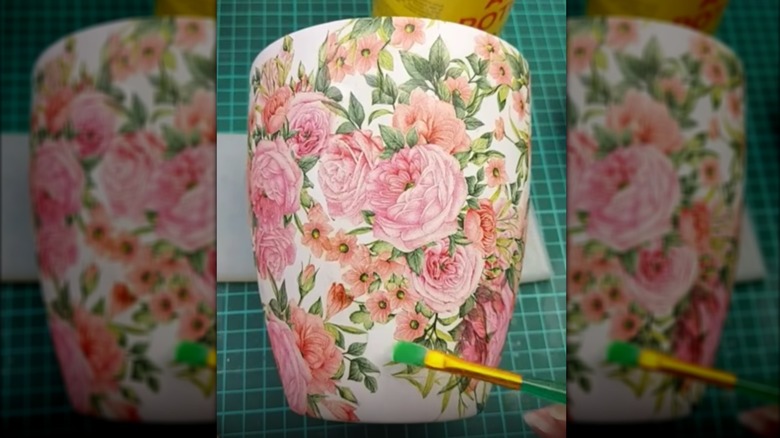
You can try this project on different types of planters. Mod Podge works on most materials, including porous and nonporous surfaces, so it should hold fabric to any type of pot you have. If you're painting some of the surfaces, choose a paint that works on the type of material the pot is made of.
Instead of covering the pot with one solid piece of fabric, cut out shapes or designs and leave the pot visible between the shapes. This works well with a printed fabric — cut out individual flowers or other designs on the fabric, and decoupage them on individually. Or, cut strips or geometric shapes out of the fabric, and piece them together on the pot. Coat the edges on the individual pieces well to keep them from peeling up. The type of Mod Podge you use also changes the look and can act as an embellishment. In addition to the common gloss, matte, and satin finishes, other options include Sparkle, Antique Matte, Iridescent, Pearl Lustre, and several others. There are also water resistant, outdoor, and dishwasher-safe formulas to better stand up to the moist conditions.
You can also add other accents to the pot. If you cover the entire planter with fabric, add ribbon or a cord underneath the rim. Or, add contrasting fabric, ribbon, or another embellishment along the top and bottom edges of the pot for definition. Whether your goal is using plants as decor in the pot or using it to organize items, you can also add wood blocks or round wood beads as feet to elevate the pot.