

Spraying Windex On Caulk: Why It Is Recommended And What It Is For
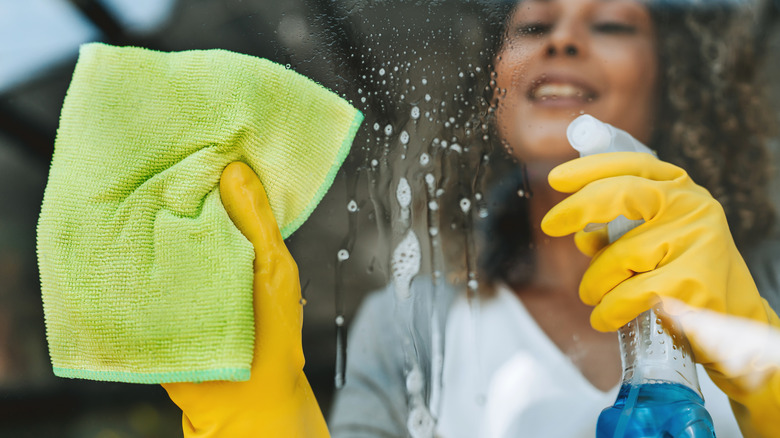
Achieving a perfectly smooth bead of caulk is an art, and most DIYers aren't exactly at the Sistine Chapel level. Silicone caulk can be especially tricky, since it's sticky and can cling to your finger or caulk finishing tool as you try to smooth it, leaving behind a messy and uneven finish. That's why some DIYers and home improvement enthusiasts recommend a relatively uncommon silicone caulking tip: Spraying ammonia-free Windex over freshly applied silicone before tooling the bead. The natural slip of the glass cleaner helps keep the silicone from sticking to your finger or tool as you pass over it, making it easier to achieve a clean, smooth finish. And the ammonia-free version is preferred because it has lower chances of compromising your caulk.
Note that glass cleaner isn't being used to clean the caulk and it doesn't make the silicone adhere better. In fact, if you miss a spot while applying silicone caulk and that area gets sprayed with Windex, the cleaner could actually prevent the caulk from adhering properly to that spot when you eventually apply it. So, this is simply a trick for the smoothing process after the silicone has already been thoroughly applied. This trick is particularly useful for silicone caulk, which can be more difficult to smooth and clean up than other varieties of caulk . Acrylic latex caulk, in comparison, is easier to tool and cleans up with water, so there's generally less need to reach for Windex when working with it.
How to use Windex to get a smoother caulk finishing
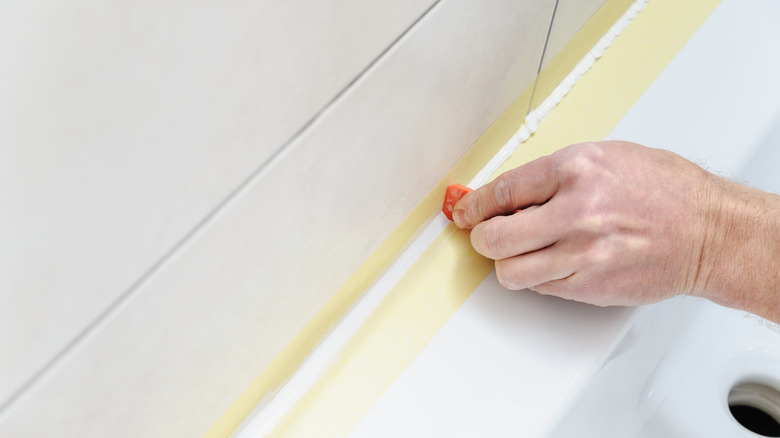
Before breaking out the Windex, start with some basic best practices for caulking. First, remove any old silicone caulk with mineral spirits or rubbing alcohol, along with any lingering paint, dirt, grease, and debris, before cleaning and drying the joint. When applying the fresh caulk, cut the nozzle at a 45-degree angle and move steadily along the joint while applying consistent pressure to the tube or caulking gun trigger to create an even bead.
For silicone specifically, the next step is where the glass cleaner trick comes into play: After applying the fresh bead, lightly spray it with Windex before immediately smoothing it with your finger or a caulk-finishing tool. Alternatively, you could spray the tool instead of the caulked area to avoid any issues with peeling in the future. Timing is crucial, so try to move quickly and break up larger jobs into sections, because silicone begins forming a skin as it cures.
To step up your silicone caulk application even further, try applying painter's type along the top and bottom of where you want your caulk to cover. This extra control will set you up for success and minimize the need to fix any messy caulking afterwards.