

If You Have Concrete Blocks And Wood Planks, You Can Make A Simple Potting Bench
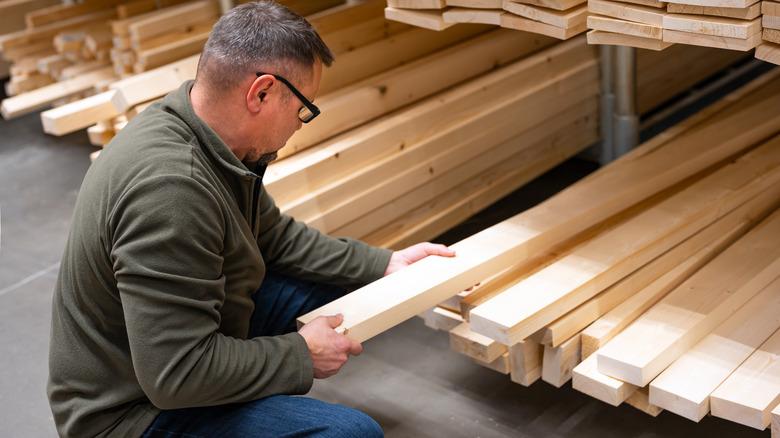
Gardening is hard labor, and if you don't have a workbench outside, it can feel back-breaking. A store-bought wooden potting table can cost a few hundred dollars, but there's a simple and inexpensive alternative to make your own. This DIY outdoor furniture project idea turns concrete blocks and wood boards into a cute and convenient potting bench to enhance your porch or garden. While the blocks support the structure, the wooden planks form the nifty workbench and storage shelves. The simplicity of this project also lends to its versatility, and you can customize the number of shelves and the size of the tabletop to fit everything you need while gardening or repotting plants.
Though the blocks will hold the wood in place, you can make this piece sturdier and more permanent by gluing the blocks together with a construction or concrete adhesive. A larger board is the easiest option for the tabletop, but narrower planks can be glued side by side instead. To protect the wood over time, use a sealant designed for outdoor use that will help to prevent damage from rain and sunlight exposure. The gray color of the blocks and the natural tone of the wood add a rustic look to this DIY furniture. Consider painting the concrete or staining the planks for a personalized style.
Constructing a potting bench with basic board and blocks
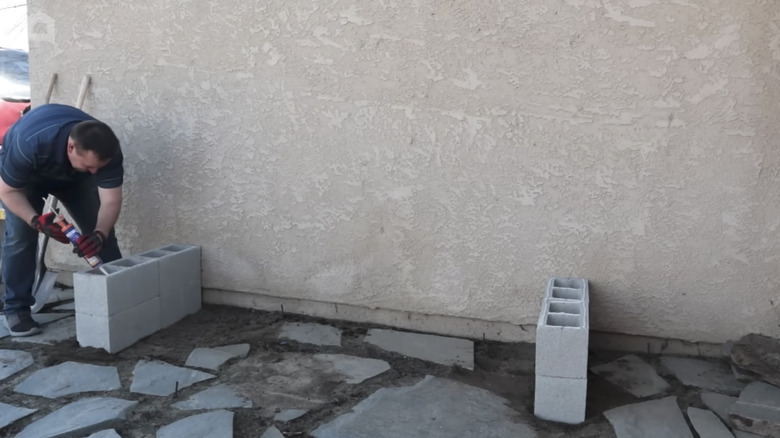
When sourcing your blocks, make sure you're getting real concrete, as there can be differences between cinder blocks and concrete blocks. To form the legs of the bench, make two parallel stacks of blocks on level ground. The way that the blocks are oriented will affect the appearance of your finished furniture. For solid walls, place the blocks with the holes upward, so that they're later hidden by the wooden plank. Otherwise, allow the openings to face outward for a more industrial look. Apply the construction adhesive to the top of each block before adding the next.
Add a bottom shelf by inserting a board between the layers of stacked blocks. Alternatively, try setting planks in some of the holes in the blocks. To create storage closer to the ground, place a row of single concrete blocks beside each leg and set the plank atop.
When your structure is at a height where you could comfortably stand and work at the table, place your wooden board over the legs. Sand, stain, and seal your lumber before assembling this simple potting bench. You might consider gluing the tabletop into place as well, though more concrete blocks will hold it. Set one vertical block on each side of the back of the workspace, aligning them over the legs. Allow the holes to face the bench, so that you can use them as extra storage for small items.
Customizing your potting bench and adding more storage
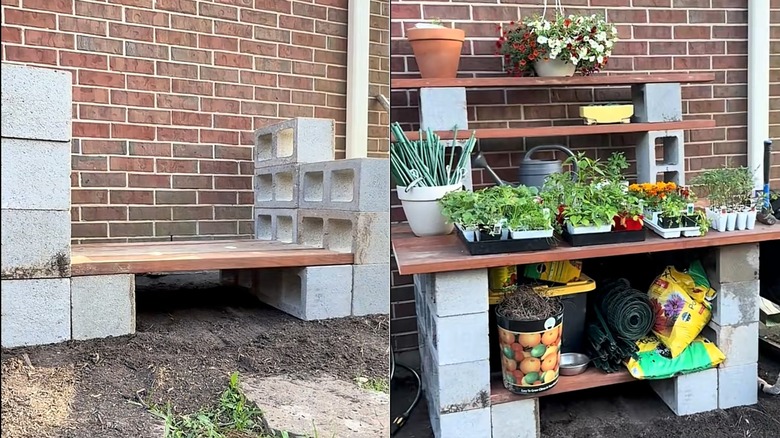
While this DIY furniture could be used as two garden shelves or a bottom shelf and a work bench, it's easy to create more storage with this project. Add additional shelves over the back of the tabletop. Simply place a narrower board atop the vertical blocks that hold the bench in place. For even more storage, add another plank and two more small concrete blocks to make one more shelf. With this style of potting bench, situate your furniture against a wall or fence to block your stacked concrete and planks from heavy winds. Get creative with customizations to make this DIY uniquely yours. For example, you can add cane to a potting bench to create the cutest garden set up.
@lindsaytejas
When you're happy with your DIY furniture, start adding your garden supplies. Place heavier items like bags of potting soil or unused plant pots on the lower level of your potting bench. Use the other wooden shelves to hold a basket of small tools, potted plants, gardening gloves, and essential supplies. Leaving the bench uncluttered gives you room to work and pot new plants. Decorate your station by adding mini plants in the openings of the vertical concrete blocks. If there's space under your bottom shelf, stash extra gear there, too.