

Skip Spiked Aerators: The Easy Handheld Tool To Aerate Soil
We may receive a commission on purchases made from links.
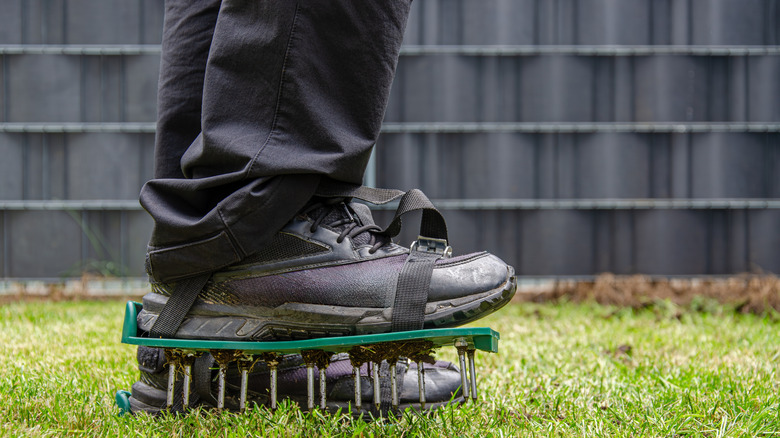
There are plenty of reasons why it's a good idea to aerate your yard. Healthy soil is soft soil — you don't want it to become as hard as a rock. Compacted soil means there's less space for air, water, and nutrients to move and grass roots to expand, which is bad news if you want your lawn to thrive. But what if you haven't sprung for a specialized core or spiked aerator yet? Well, for a small yard or localized sections, you can reach for a common handheld gardening tool to aerate your lawn and give it some relief right now.
A handheld garden cultivator, like the Fiskars Ergo Garden Cultivator, features curved tines that can be pressed into the ground to open up tightly packed soil. Its compact size makes it easier to maneuver around already established plants and super convenient to keep in a gardening basket. The simple tool also costs way less than aeration equipment, and since it provides tons of help with weeding and conditioning garden soil, some of you might already have the tool in your shed. Just remember that this is a small-area solution for moderately compacted soil. A severely compacted lawn will probably still require a core aerator. One easy way to know if it's time to aerate your lawn in general is with a screwdriver. Push it several inches into moist soil; if that's difficult, your garden or lawn probably needs something more than a simple handheld tool.
How to aerate soil with a handheld cultivator
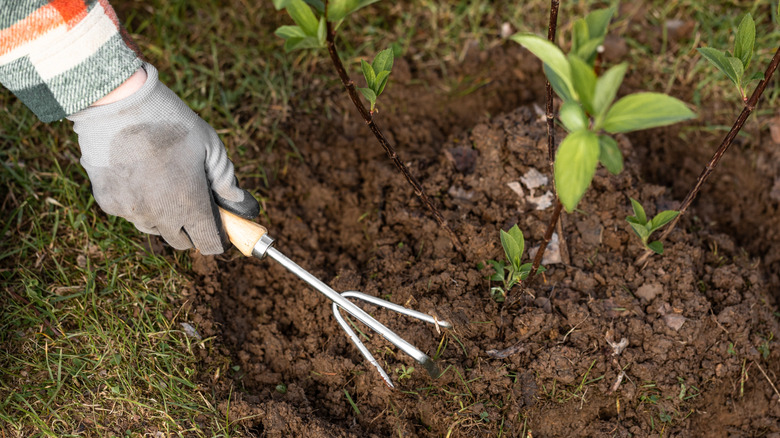
First, determine where your soil needs aerating by looking for water that pools or runs off instead of soaking in, a hard crust across the ground's surface, or soil that remains difficult to depress even when moist. Once you find your trouble spots, you'll want to wait until the soil is at the perfect balance between moist and not too soggy before getting started. If it's dry and solid, water it lightly the day before so that the cultivator tines will be able to penetrate the ground more easily.
The aeration process itself is quite simple. All you need to do is press the cultivator's tines straight into the top few inches of soil (up to the knuckle of the cultivator's tines) to create small openings. Repeat this every 6 inches or so. You can also lightly move the tines in the earth to further lift, loosen, and open the soil.
After aerating the area, water it to see whether the ground absorbs it. If water continues to sit on top, don't ignore it; there are some hidden dangers of letting standing water sit around your property, like mosquito problems. If the water continues to sit on the surface afterward, it's highly likely you've got a bigger issue going on. You may be dealing with heavy clay or deeper compaction that a small cultivator cannot correct on its own, meaning it could be time to finally spring for the big guns, like a core aerator.