

Swap Gravel Driveways For An Eco-Friendly, Low-Maintenance Material
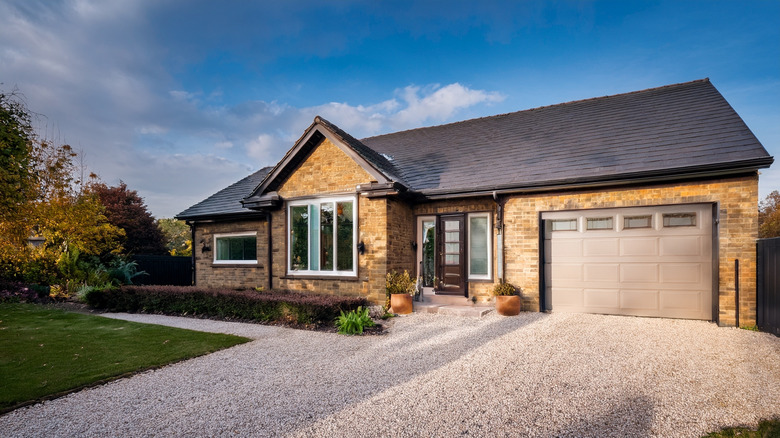
Gravel driveways are cost-efficient and look great when new, but over time, they often become more trouble than even a low price tag is worth. Gravel likes to roll and is easily displaced by cars constantly pulling in and out, and even by foot traffic. Weather is also harsh on gravel. Heavy rain can lead to soil erosion and create ruts and potholes. If it's a dry season, clouds of dust can kick up where the gravel coverage has grown sparse or loose. Worse still, if you live in a snowy state, plows will scrape up significant portions of your driveway after every storm.Fortunately, there is a low-maintenance alternative on the market that might save you hassle and heartache: rubber driveway tiles.
Rather than loose gravel on a driveway, which will scatter all over the place with the slightest disturbance, these tiles will hold their shape and position thanks to a strong adhesive. They're also easy to install, slip-resistant, and flex rather than crack with temperature swings. These are also perfect for environmentally conscious consumers because the tiles are made from recycled tires.
Installing rubber tiles from scratch
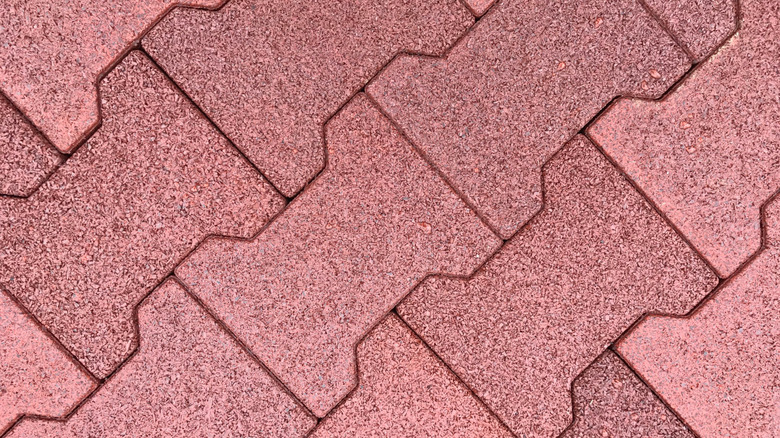
Before committing to rubber tiles, there are a few caveats to keep in mind. For one thing, they come in fewer aesthetic options, and the color may fade. Depending on the material and color you choose, the rubber may need extra care to avoid overheating, so make sure to do your research before you commit. Rubber tiles are not the cheapest driveway material and usually have a bigger upfront investment than gravel. However, a little extra upfront cost will likely save you money in the long run, as you won't need to maintain it each season the way you do with gravel.
If you do decide to skip standard gravel and go the rubber route, the most important first step is to make sure you're working with a clean surface. If you already have gravel, remove it entirely before you lay your tiles. If you're starting with a soil drive, compact it thoroughly to ensure there's no space where water could pool below your tile. Next, measure your space to figure out how many pavers you'll need. You'll want to dry-fit a row of pavers first to confirm your layout before applying adhesive. Then apply the adhesive and lay your tiles, working outward from one full-tile edge. If you need to cut a paver to make it fit, your best tool is a utility knife or, for a curved cut, a jigsaw with a fine-toothed blade. It's always best to measure twice and cut once, and to order extra pavers in case of cutting errors.