

Swap Landscape Fabric For A Home Building Material You Can Use As A Weed Barrier
We may receive a commission on purchases made from links.
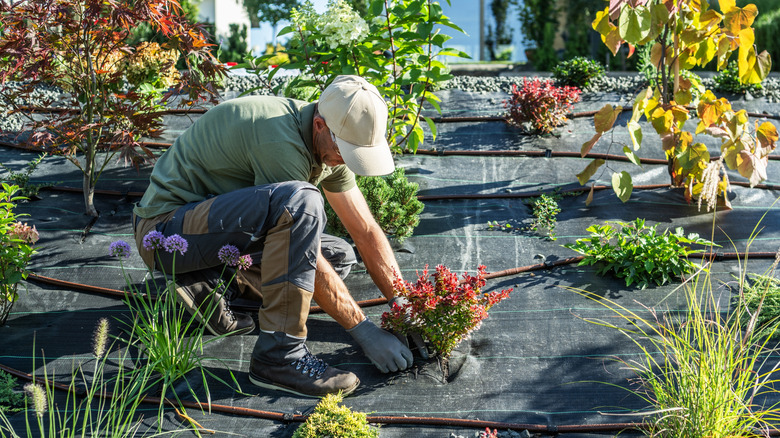
Why can't chores stay done? No matter how many times you wash the dishes or clean the gutters, they always need tending. However, few jobs are as seemingly unending as pulling weeds. These unwanted plants take nutrients meant for your flowers or vegetables. Weeds can ruin the look of your landscape and affect your allergies. It can be tough to know how to control them, even common ones. But forget buying typical landscape fabric that will eventually need replacing. Here's a DIY solution that repurposes home-building material. Use recycled roofing shingles as a weed barrier instead.
If you've recently installed your own roofing or know someone with piles of old shingles and are wondering how to recycle them, this is it. Alternatively, you can find used shingles at recycling centers or building material resellers. The most common kind of roofing shingles is asphalt. They usually have a fiberglass base with an asphalt coating, making them durable and weather-resistant. These characteristics make asphalt shingles excellent weed barriers for most landscaping.
Roofing shingles are also heavy and rigid, which keeps them in place even during rain and wind. Their durability makes them a longer-lasting alternative to materials such as cardboard, which can rot after repeated exposure to moisture. Asphalt shingles can easily last for more than a decade when used as a weed barrier. They also completely block sunlight from reaching the soil beneath them, making it difficult for weeds to germinate and grow. Leftover roofing shingles can be a surprisingly effective way to suppress weeds.
How to use roofing shingles as a weed barrier
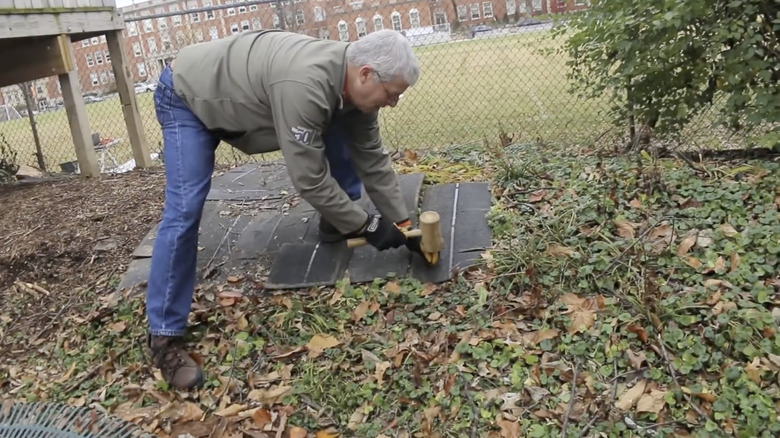
With your landscaping design or garden bed laid out to shape, cleared of existing grass and weeds, and edged, start laying the shingles. Asphalt roofing shingles commonly come with three tabs. Lay them over your landscaping bed one at a time, connecting the tabs to provide more durable coverage. Stagger the shingles as you work across the bed, overlapping their edges slightly so weeds can't poke through. Work from one side to the other, keeping the shingles flat and even. Continue until the entire area is covered.
Using a utility knife, you can trim the shingles' edges to fit around curves, corners, trees, posts, or other irregular areas of the landscaping bed. Take your time when making these cuts, since the closer the shingles fit to the edges, the fewer gaps there will be for weeds to exploit. Save larger scraps for filling smaller areas rather than leaving exposed sections.
For sloped areas or to make sure the shingles stay where you want them, use staples, like these Feed Garden Landscaping Staples from Amazon. Span the seam of two shingles with a single staple to maximize efficiency and hold both pieces in place. Add additional staples around the perimeter. When the shingles are in place, interlaced, and secure, begin applying mulch, gravel, or ground cover options for full sun. Spread it evenly across the shingles, completely covering the underlying material for a finished appearance.