

Smooth Wood Surfaces With An Item You Already Have (Hint: It's Not Sandpaper)
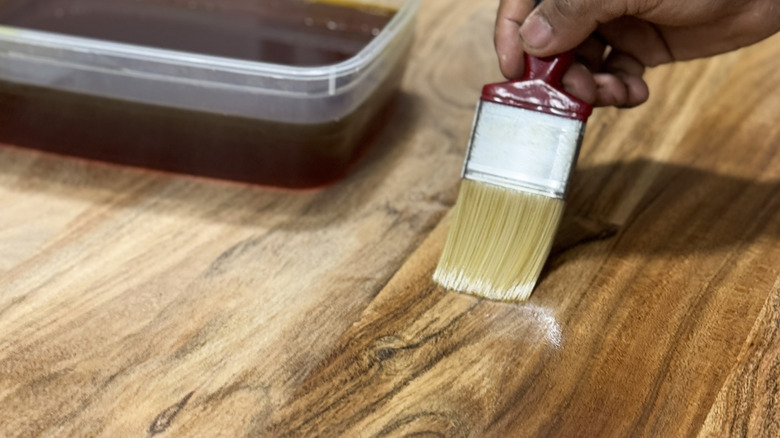
Woodworking is an old craft. As a professional woodworker, I have regularly learned techniques from the past that are not only practical but also very sound. Like in other crafts, the technique you use to achieve a certain result is not as important as achieving your goal. Recently, I was shown a video of a woodworker using brown paper from a typical brown paper bag to smooth the final coat of finish on a tabletop. This is an old-fashioned trick, but "Does this really work?" was the question. Well, the answer is yes. The question is understandable, as finishing can be a confusing task. It is one area that I have long focused on personally, and as a result, have become an expert on.
Many people, when they first see a nicely finished wooden project, gently run their fingers across the surface. If the finish feels silky smooth, it adds to the perceived quality of the furniture. And it should. Using brown paper bag paper to achieve those results is easy, effective, and practical.
Achieving that ultra-smooth finish starts well before you break out the grocery bag. A newly completed wooden project needs its surface properly prepared before any finish can be applied. That means smoothing the wood fibers and removing any residual wood dust (technically called swarf). Sanding the surface, hand planing, or using a cabinet scraper are the three main means to that smooth end. (No paper bags yet...) When those wood fibers are super-smooth and all the cracks, dents, and other imperfections are dealt with, you can apply a finish.
Why does the finish feel bumpy?
Busting out the brown paper is a trick mainly used when applying polyurethane or a similarly slow-curing finish, like a traditional varnish. Polyurethane dries relatively slowly when compared to other clear film finishes. Because it stays sticky for a while, dust flowing through the air (especially in a woodworking shop) may land on the uncured surface. There, they'll become embedded, with portions of the particles protruding from the flat surface. A proper polyurethane furniture finish requires three coats on the project. Between coats, you can get rid of the dust nibs using extra-fine, 320-grit sandpaper. Because you're brushing on clear finish for these interim coats, it does not matter if your sanding impairs the cured polyurethane's sheen, as you'll be putting another coat on top. But with the final coat, you don't want any flaws, and you also don't want dust nibs.
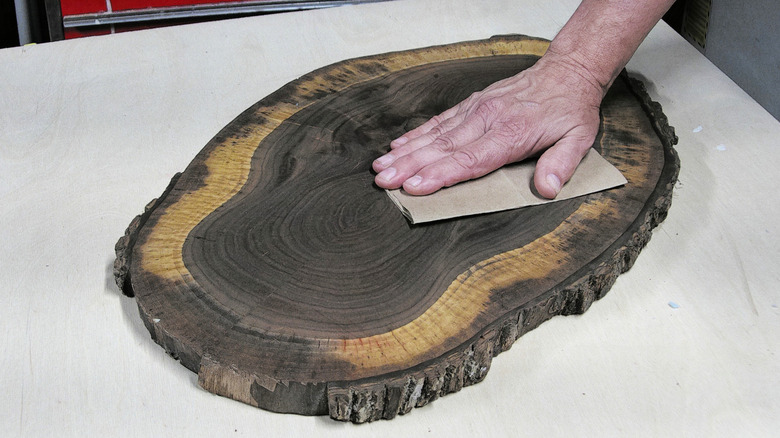
Time to grab the Piggly Wiggly (my childhood grocery store) packaging, cut and fold it into a rectangular pad, and burnish away the offending nibs. The brown paper is stiff and is just abrasive enough for this task. Put your hand flat on the folded paper and polish the finish by vigorously moving the pad with considerable pressure on the surface. Do so in a pattern that ensures you burnish the entire surface.
Allow the polyurethane to cure for at least 72 hours before burnishing. It will then be firm enough to resist marring but will still release volatiles and heal the microscopic holes left behind by dust motes. The result should feel smooth. Personally, I also add a thin coat of paste wax, making it extra smooth to the touch.