

A Piece Of Contact Paper Can Make A Damaged Washer And Dryer Look Prettier
We may receive a commission on purchases made from links.
Do you need some clever laundry room ideas and inspiration to spruce up the space? Maybe you have a trusty washer and dryer that still work great, but are starting to show their age. Let's face it — dents, dings, scuffs, and scratches happen, especially on white appliances in a busy home. New machines can get expensive and might be larger than the old ones, making space an issue. Rather than replace them, spiff up your damaged washer and dryer by turning them into whimsical works of art.
To makeover your marred machines, buy a few rolls of decorative contact paper, and apply them in cut-to-fit sections. Contact paper is made from thin, pliable, waterproof vinyl with a peel-and-stick back, and is typically offered in rolls that feature a wide variety of colors and patterns. Uses include lining shelves and drawers, upcycling furniture, and other around-the-house projects. The adhesive craft material is relatively inexpensive and readily available through Amazon, Dollar Tree, and Walmart. For minimalist laundry rooms, OSECAGE Geometric Peel and Stick Paper offers a nice neutral tone with enough organic shape to stay interesting. If you prefer more personality, Vividpatch Floral Contact Paper provides a colorful impact.
This DIY will not only make your washer and dryer — and your whole laundry room — look prettier, but the paper will also protect your appliances from additional scratches. Just a bit of simple DIY work on a weekend can breathe new life into your vintage equipment.
How to apply contact paper to your washer and dryer
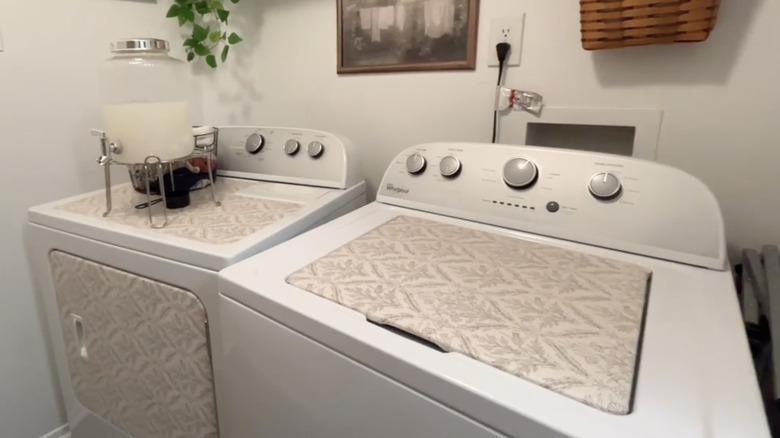
To make your damaged washer and dryer look prettier with contact paper, start by cleaning them. You won't need to sand your appliances, but you'll need to wipe down the surfaces you intend to decorate with isopropyl alcohol or a safe cleaner of your choice. Once you've removed any residue, let it dry.
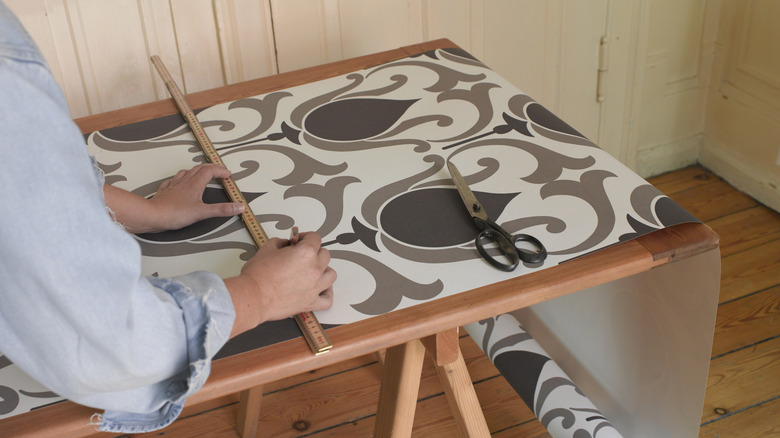
Now, it's time to lay contact paper. Start with an easy-to-apply section, like your dryer top. Mark the perimeter on an oversized piece with a pencil so stray lines can be erased. Cut to your layout line. Tape down one side of the contact paper to keep it from shifting. On the other side, fold the back down and stick the paper to the dryer. Use a smoother, like the one in the Art3d Smoothing Tool Kit, to flatten the paper, pulling the backer away as you go. Prick any bubbles with a pin and work the air out. If you make a mistake, pull it up and cut a new piece.
For your washer lid, leave an extra inch on each side to wrap around the edges. Cut out notches in the corners to avoid overlaps or bunched material. Apply vertical sections as you would removable wallpaper. Cut shapes that complement your paper's pattern to add decals to your control panel. Or, cut out small circles to apply to your knobs or buttons. Above all, take your time and enjoy the process.