

Ditch Baskets And Benches: Upcycle Old Wood Pallets Into A Smarter Way To Store Shoes
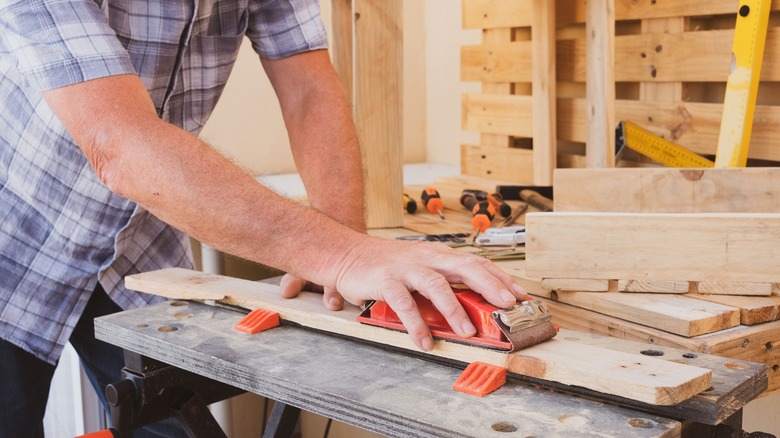
Are you tired of searching for a missing shoe or tripping over loose footwear on your way out the door? You probably know the value of a good shoe organizer to fix the problem, but efficient solutions aren't always easy to come by. Shoe storage baskets can become a jumbled mess, and spacious, quality benches can be expensive. For that perfect marriage of function and affordability, it might be time to consider taking a smarter approach and using pallets to tidy up shoe clutter with a simple wooden storage rack anyone can DIY. Disassembling the pallets will provide you with several boards to build a rustic storage solution, and all you'll need otherwise are woo glue, a brad nailer, sandpaper, and a saw for resizing the boards. By adding a little wood stain, this DIY storage will look like a store-bought shoe rack.
This shoe rack features three or four shelves to neatly stack shoes of all sizes, though you could always customize a larger or smaller rack to suit your space. Your storage could be made long and short or narrow and tall. Not only is this storage perfect for entryways, but it could help to organize a closet as well. And if you like to keep your shoes on a covered porch, this smart way to use wood pallets for budget-friendly storage should work well outdoors too, though you'll need a quality water-resistant finish to prevent weather damage.
How to transform basic pallets into a convenient shoe rack
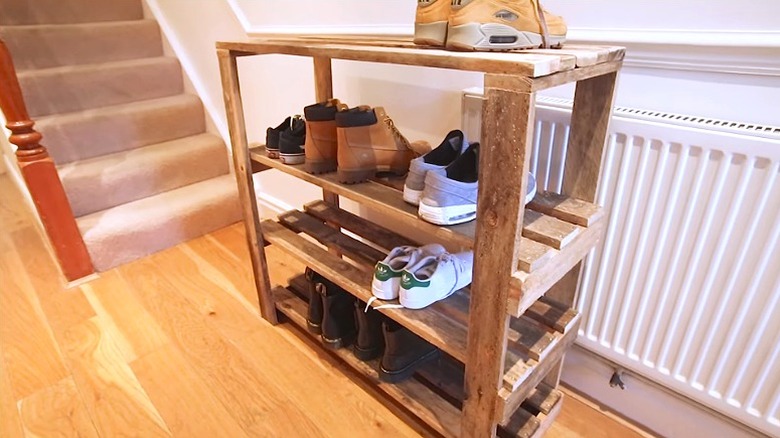
Once you're ready to get started on your project, take apart the pallets and remove the nails from the boards. Plan the dimensions for your tiered shoe rack, making it deep enough for your largest pair of footwear and spacing the shelves just enough to accommodate varying shoe or boot heights. For an easy way to build the shelves, create two identical rectangular frames to act as the sides of your shoe rack. The length of these frames will be the rack's height, while the width will become the depth of the finished piece. The top and bottom boards of each side will act as a small ledge for a bottom shelf and flat top shelf. Screw horizontal slats across the rectangular pieces to add a third and possibly a fourth shelf. Measure carefully to ensure the slats get positioned identically on both frames so that the shelves will be level on the completed build.
To assemble this affordable shoe storage DIY, connect the two end frames and form the shelves with long planks. Place the ends of your shelf boards onto the horizontal ledges, gluing and nailing them to secure the wooden structure. Use a square to ensure the shelves and side frames are perfectly perpendicular to one another throughout this process. Several slats should make up each shelf, ensuring they're wide enough to hold your footwear. Leaving a gap between the shelf boards lends a more rustic appearance, while keeping them close together can be more sleek and modern. For cubby-style storage, add vertical boards to your shelves to create dividers. Finally, sand the wood and stain the boards to complete your homemade shoe storage solution.