

Turn A Dated Secondhand Honey Oak Hutch Into A Statement Piece With Rustic Charm
We may receive a commission on purchases made from links.
In the 1990s, honey oak furniture was all the rage. Now, secondhand honey oak pieces, namely hutches, are common secondhand finds at thrift stores. As gorgeous as they are, they have one major downfall: The warm oak wood color is not very versatile and can be difficult to match with some aesthetics, such as cool-toned or rustic chic-inspired interior designs. Fortunately, there's a way to give this vintage classic a charming makeover that makes it more stylish and befitting of alternative room themes.
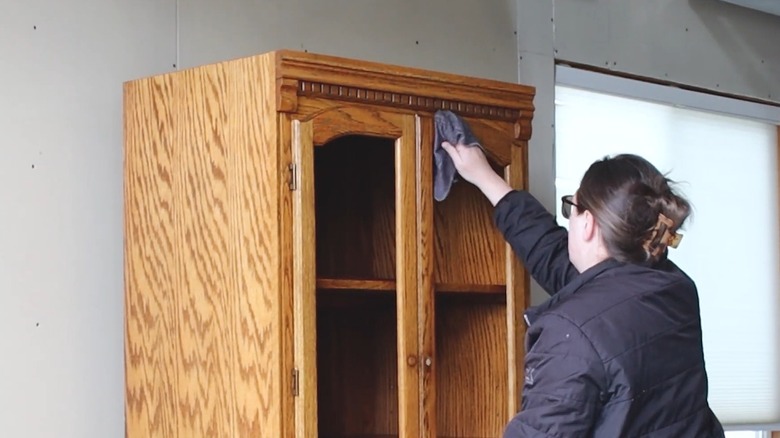
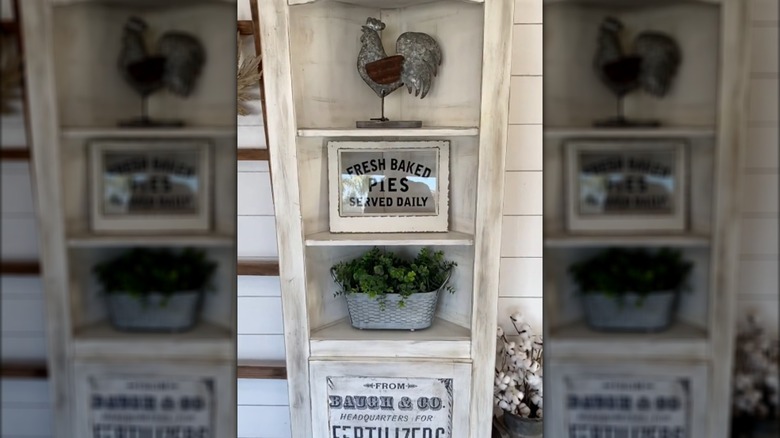
The TikToker Rosie's Rustics shared before-and-after shots of their thrifted corner hutch that they transformed into a cozy living room display. Similar to what a woman who turned a secondhand oak cabinet hutch into a masterpiece did, Rosie's Rustics recolored the wooden exterior. However, she also used a printout and decoupage to give the finished piece some extra flair. The result is a customized hutch with a distressed white wood look and barnyard-esque decor.
Although there is a way to lighten honey oak cabinets without sanding or stripping, it won't remove enough of the color to look like this DIY. To match Rosie's Rustics finished look, you'll need an electronic sander, two-part wood bleach, and a well-ventilated workspace to work in. If you've never bleached wood before, consider a kit that will make the process easier to follow, such as the Zinsser Wood Bleach Kit. You must know the proper steps for bleaching wood furniture. You'll also need decoupage and a farmhouse printout, which can be found for free on websites like Hello Farmhouse.
How to give a thrifted honey oak hutch a rustic look
Before transforming the honey oak hutch into a cottagecore-inspired dream, remove the warm tones from the wood. Two rounds of bleach should be enough for this, but results may vary. Prep the hutch by first sanding it down and removing any varnish or topcoat. Use a sponge or brush to apply the first part of the bleach solution to the wood. Let it sit for about five minutes before applying the second part of the solution. Leave the solution to dry for a few hours, sand it down, then decide if you need to do another layer of bleach or not.
Once the cabinet is desaturated to a whitened color, move on to the fun part. Select the farmhouse-style printable you want to use, and either print it at home or at a popular chain, like Staples or Office Depot. Use any decoupage glue, such as Mod Podge Matte Sealer. Don't be too concerned about which Mod Podge finish you use, as you'll be applying a final topcoat at the end. Apply a thin layer of decoupage on the hutch before laying the paper down. Then apply another thin layer on top. If using Mod Podge, give it 15 to 20 minutes to dry, otherwise, follow your specific manufacturer's instructions. Finish off the refurbished hutch with a topcoat to seal the wood and decoupaged printout behind a protective layer.
All that's left after this step is to style the finished hutch. Turn yours into a farmhouse-inspired statement piece by adding an artificial plant, a framed farm sign, and a barnyard statue. However, you can also display alternative personal touches, such as framed family photos, a handy vintage clock, or dish collections.