

One Simple, Affordable DIY Fix Could Stop Weeds Growing In Cracks For Good
We may receive a commission on purchases made from links.
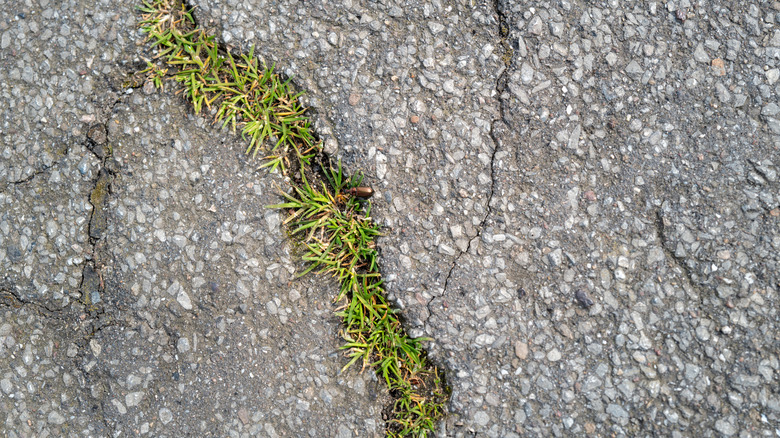
The weeding horrors persist, but so do gardeners. Who certainly won't allow pesky, unwanted plants to ruin their al fresco aesthetic without a fight. But truthfully, attempting to control lawn weeds — especially when they begin popping up in asphalt cracks — can feel like a game of whack-a-mole. There are plenty of remedies to remove the relentless greenery, but the key is getting to the roots to prevent them from returning. Fortunately, there's a cost-effective DIY that can assist: sealant and backer rod.
Even the tiniest combination of moisture and soil beneath the asphalt allows weeds to grow. Remedies like pouring boiling water over the affected area or using even the best weed killers will likely just be a temporary fix. Brad Fowler, an urban horticulture extension agent, revealed to Better Homes & Gardens that the only permanent solution for this never-ending problem is to seal the cracks. Leaving them unattended can potentially cause erosion and structural issues. It's best to remove the weeds and seal up the fissures before water can pour in and cause damage or encourage new growth.
How to remove weeds in cracks with sealant and backer rod
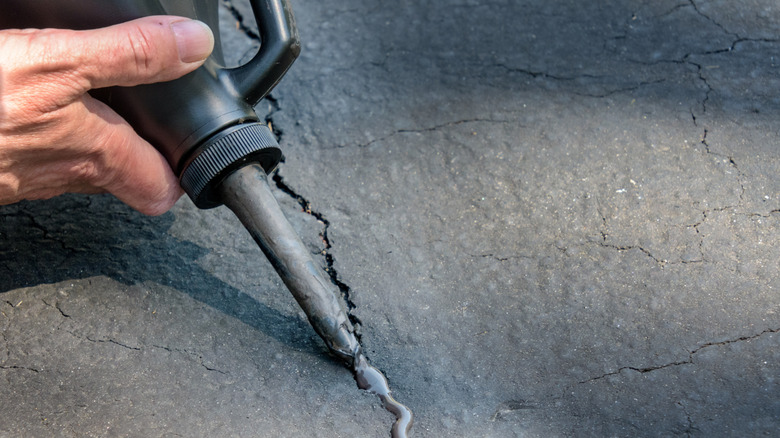
First things first, you'll have to resort to your trusty weed removal hack of choice — a shovel, screwdriver, herbicide, etc. — to clear the space. Once the cracks are free of weeds and the space is dry, measure the cracks to determine how many feet of backer rod you need. (Rolls average around $10 to $15 on Amazon, depending on the length and seller.) As far as the diameter, typically a quarter-inch or half-inch backer rod is suitable for common driveway gaps. Just make sure it fits into the fractures securely so the sealant application process goes smoothly.
Speaking of which, you'll likely be able to apply the asphalt sealant (which you can also find on Amazon) right from the tube or with a caulk gun. Apply it at a 45-degree angle and use a squeegee to smooth things out if necessary. To determine how long it will take to dry, check the sealant's directions, but expect it to take about a day on average. While this DIY may take some time to complete, it'll be worth the effort, as the results are expected to last several years and can ultimately save you the headache and cost of hiring a professional.