

Skip The Plastic Furniture: Turn Wood Pallets Into Sturdy Outdoor Seating
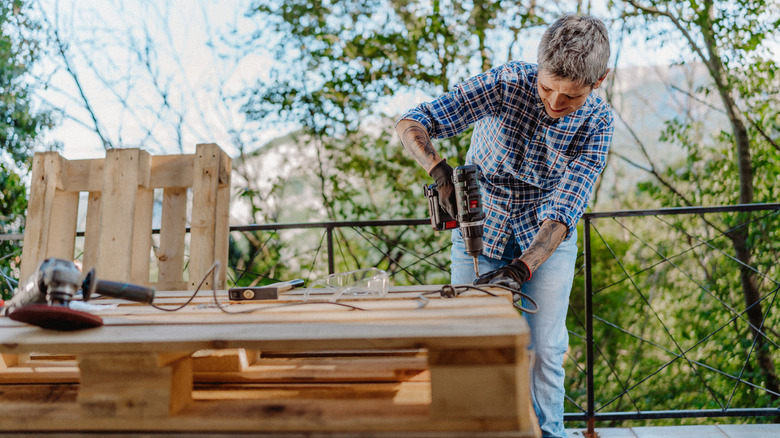
Plastic outdoor furniture is convenient, but it can feel a bit tacky. On the other hand, wooden alternatives have a nicer look, but a higher price tag. Luckily, there's a way to split the difference using wood pallets when you turn them into sturdy and customizable wood benches. They'll look great on your patio or porch or in your garden surrounded by flowers. You'll need the aforementioned wood pallets, a saw, and either a hammer and nails or a drill and screws. Depending on how many pallets you have, some extra scrap wood may be helpful to have on hand as well.
The bench can be as simple or intricate as you want, but don't worry if you're a beginner. A classic, rectangular wooden bench with a slatted seat and backrest, plus simple armrests will look just as lovely in your garden as something fancier. Plus, everything is more impressive if you make it yourself! You can use leftover wood pallets that you already have or find free wood pallets in your community. Since the benches need to be sturdy enough to sit on, carefully inspect your pallets before using them. Look for signs of rot, pest damage, or cracks. A few small splinters on the end are fixable, but structural damage could spell disaster for anyone who sits on your bench. If your pallets are only partially usable, you can deconstruct them fully and only use the boards that are in good condition, but assembling the bench will take a little more work.
Assembling your bench
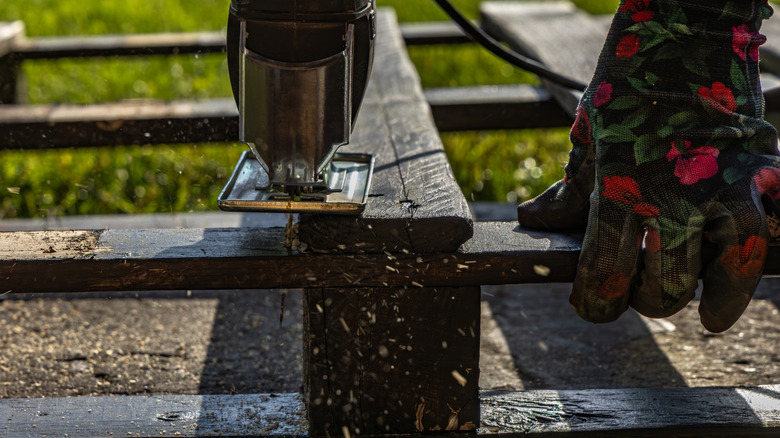
Start by cutting your pallets in half horizontally, keeping all the boards intact. You may need to remove a board from the back if it falls in the middle. One half of the pallet will form the seat of the bench, while the other half will become the back. Take the one that will be the back and remove the slat closest to where you cut previously. This will allow the two halves to fit together more easily. Inspect both the pallet and removed board for large cracks before continuing, to ensure it's still sound. If the board is in good shape, you can reuse it later.
Next, add the legs to the bench. You can use pieces of other pallets you have, but you may need to use scrap wood from other projects instead. Thicker legs will provide a more sturdy base for your bench, so avoid anything thin or flimsy. Use a longer piece and attach it to the side of the pallet, so that the seat is about halfway up the post. If you have an extra pallet, you can use half of it for each side instead. The upper part of the leg can be used as the support for the armrest and extra support for the back. Next, you can nail or screw the back into place, attaching it to both the seat and the upper parts of the back legs. Slide the back pallet in carefully, as it might be a tight fit.
Finishing the bench
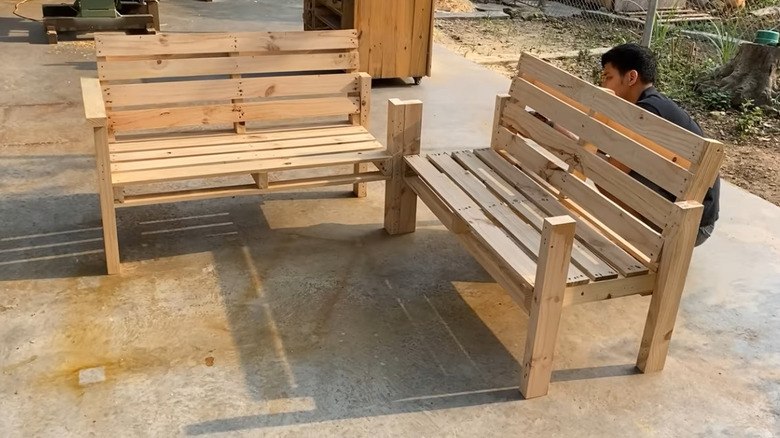
The boards you removed earlier can be nailed or screwed to the top of the legs to form armrests, but you can also use other scrap wood if the boards aren't in good shape. Before you start putting in the effort to make it cute, test it to ensure the parts are secure. Put pressure or something heavy on the bench to check for obvious wobbling or breaks. The first time you sit down, do so slowly and carefully, just in case. Look for pieces that need to be screwed in more tightly or reinforced with extra scrap wood.
Once you're satisfied that it's safe to use, there are a few simple ways to finish off your benches. Some sandpaper or a sander can smooth out any rough spots and dull sharp corners to make your outdoor furniture more comfortable. Extra detailing can be added to the wood with carving tools or a wood burner if you want to add patterns or designs to it. Wood stain or paint is also an option if you want to add a little bit of color to your bench. However you decide to finish and decorate your bench, there is one step you shouldn't skip. A coat of sealant will help stop the wood from absorbing water and save your outdoor furniture from rotting.