

Upcycle Old Wood Into Countertop Storage Space With A Clever DIY
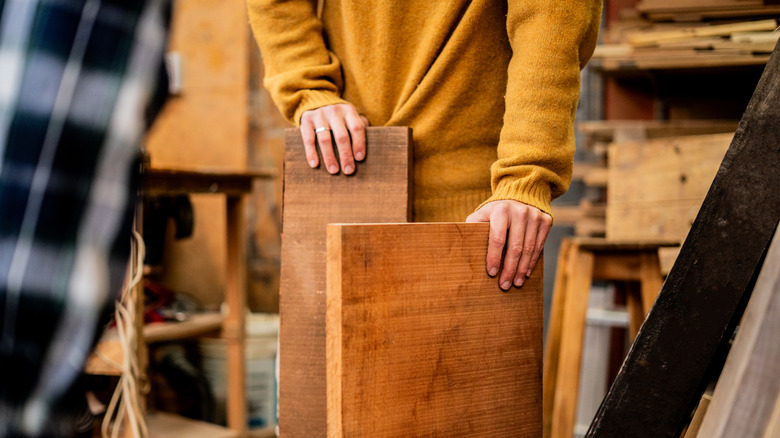
If countertop clutter has you in a bad mood, it might be time to shake things up with a fun DIY. Once you've identified what things in your kitchen make it feel cluttered, you can use any old scrap wood you have lying around to give them a dedicated space to sit. Don't worry if you aren't an experienced DIY-er... all you need to make this simple yet chic wooden riser is a few pieces of scrap wood, some wood glue, and potentially something to cut the wood with. Plus any decorative paint or stain you want to add.
Risers are pretty simple and straightforward to make. All you need is one larger piece of wood for the top and two or more pieces to form the legs. Your spare wood will give it a nice rustic look, but you can just as easily make a more elegant version with only a little more effort. Once it's built, the riser gives you another surface for some of your items to sit on, making their placement look a little more intentional and less cluttered. You can use spare wood from practically anything, as long as it isn't completely rotted through. Fence boards work wonderfully, since they should already be roughly the same width. That's convenient since the legs of the riser need to be the same size to keep the top level. You could also use leftover wood from your porch or deck, old cutting boards, or even scraps from furniture or doors.
Putting together your DIY riser
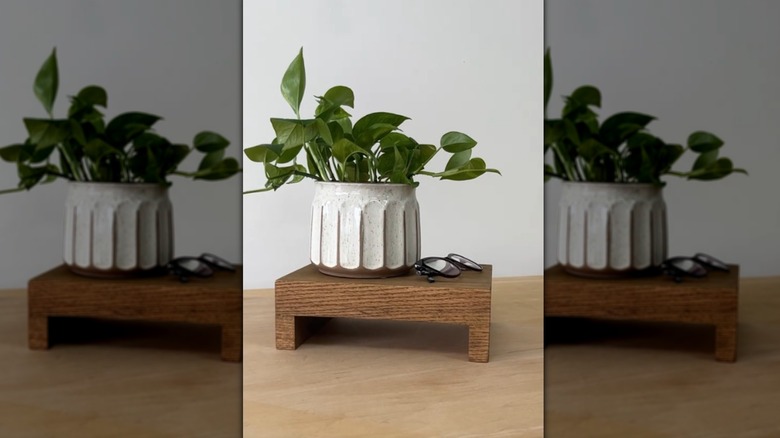
Start by deciding how large your riser will be. Looking at the space you have available on your countertop is a good place to start. If there are any cabinets or shelves over where you plan on placing your riser, make sure there is room underneath it for both the riser and whatever items you want to put on it. Next, prepare your scrap wood. You may need to cut it if it isn't already the size you want. If your wood has been outdoors, whether as part of a fence that's now being taken down or simply stacked to the side, you may need to clean it as well. It may only need a quick wipe down, or you may want to use this homemade cleaner to remove moss and mildew.
Set the larger top piece on your leg pieces to make sure it's mostly level and stable. If it's not, you may need to readjust the pieces or sand them to remove bumps. Once everything fits the way you like, all that's left is to glue the pieces together. Your riser is now technically done, but there is more you can do if you want to dress it up. Carving or burning a design into wood is an option if you have the tools, but you can also keep things simple with a coat of wood stain, wax, or paint. You can even use contact paper to elevate the look in minutes if you like.