

Use Old Pie Pans To Make Charming DIY Pavers On A Budget
We may receive a commission on purchases made from links.
Even if you love pie, it doesn't mean you bake one often. But still, many of us hang onto old pie pans in case the motivation ever hits. Let those pans see the light of day by giving them a new purpose! Not just for sweets, pie pans can be transformed into molds to create one-of-a-kind pavers for your yard. All you have to do is fill them up with concrete and embellish. While the process requires more effort than simply purchasing pavers, it's a more affordable option that can be fun as well. You could even turn pavers into the cutest DIY garden path by adding colorful trinkets.
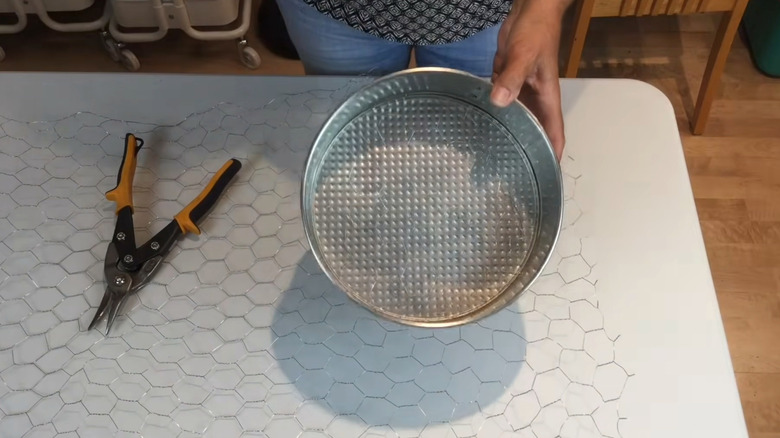
Pull out as many old pie pans as you're willing to sacrifice. The kitchen section of a thrift store would be an excellent place to check if you don't own any — and they should be inexpensive, too. It's okay if you only have one. As long as it's sturdy enough, you'll be able to use it as a mold over and over again. However, when making multiple pavers, it'll speed up the process to have additional pans. You'll also need a bag of concrete (like this QUIKRETE 10-pound Concrete Mix), a container to mix it up in, a trowel, and cooking spray (or petroleum jelly).
While prepping the essentials, think about what materials you'd like to incorporate to make the pavers charming. You could find decorations from nature, such as stones or shells. Or, get out items like beads, small tiles, or FANTIAN Flat Glass Marbles. Keep in mind that it might have to be a non-functional or "sneakers-only" pathway if the materials have pointy edges that stick out of the concrete. However, using items like broken-up dishes for a mosaic look would elevate the whimsy and be a good way to turn old plates into beautiful and functional garden decorations.
How to craft unique and affordable pavers to elevate your yard
Start by putting on safety goggles and a mask. Then, mix up a batch of concrete according to the directions on the package. The right bag size to buy will depend on the number of pavers you're making. Next, coat the inside of the pie pans with either cooking spray or petroleum jelly. This will help lubricate the molds so that the pavers slide out easier. Fill them most of the way full with concrete, then use the trowel to smooth their surfaces.
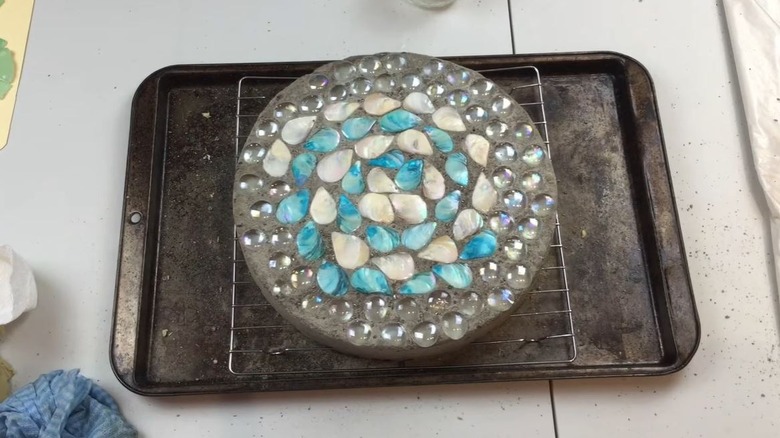
Now comes the fun part of decorating the pavers! Push the small items into the concrete so they are nearly level with the mixture. If you use, for example, QYGL Sea Glass Stones, create a pattern or adorable design for some sparkle. In addition to objects, you could also press handprints or write letters with a stick. Allow the pavers to dry for approximately a day or two. Finally, carefully take them out of the pie pans. Repeat the process until you have as many pavers as you'd like for your yard.
Come up with a plan for how you'd like to enjoy your pavers. If you're making a stepping-stone walkway, just make sure they are evenly spaced and several inches apart. It might not seem as permanent as a brick paver garden path, but it'll be an easy and inexpensive solution. Alternatively, you could cluster the pavers together or place them around your yard as decorations. Hang onto the pie pans after the project so you always have molds available whenever creativity knocks. Plus, DIY pavers can be very thoughtful gifts for loved ones.