

Forget Lawn Decor: A More Creative Way To Use Thrifted Flamingoes In Your Backyard
We may receive a commission on purchases made from links.
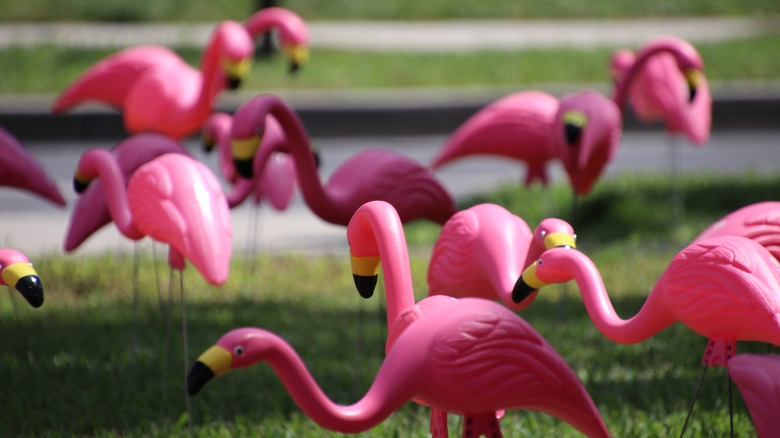
Has there ever been a lawn ornament more divisive than the classic pink flamingo? From the first injection-molded plastic flock in the late 1950s, the affection for the lawn ornament has ebbed and flowed. The pink beauties quickly faced backlash for being made of plastic, and they went through periods of being gaudy, popular again, and being displayed ironically. Even if you don't want to display a plastic flamingo in your yard as-is, don't pass them up at the thrift store. Instead, upgrade them into elegant planters, with inspiration from the TikTok channel Papa Karl's Rust and Roses, where the creator attaches the heads of the flamingos to plastic bowls to create unique planters with fountains in the middle.
To start, you need to round up your flamingos. If you don't have any collecting dust in your shed, head to the thrift store or estate sales. While statues are the vintage garden decor everyone is snatching up, you might have less competition for pink flamingoes. You'll also need the planter portion, but you can upcycle a planter you already have. The creator in the video uses inexpensive plastic serving bowls from the dollar store — the main, large bowl has ridges on it to create an interesting shape, but you can also use a smooth plastic bowl. Grab a smaller bowl to serve as the pedestal. You can leave it as-is, but adding plaster or a similar material produces a textured terracotta look. Then, it's a matter of painting the project to your taste to make it look vintage. You can simply plant flowers in the bowl or add another bowl inside with a solar-powered fountain to create a planter water feature.
Assemble your flamingo head planter fountain
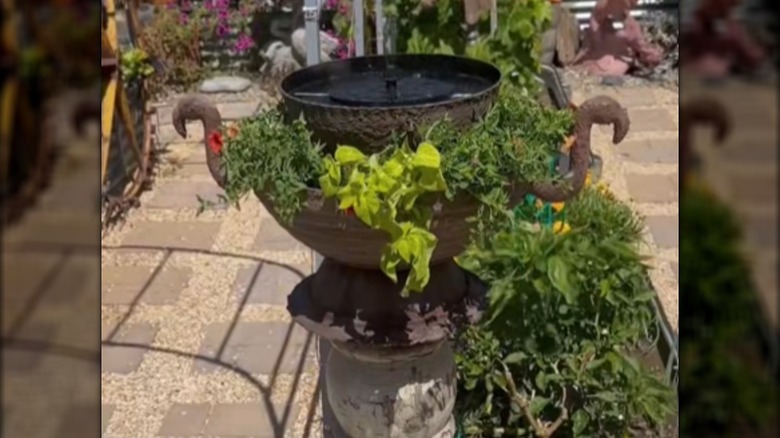
Transforming those vintage flamingos into planters means eliminating the step of holding down and securing lawn decorations. To get started, cut the head and neck off each flamingo. The original design features two heads opposite each other, but you can use just one head or surround the bowl with multiple. Glue the heads using E6000 along the top edge of the bowl. To create a pedestal-style planter, flip a smaller bowl upside down and glue it to the bottom of your main bowl.
@papa.karls.rust.a Nobody asked for plastic bowls and flamingos to become a terracotta urn fountain... but here we are. 😂🦩🏺 Trust the process—this might be my wildest thrift flip yet! #ThriftFlip #DIYFountain #TrashToTreasure #UpcycledDecor #DIYGardenDecor
To replicate the original, apply plaster or a similar material over the outside. Then, paint the dry plaster to fit your aesthetic. Another option is adding baking soda to the paint for a textured terracotta finish. You can add different shades to create a rusty, patchy, aged aesthetic, or paint it bright pink to pay homage to the plastic flamingo that gave its life for the planter. For a completely different look, attach the flamingo head to a basic plastic planter and paint the body of the flamingo on the planter itself, so it aligns with the neck and head sticking out the side.
For a planter-only version, fill the main bowl with potting soil and plant your selected flowers and greenery. Pink flowers give a cute nod to the bird, but you can go more classic with greenery and neutral flowers. For a fountain addition, position another smaller bowl inside the main bowl (you'll likely need to use a support piece to elevate the fountain bowl). For example, you can create water movement with this Aisitin Solar Fountain Pump. Adding a water feature to the top is also a way to ditch traditional bird baths for a creative alternative, as moving water often helps attract feathered visitors.