Skip Paint: There's A Smarter Way To Update Golden Oak Cabinets
We may receive a commission on purchases made from links.
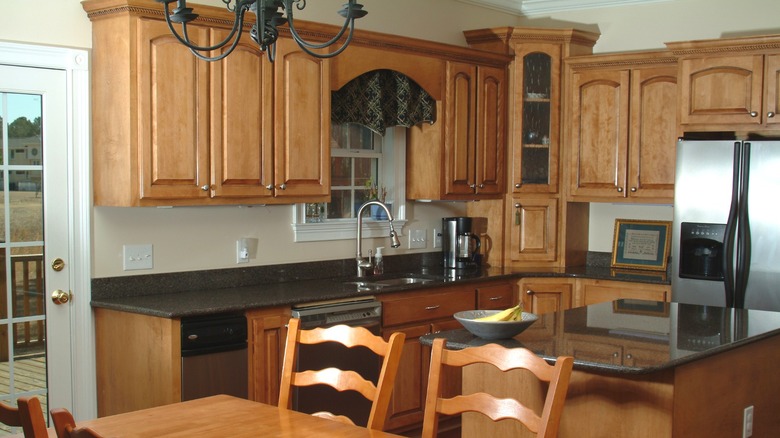
There are two types of homeowners: The ones who embrace wooden kitchen cabinets in all of their '90s glory, and the ones who shudder at the thought. If you find yourself in the latter group, you're probably brainstorming ways to update your oak cabinets. Instead of sifting through paint swatches, why not go the cerusing route instead? This detailed, two-tone finishing technique is a refined look you can't achieve with a simple coat of paint. When all is said and done, it enhances the cabinet's texture and offers a sophisticated modern finish that catapults your cooking space back into the 21st century.
Cerusing, aka liming, accentuates the wood's open grain and fills it with color for a stunning contrasting effect that retains and highlight's the beautiful pattern and fits in perfectly with rustic kitchen styles. The centuries-old technique was originally used to preserve wood and deter critters, so you know you'll be left with a durable finishing product — one that no longer includes dangerous lead ingredients as it did in centuries past. Though it has stylish and enduring results, cerusing is more complicated than painting but potentially less legwork than bleaching or whitewashing.
There are several ways to create the ceruse look, but for cabinets, you'll want to use stains, paints, primers, or glaze that you can go over with a clear topcoat to finish the surfaces. You could go subtle by leaving the wood natural and highlight the grain with a slightly contrasting light color, or go bold by adding a dark base color and contrasting light tones in the grain. All kinds of neat color combos are possible, each creating an attractive and intriguing finish.
How to update your golden oak cabinets by cerusing

If you're ready to bring those rustic kitchen cabinet ideas to life, grab a stain like Minwax Performance Series Tintable Wood Stain, remove your cabinet doors and drawers to ceruse them separately, and get to work. Start by going over the cabinet surfaces with an orbital sander with 80, 120, and 150 grits. Then, once the sanding is complete, rub a wire brush along the wooden surfaces (brushing with the grain) to open and highlight the grain, which is essential to enhance the cerusing effect. For large cabinet runs, using a wire wheel on a surface conditioning tool or angle grinder will speed things along. Dip a paintbrush in your stain to coat the profiles of the cabinets, and use a sponge for the front surface. After you let your pieces dry overnight, go over them with a sanding sponge to bring out the two-toned appearance. Clean the surface, and you'll reveal a stylish ceruse finish. Then, you just have to throw on a protective coat of varnish with a paint sprayer or brush.
There are other ways to nail the look, but they also require some patience. For instance, you can start by applying wood pretreatment on your drawers with a sponge, like Rubio Monocoat Pre-Aging Wood Pre-Treatment, in a dark color. Once it's completely dry, you'll then apply Rubio Monocoat Wood Oil Finish in a lighter shade to achieve that two-tone aesthetic. Work it into the grain, and use a paper towel to wipe away the excess to get a gorgeous contrasting pattern. For the backs of cabinet doors and drawers, simply paint them to match the ceruse base color. Once everything is dry, you can piece together the charming cabinet upgrade you've been dreaming about.